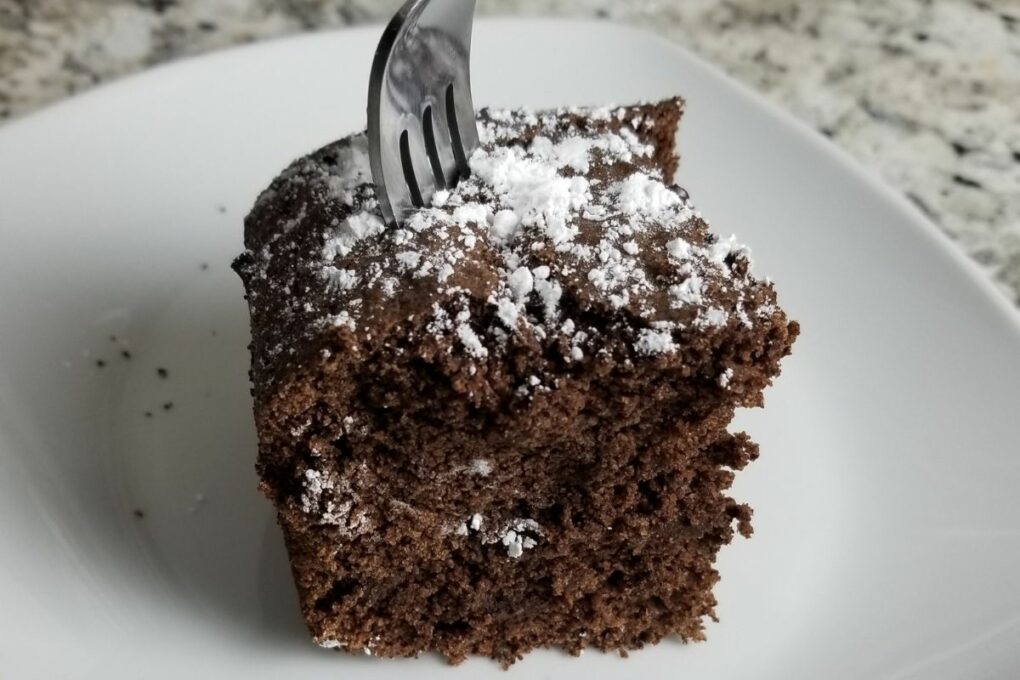
For a sweet homemade treat, this gluten-free chocolate sour cream pound cake hits all the right notes; it's tangy, decadent, and fluffy. Plus, with three kinds of chocolate, it's sure to please any guest at any time!
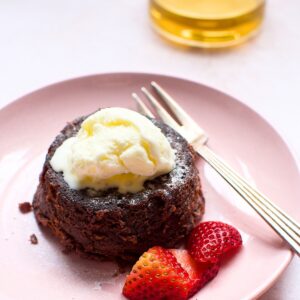
If you love chocolate cake recipes, try my chocolate lazy cake and restaurant-quality lava cakes.
Jump To
About this recipe
Chocolate Pound Cake With a Twist: between the chocolate ganache and sweet dots of chocolate chips, this is a chocolate lover's tangy dream cake, though if it seems like chocolate overload to add a glaze, you can always just dust the cake with more cocoa powder or a bit of powdered sugar.
Dutch vs. Natural Cocoa Powder: the difference between natural cocoa powder and dutch cocoa powder is the way they're processed. Natural cocoa powder is made the same way as chocolate, while dutch-processed cocoa powder is treated with an alkalizing agent.
The result is a more neutral pH. This difference affects the flavor, color, and baking properties of the cocoa powder, making dutch-process cocoa powder milder in flavor, less reactive to baking soda, and a darker color.
Ingredients
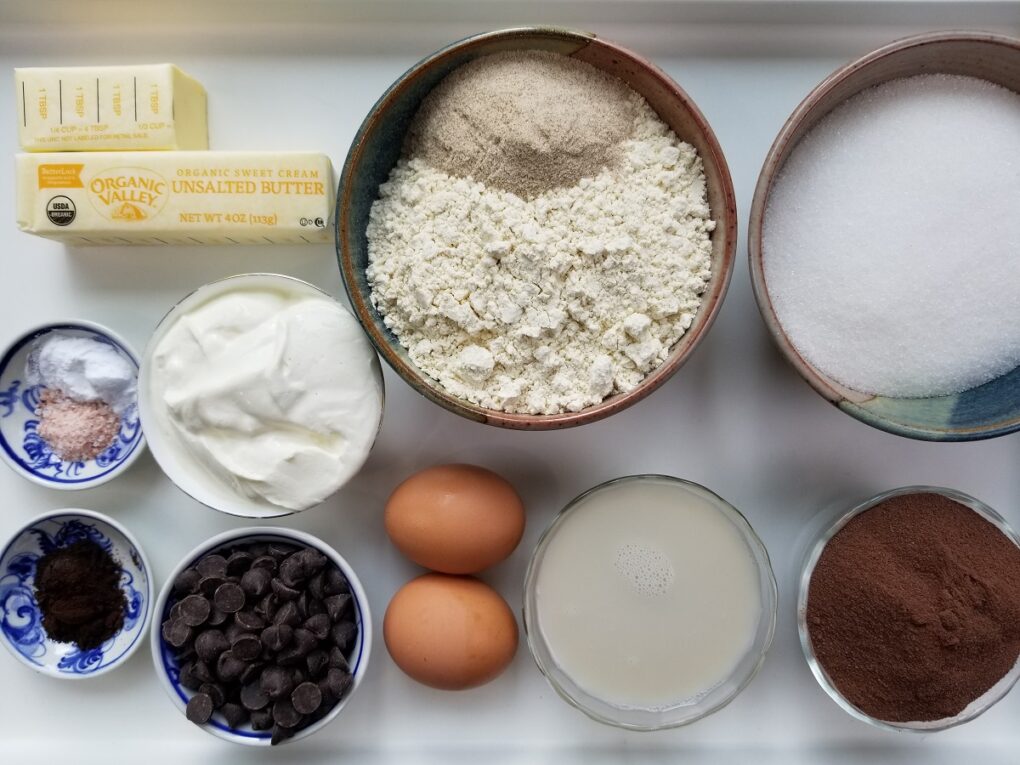
Unsalted Butter: you can also use coconut oil or vegan butter, but just make sure to use unsalted kinds so that you can control the saltiness level.
Sugar: while you could sub up to half for brown sugar, white sugar keeps the chocolate as the star flavor.
Eggs: you could use a variety of egg alternatives to help make this cake vegan or allergen-friendly.
Vanilla Extract: this adds balance to to the flavor of the cake. You can also use vanilla powder, if you want to avoid alcohol.
Sour Cream: for a vegan version, you can use vegan sour cream.
Gluten-Free Flour & Psyllium Husk: you can of course use regular flour if tolerated, but if you use gf flour, don't forget to add either xanthan gum or psyllium husk powder.
Milk of Choice: I used oat milk because it was all we had on hand, and it worked great.
Natural Cocoa Powder: this is not the same as dutch-processed cocoa powder, so if that's all you have on hand, then you'll want to add a teaspoon of baking powder to the dry ingredients. Natural cocoa powder has a more acidic & bitter flavor and a lighter color, and this difference is important for helping the sour cream chocolate cake rise.
Baking Soda: NOT baking powder; this alkaline substance is a rising agent that will help your cake be fluffy rather than dense. It interacts with the acid in the natural cocoa powder to do this, so please remember to use the natural stuff.
Chocolate Chips: mini-sized chocolate chips are preferred, but you can use any type you like most, or skip them altogether.
How to make chocolate pound cake with sour cream: step-by-step instructions
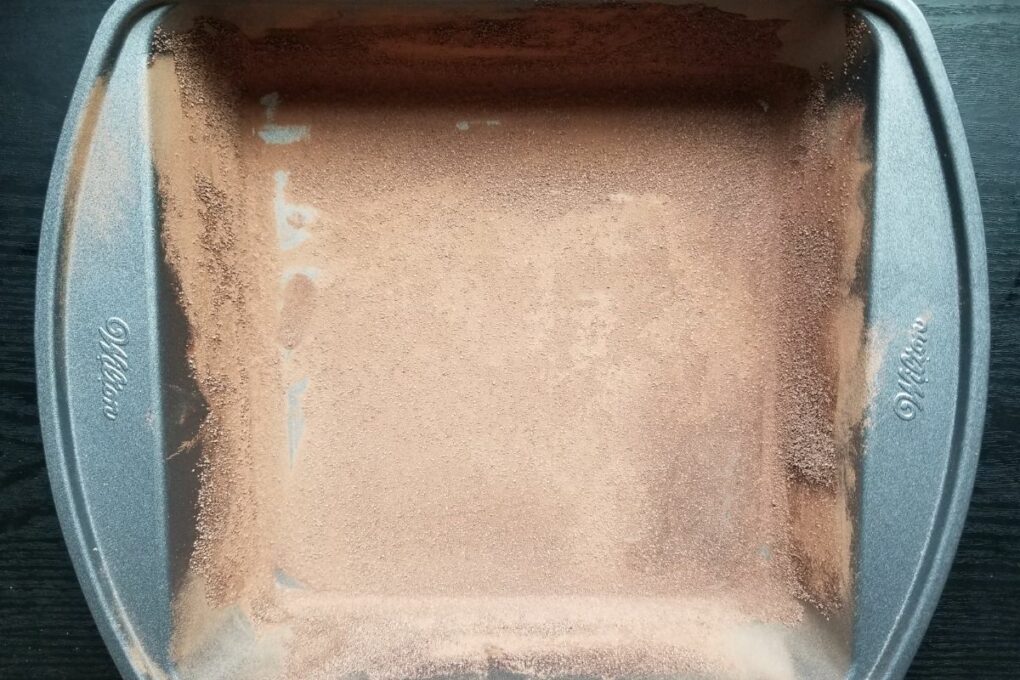
Step 1. Preheat the oven to 325°F (160°C), then grease an 8x8' pan with butter and dust it with cocoa powder (or flour) [a 9x9' pan would also work, but your cake will be shorter and flat].
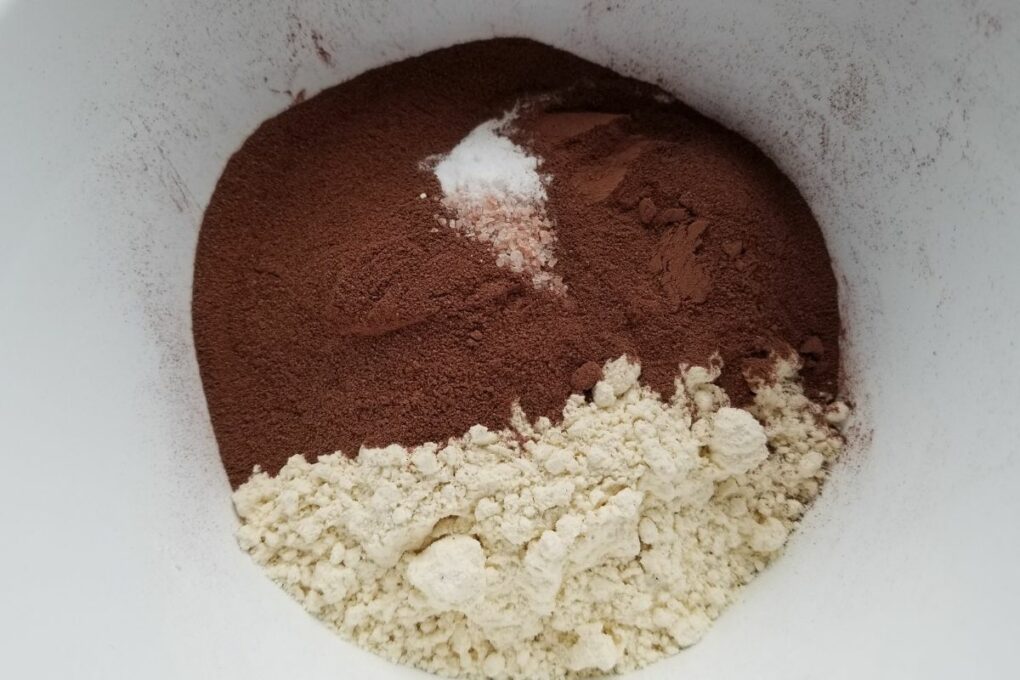
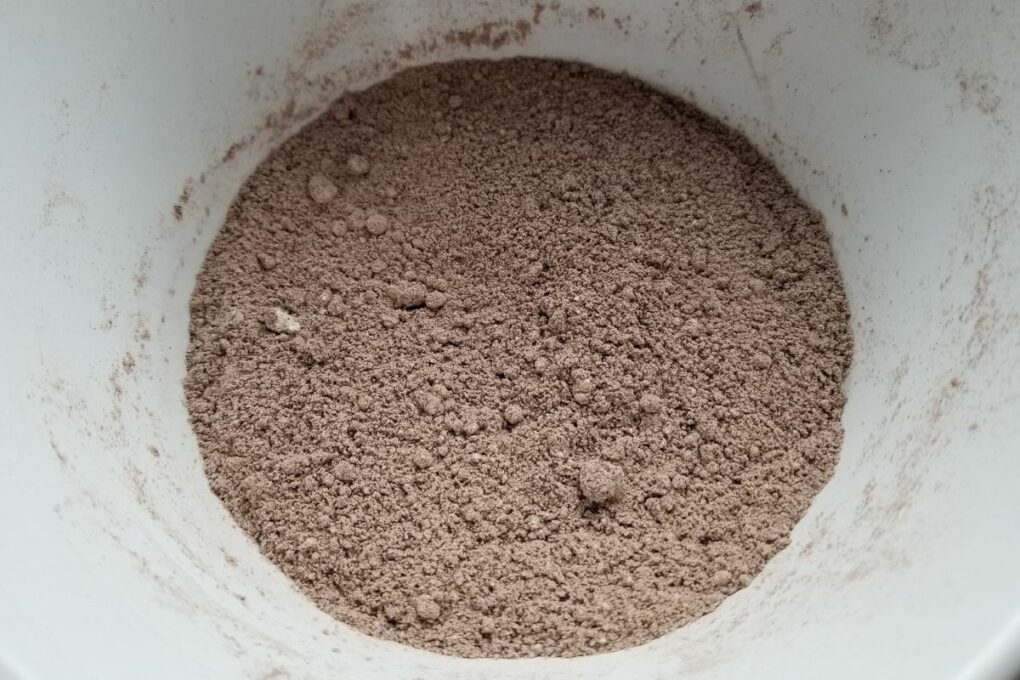
Step 2. In a small bowl, whisk together the flour, cocoa powder, salt, and baking soda until well-combined, and set aside. In a large bowl, cream your room temperature butter with the sugar until fluffy, scraping down the sides of the bowl as needed.
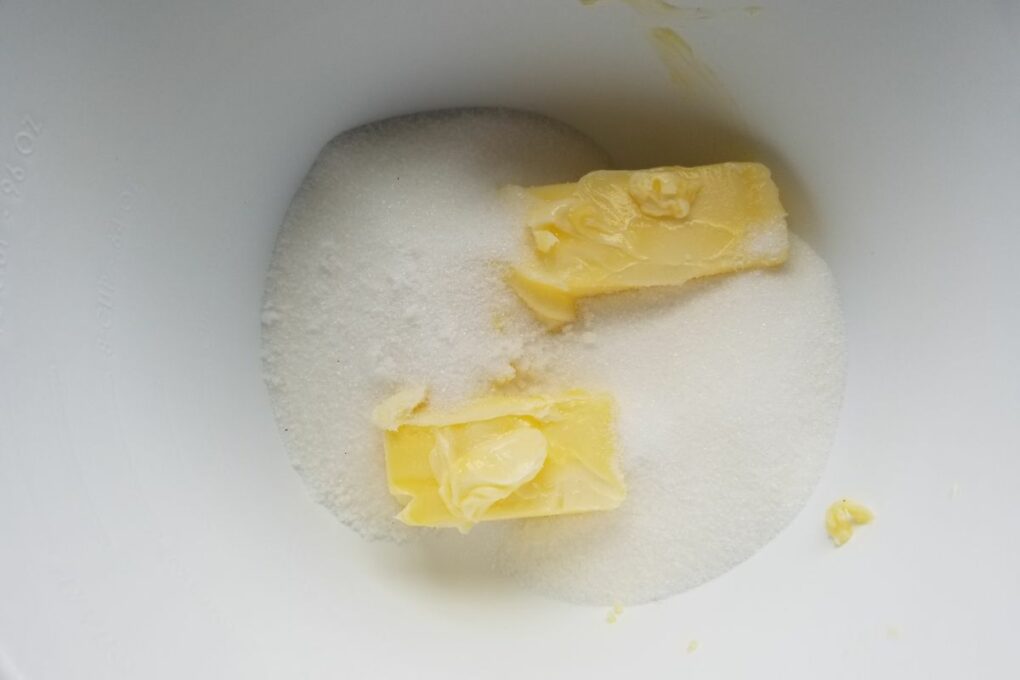
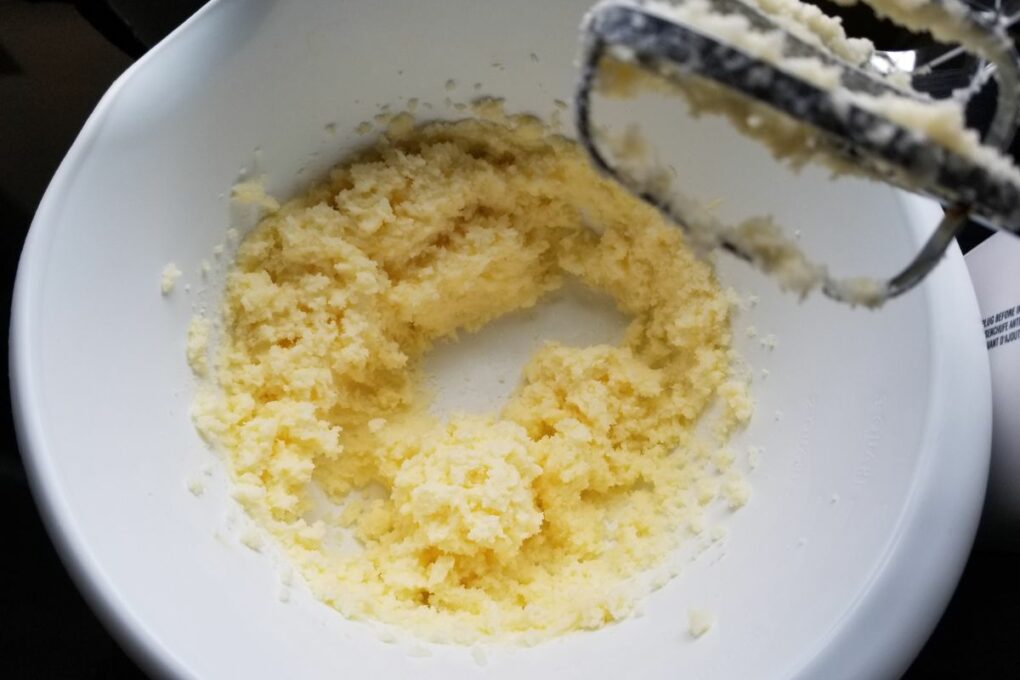
Step 3. Then add the vanilla extract and eggs one at a time, incorporating each one well before adding the other.
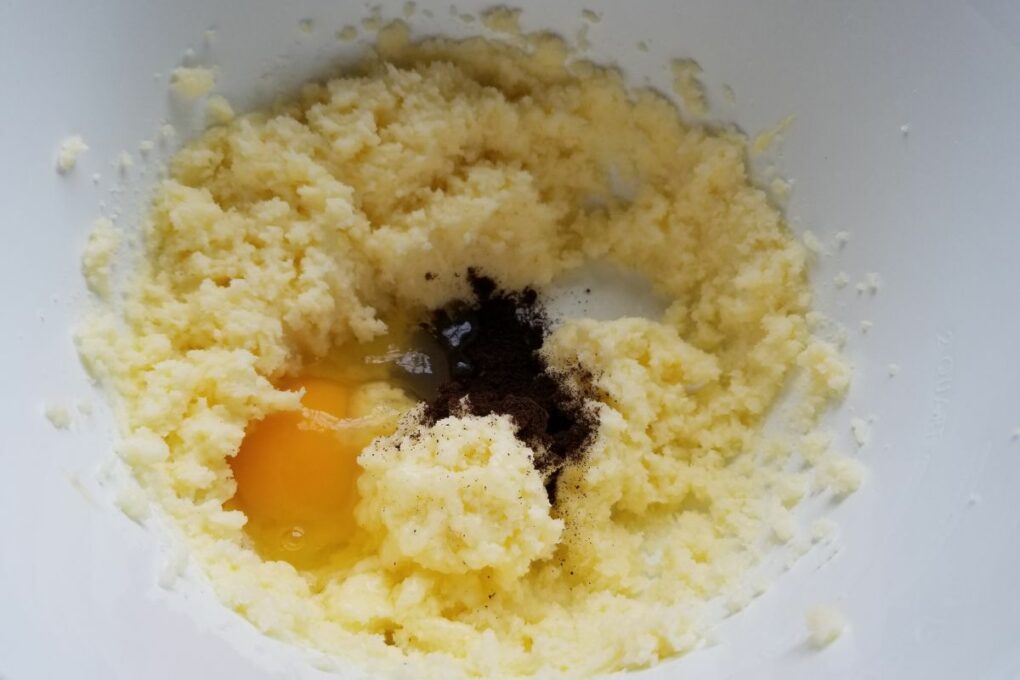
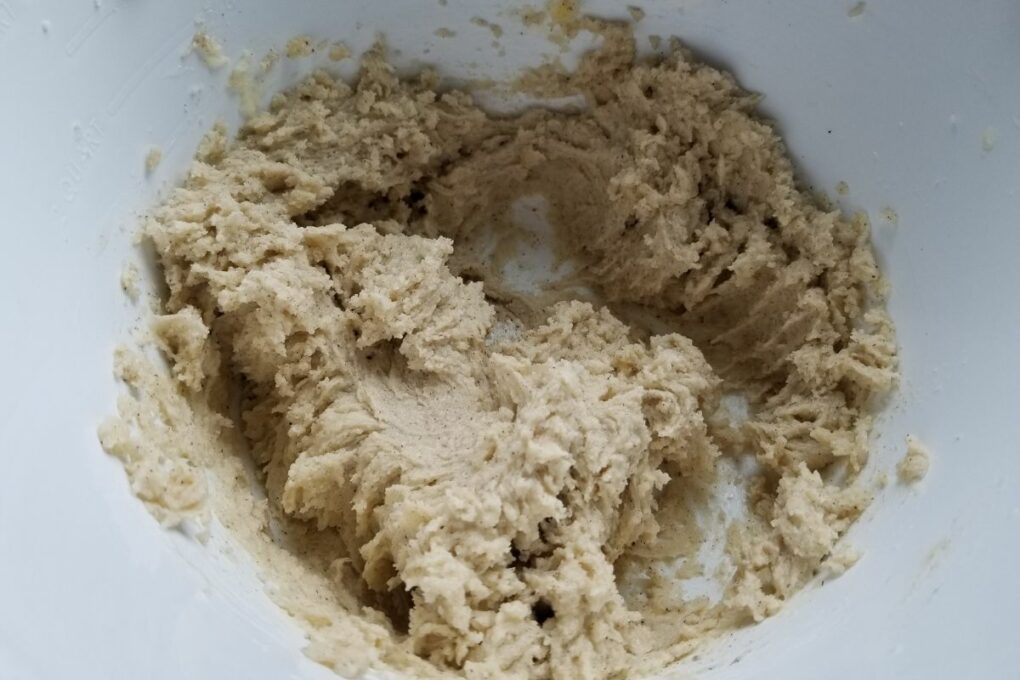
Step 4. Add in the sour cream until just combined.
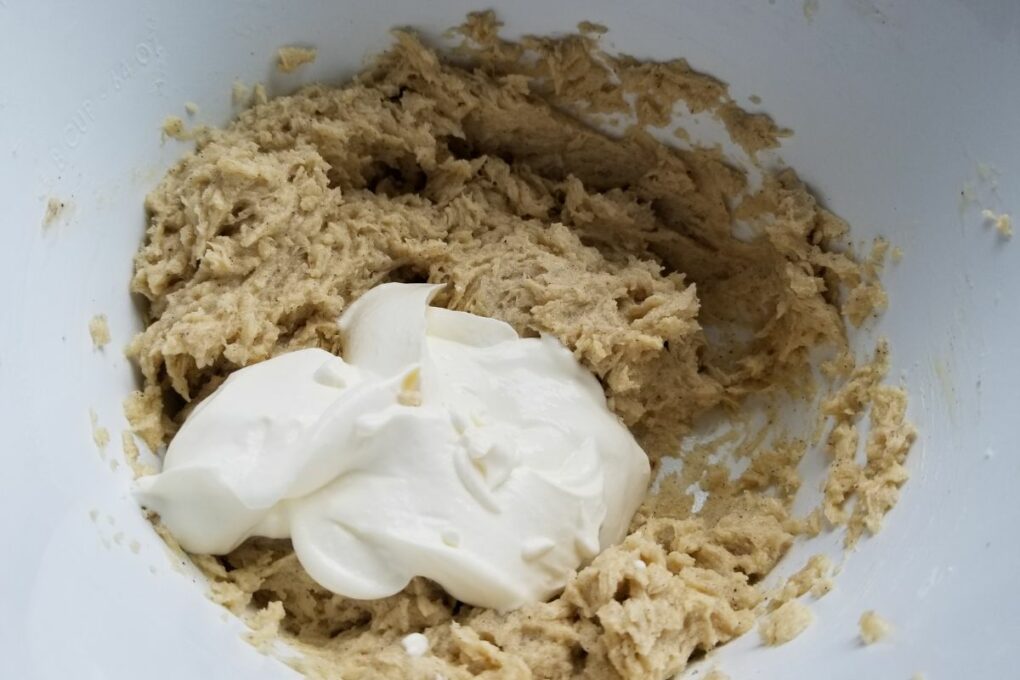
Step 5. Slowly pour in the dry ingredients, scraping down the bowl several times & pausing if needed, until the dry ingredients are just combined— the batter will be very thick, but if you overbeat it, the cake may lose some of its moistness, especially if you're making a gluten free chocolate pound cake.
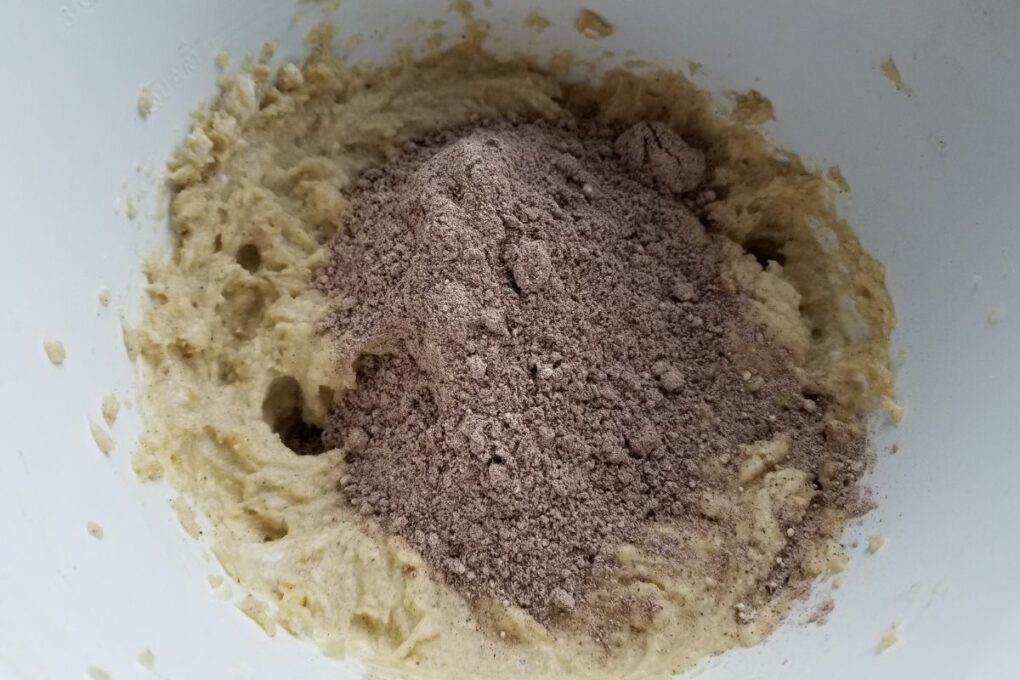
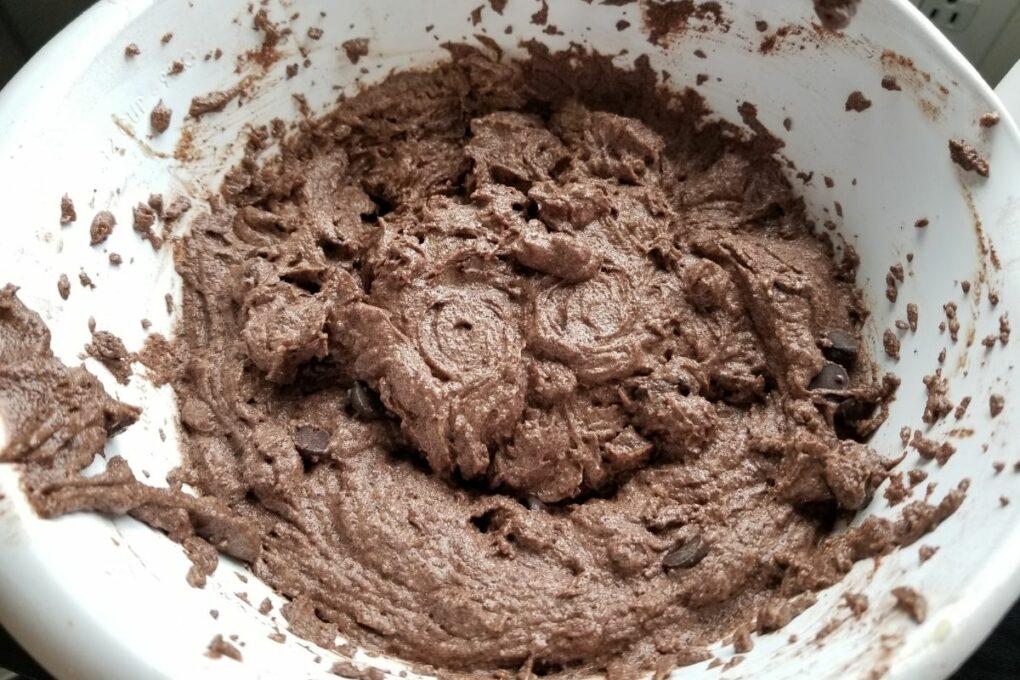
Step 6. Once the dry ingredients are incorporated, pour in the milk and mix until incorporated, then lightly blend or fold in the chocolate chips (if using).
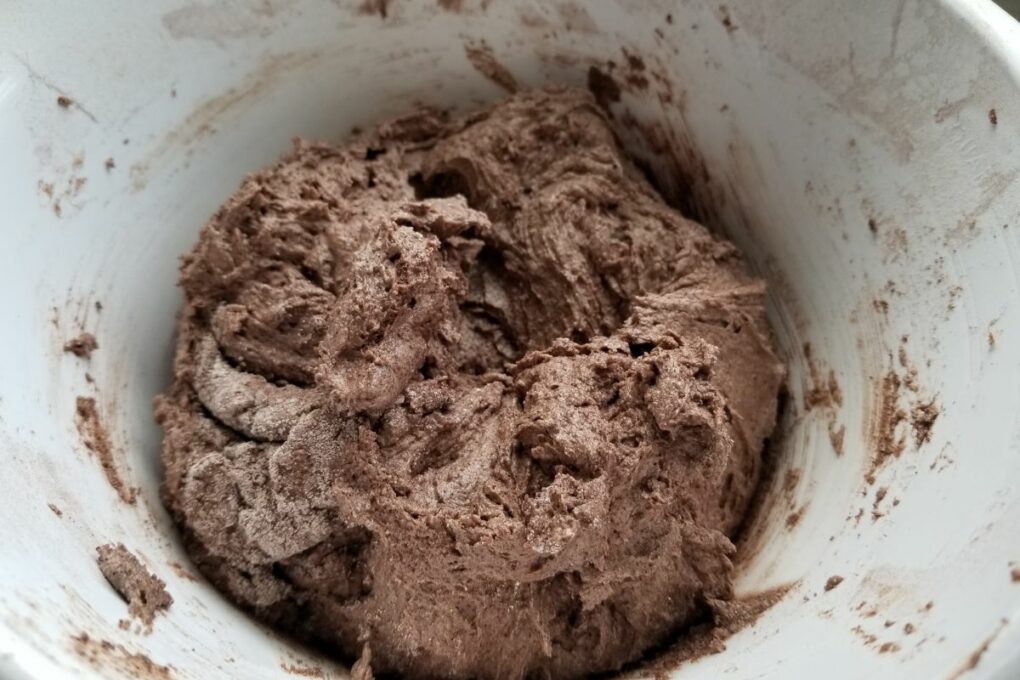
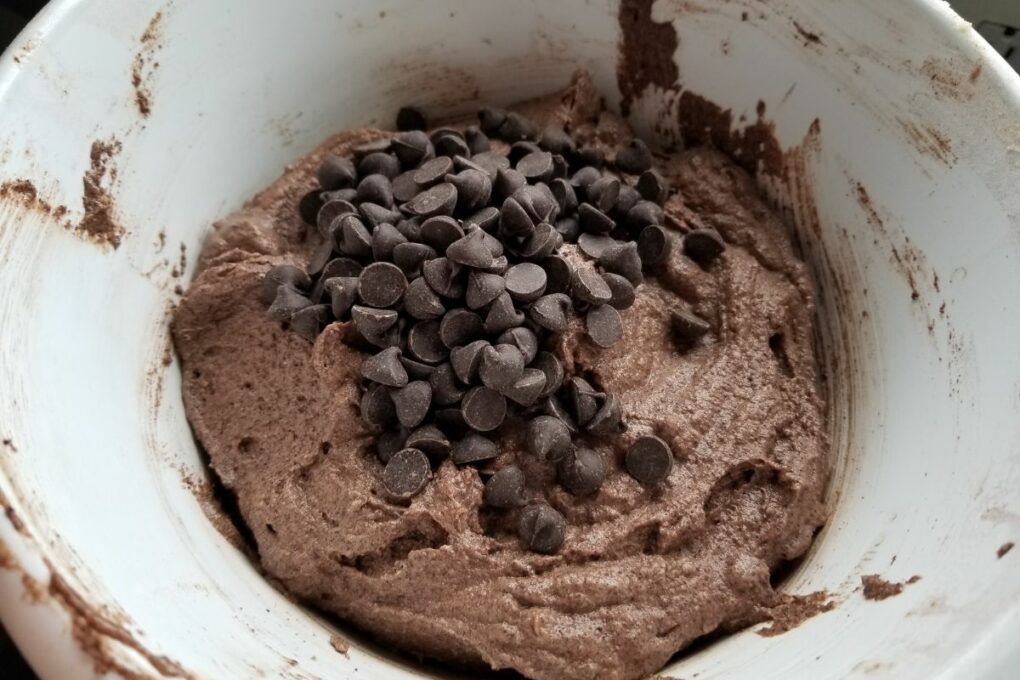
Step 7. Scrape the batter into your pre-floured pan and tap it or shake it to get the batter to settle evenly; you can also use your spatula to lightly push it around the pan, and then put it in your preheated oven for 50 to 60 minutes.
Don't open the oven to start checking it until at least 45 minutes into baking, and remove it from the oven once a knife or toothpick comes out clean. If you're going to make a chocolate glaze, this is a good time to make it; alternately, you can dust your gluten-free sour cream chocolate pound cake with either cocoa powder or confectioner's sugar.
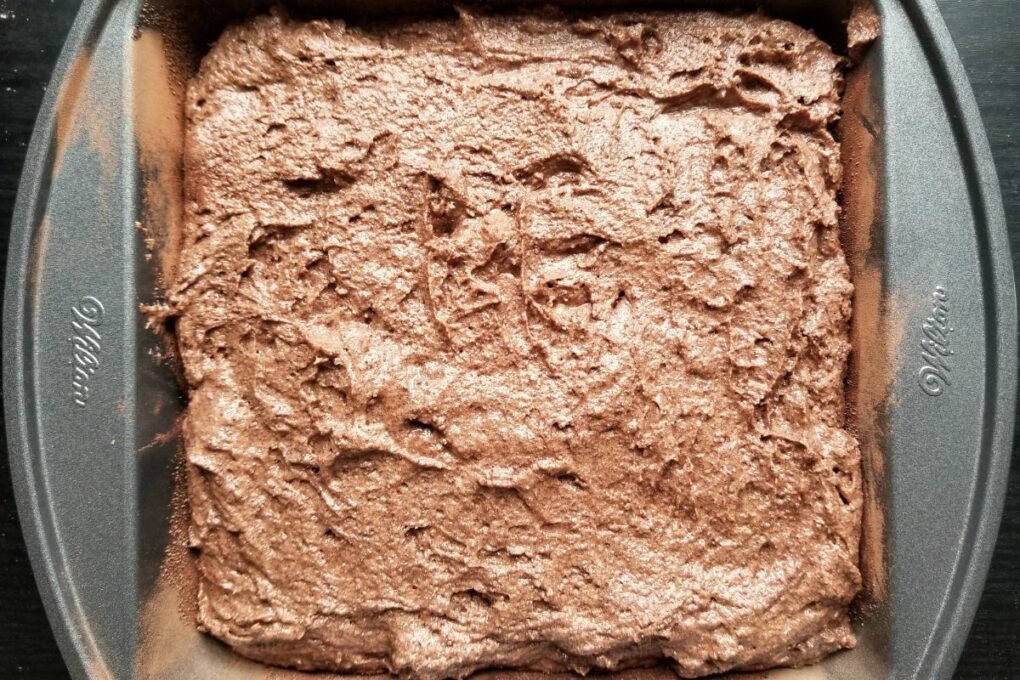
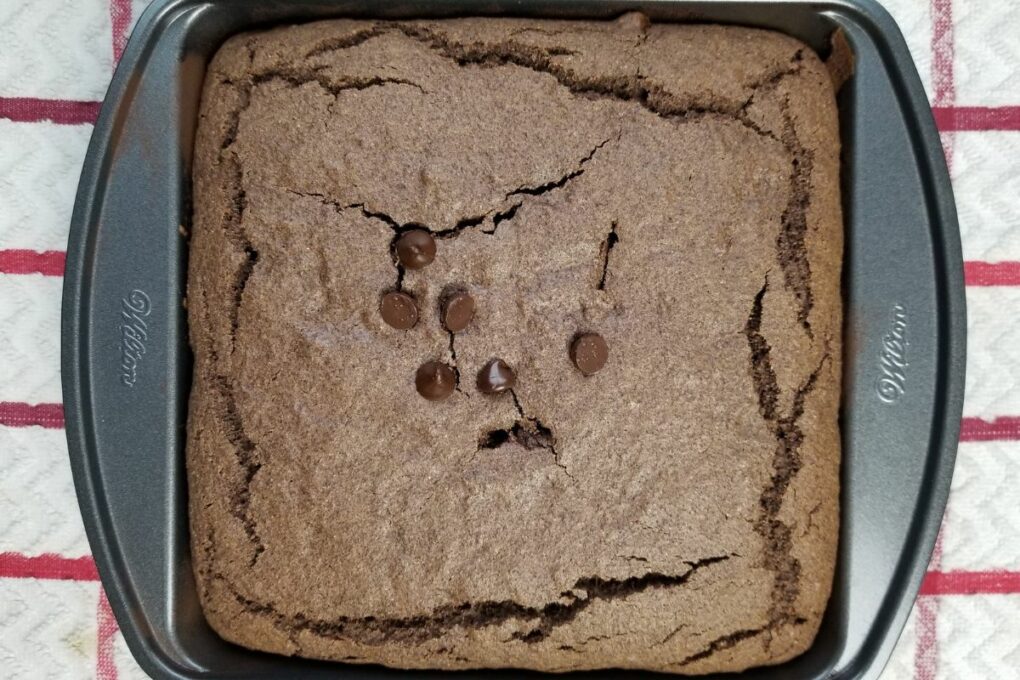
Step 8. To make the glaze, simply put your chocolate and cream in a glass bowl and microwave them on 30% power for 3 to 4 minutes, checking and them every 30 seconds after the first 2 minutes to make sure they don't overheat.


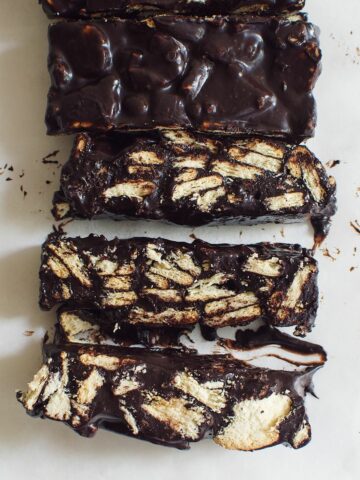
Step 9. Once all the chocolate has melted, let the bowl sit for 2-3 minutes in the microwave so that everything is the same temperature, and then beat until shiny (if you overbeat, the cocoa butter in the chocolate will begin to separate like in the image above, so be careful).

Recipe notes & tips
Make It Gluten-Free: if you use gluten-free flour without a binder, like xanthan gum, you can add 1 teaspoon of xanthan gum directly or use 4 ¼ teaspoons psyllium husk (if using psyllium, then use 1 Tablespoon less flour due to increased volume).
Making the Glaze: you can use milk, dark, or white chocolate to make the glaze for this gluten-free sour cream pound cake, but keep in mind that the sweeter the chocolate you use is, the more cream it may need to become fully liquid. Alternately, you can swap the chips for sugar-free mint chips to make a mint chocolate glaze, or you can make a bit of my hot fudge sauce.
Easy Cake Storage: old-fashioned chocolate sour cream pound cake can be kept for about 5 days in a gallon-sized ziploc bag, or for up to six months in the freezer (freeze the slices with pieces of parchment paper in between for easy serving).
Chocolate Sour Cream Pound Cake Recipe Card
As always, if you like the recipe, I really appreciate a 5-star review or comment!
📖 Recipe

GF Chocolate Sour Cream Pound Cake
Ingredients
- 1 ¾ cups sugar
- ¾ cup unsalted butter room temp
- 2 teaspoons vanilla extract alt. 1 teaspoon vanilla powder
- 1 ¾ cups flour I used gf flour + psyllium husk; see notes
- 1 cup cocoa powder not dutch-processed
- ½ teaspoon sea salt
- ¾ teaspoon baking soda
- 2 large eggs
- ¾ cup milk
- ¾ cup sour cream
- ½ cup chocolate chips
For the Chocolate Glaze:
- 1 cup chocolate chips
- ½ cup heavy cream
Instructions
To Make the Cake
- Preheat the oven to 325°F (160°C), then grease an 8x8' pan with butter and dust it with cocoa powder (or flour) [a 9x9' pan would also work, but your cake will be shorter and flat].
- In a small bowl, whisk together the flour, cocoa powder, salt, and baking soda until well-combined, and set aside. In a large bowl, cream your room temperature butter with the sugar until fluffy, scraping down the sides of the bowl as needed.
- Then add the vanilla extract and eggs one at a time, incorporating each one well before adding the other.
- Add in the sour cream until just combined.
- Slowly pour in the dry ingredients, scraping down the bowl several times & pausing if needed, until the dry ingredients are just combined— the batter will be very thick, but if you overbeat it, the cake may lose some of its moistness, especially if you're making a gluten free chocolate pound cake.
- Once the dry ingredients are incorporated, pour in the milk and mix until incorporated, then lightly blend or fold in the chocolate chips (if using).
- Scrape the batter into your pre-floured pan and tap it or shake it to get the batter to settle evenly; you can also use your spatula to lightly push it around the pan, and then put it in your preheated oven for 50 to 60 minutes. Don't open the oven to start checking it until at least 45 minutes into baking, and remove it from the oven once a knife or toothpick comes out clean. If you're going to make a chocolate glaze, while the cake is baking is a good time to make it; alternately, you can dust your gluten-free sour cream chocolate pound cake with either cocoa powder or confectioner's sugar.
To Make the Glaze
- Simply put your chocolate and cream in a glass bowl and microwave them on 30% power for 3 to 4 minutes, checking and them every 30 seconds after the first 2 minutes to make sure they don't overheat.
- Once all the chocolate has melted, let the bowl sit for 2-3 minutes in the microwave so that everything is the same temperature, and then beat until shiny (if you overbeat, the cocoa butter in the chocolate will begin to separate, so be careful).







Comments
No Comments