


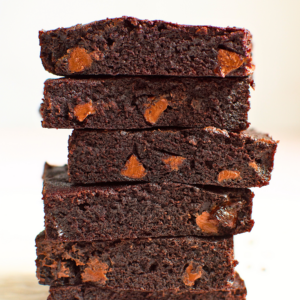

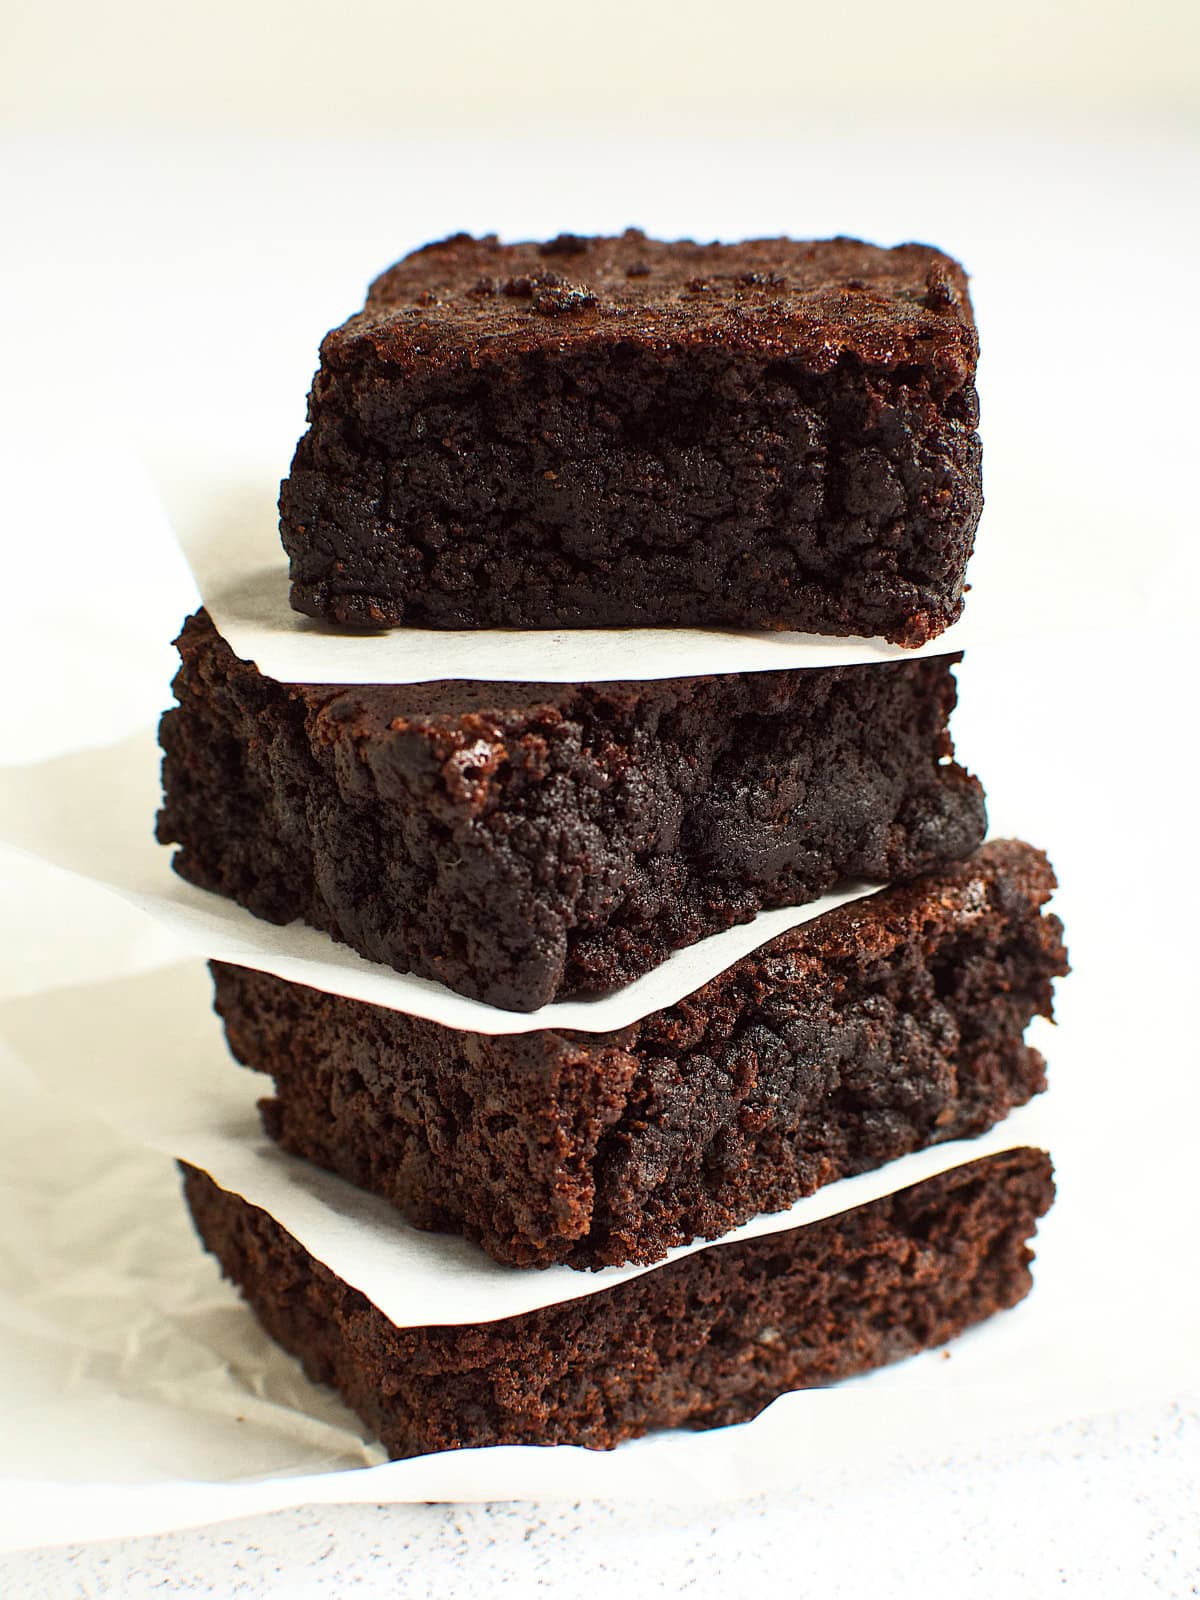
These rich, fudgy Chewy Brownies are the ultimate treat, boasting of a dense and chewy texture that melts in your mouth with every bite. Whether enjoyed warm with a scoop of ice cream or as a sweet snack on their own, these brownies are sure to become a beloved staple in your dessert repertoire!
If you like delicious brownie recipes, try my lazy girl brownies and fudgy brownies.
Jump to:
✔️ Why This Recipe is Great
Kid-Friendly Recipe: I've been making variations of these brownies since I was a kid, and I can confirm that they're so easy even a 10-year-old can do it. Just remember to supervise and help them get it out of the oven; colorful candies are fun to decorate with, but they're also hot enough to burn you fresh from the oven.
Customizable Flavor: while you could make a couple of changes to make these chewy brownies better fit certain dietary restrictions, I find that the most difference is made when using craft cocoa powder. Some other easy swaps include using a flax eggs, and gluten-free flour.
Use Up Cocoa Powder: whether you have natural cocoa powder or dutch cocoa powder, the only difference is that they're processed slightly differently. You can use either one for this chewy brownies recipe and it will be equally delicious!
☕️ Ingredients
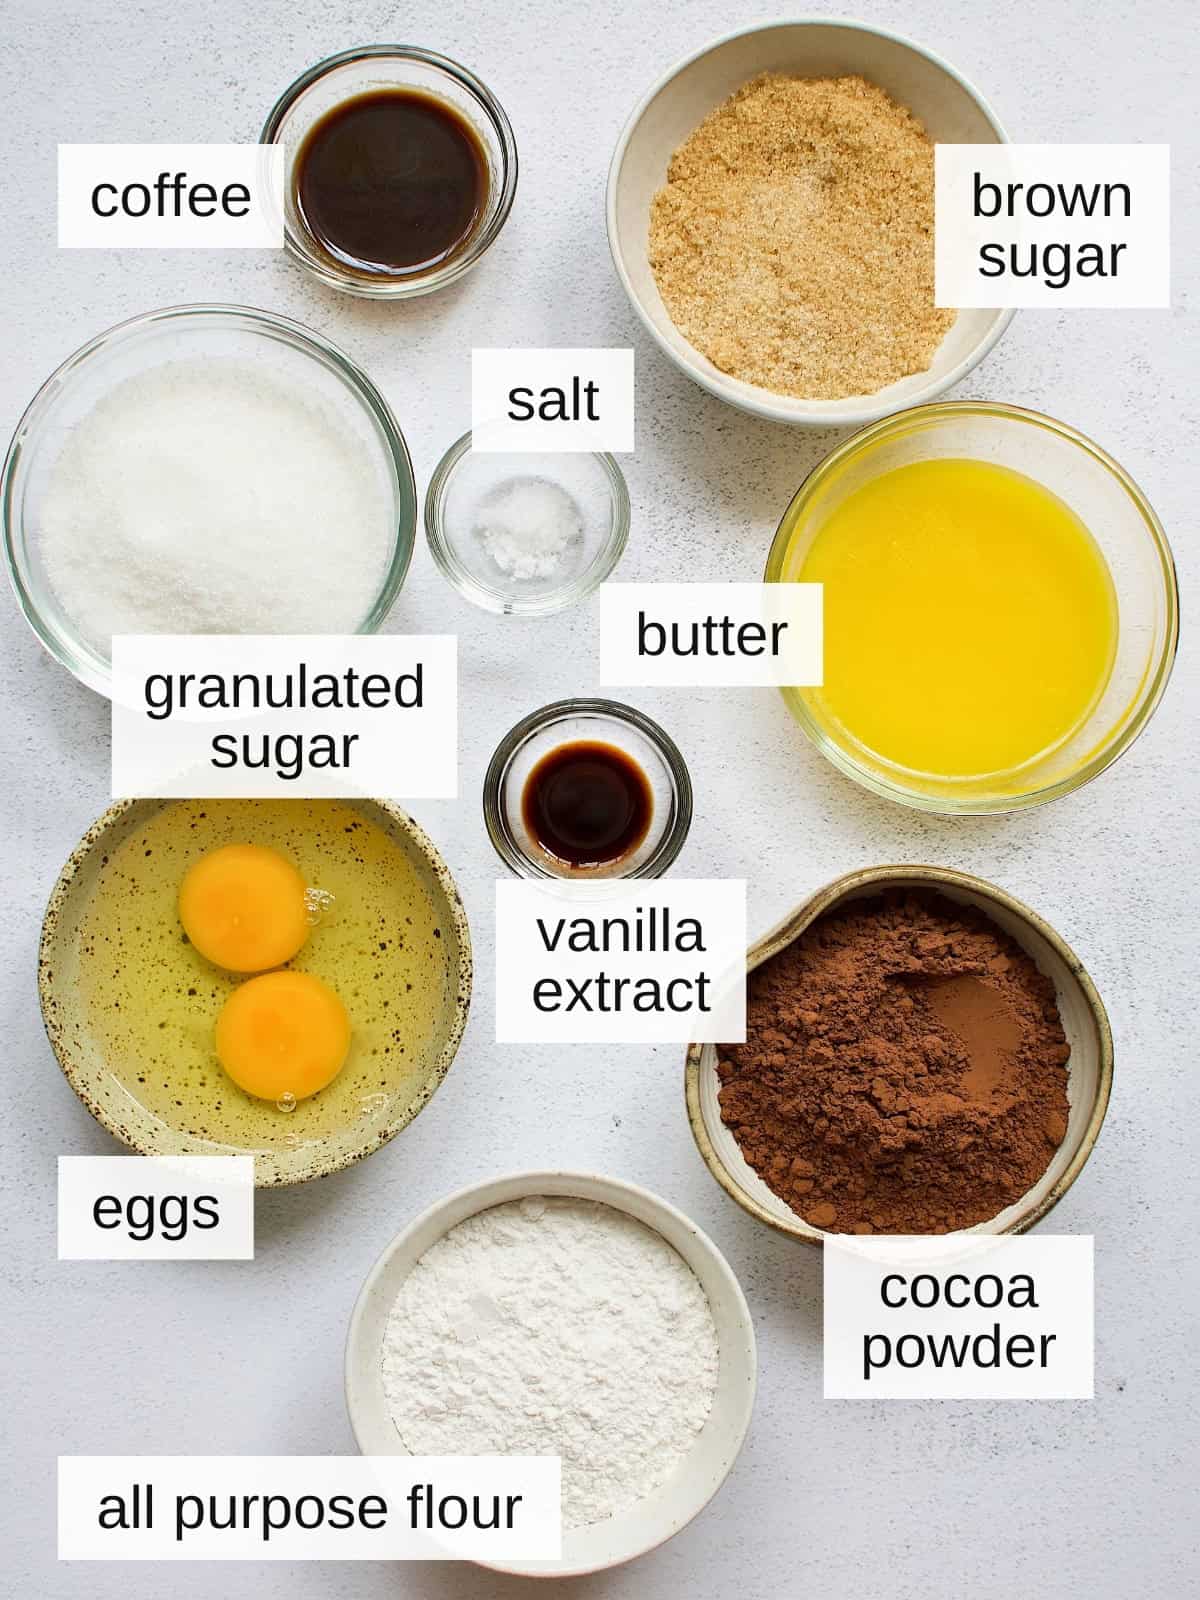
Unsalted Butter: if you use salted butter, you may end up with overly salty brownies - since you need to use melted butter, this is a great time to use those sticks you stored in the freezer.
Brown Sugar: this balances and enhances the flavor of the brewed coffee, while also adding a mild complexity to the brownies' final flavor.
Eggs: it's difficult to find eggless brownies, but there are a few decent substitutes for eggs that would taste good in these brownies - chief among them the greek yogurt and flax or chia egg options.
Vanilla Extract: you can swap this for the same amount of vanilla paste for a richer vanilla flavor and aroma.
All-Purpose Flour: you can swap it for a gluten-free flour blend if necessary, but don't forget about the psyllium husk or xanthan gum.
Cocoa Powder: you can use any type of cocoa powder you’d like, but for a more complex and rich flavor, I recommend using a fine cocoa powder like the one I use from Guittard.
Brewed Coffee: this is optional, but can be swapped for water - I like to add it to every batch of brownies to enhance the chocolate flavor.
See recipe card for exact ingredients and quantities.
🥚 How to Make Chewy Brownies (Step-by-Step)
Step 1) Preheat your oven to 350°F (175°C). Grease an 8x8 inch baking pan or line it with parchment paper (image 1).

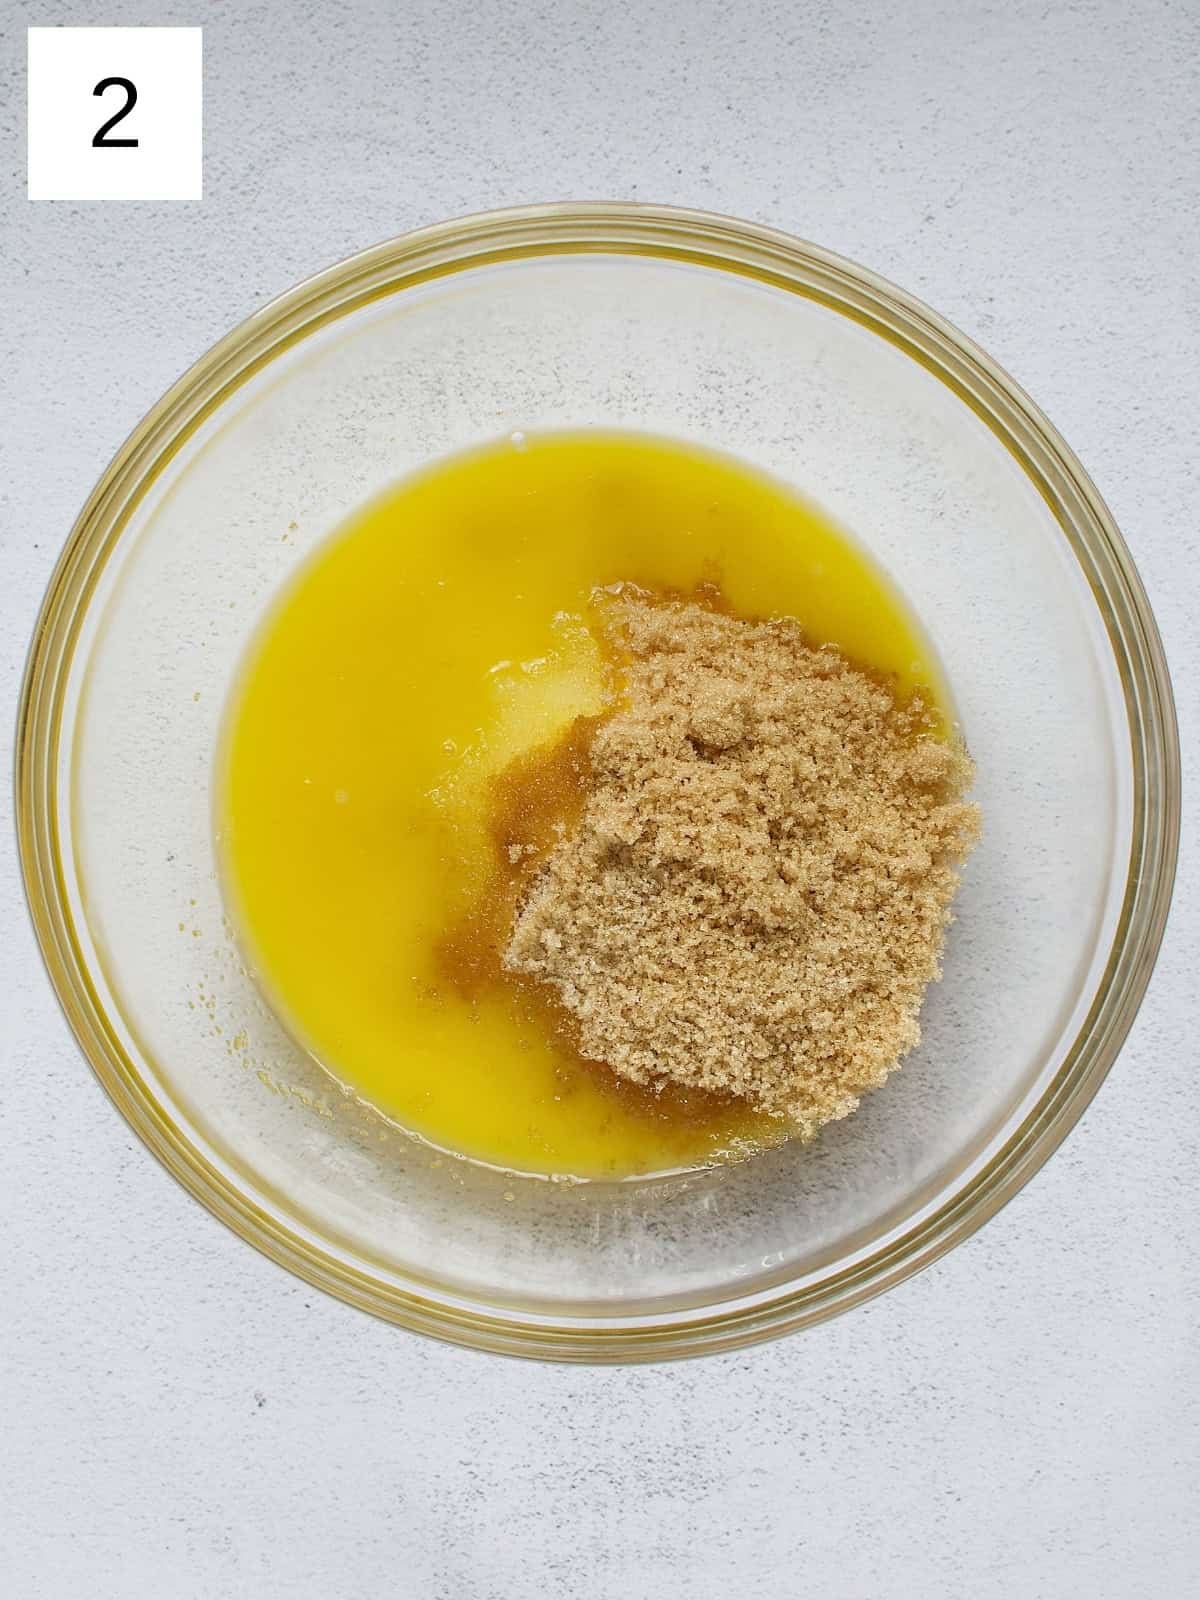
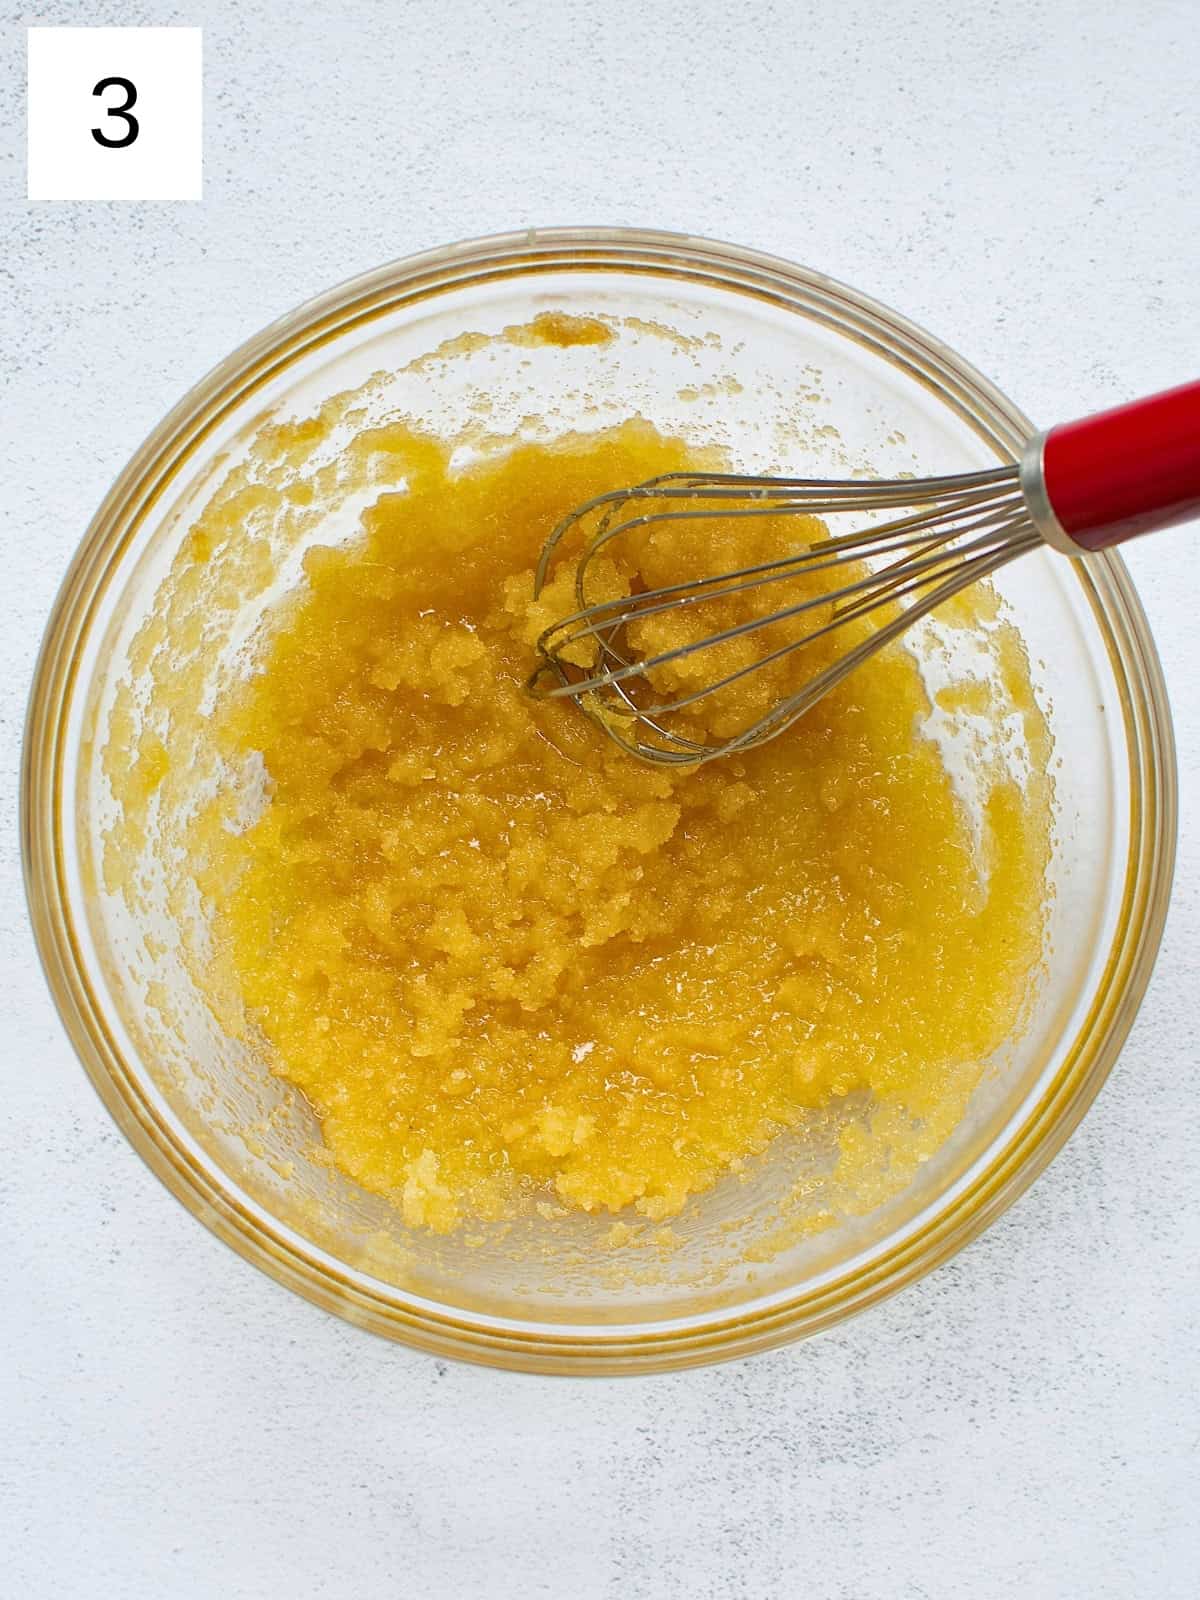
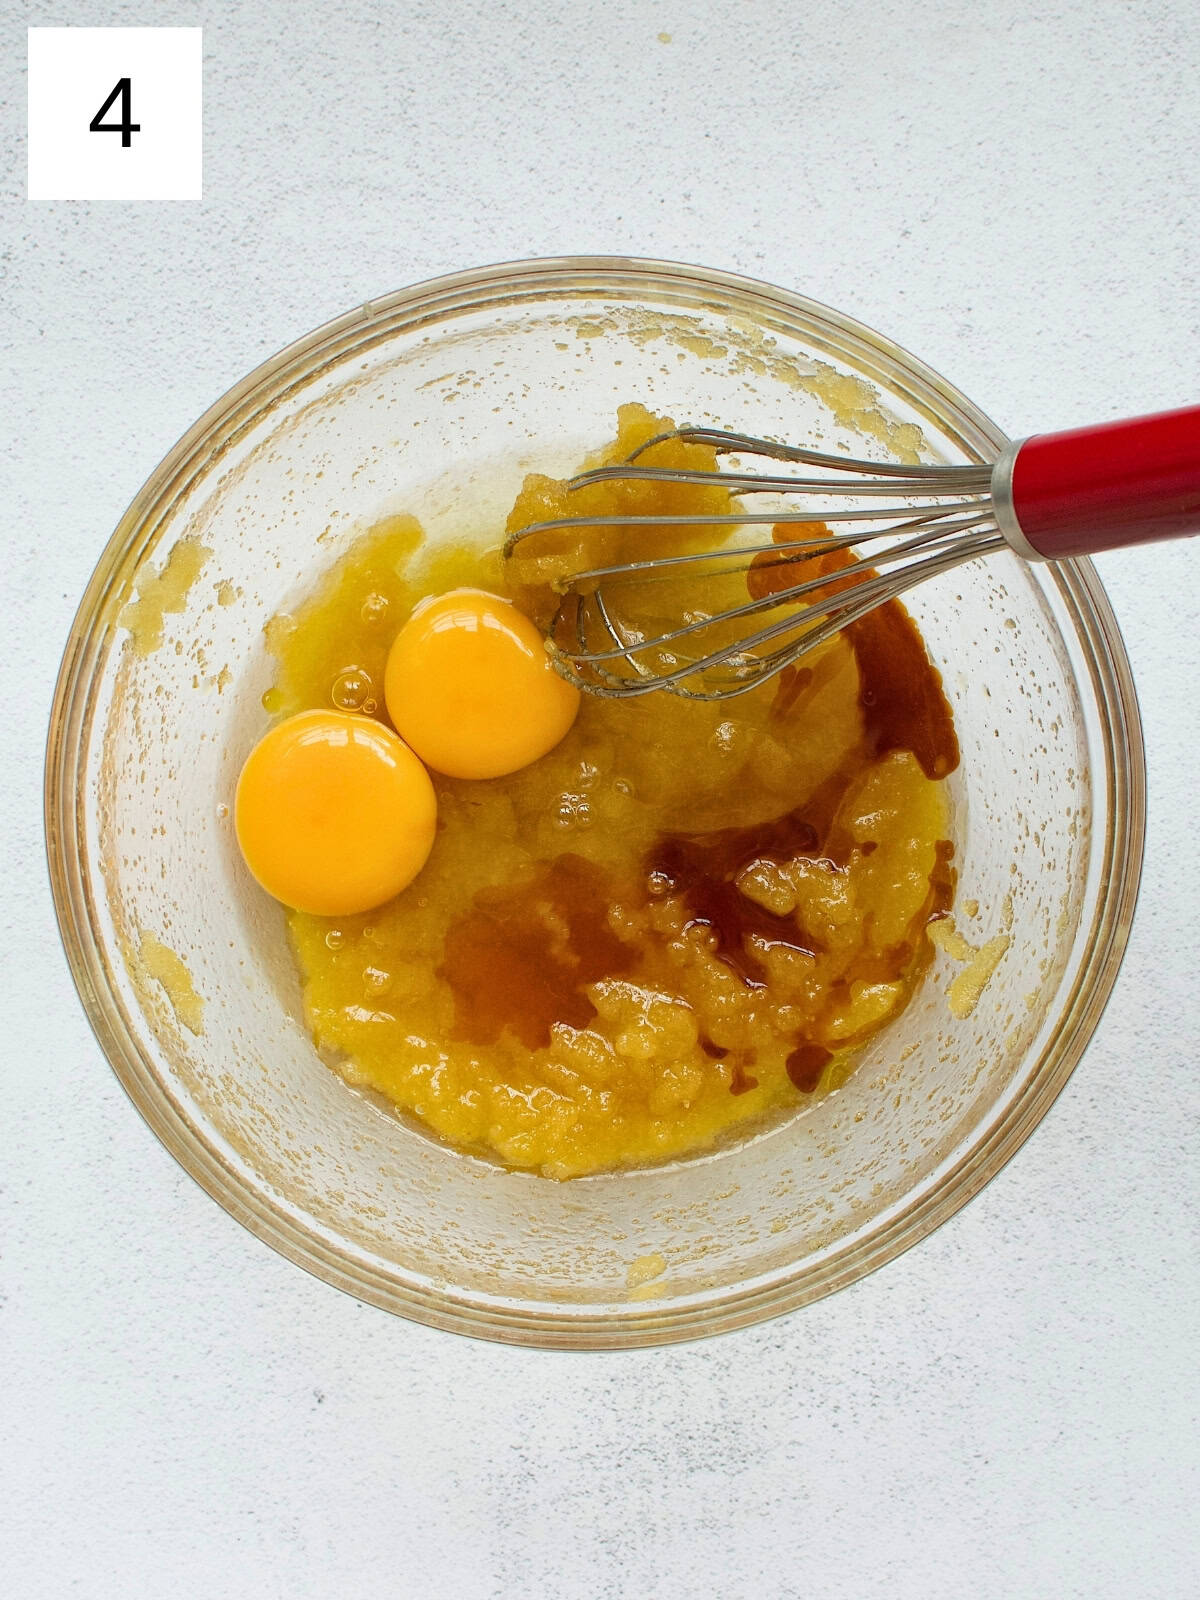
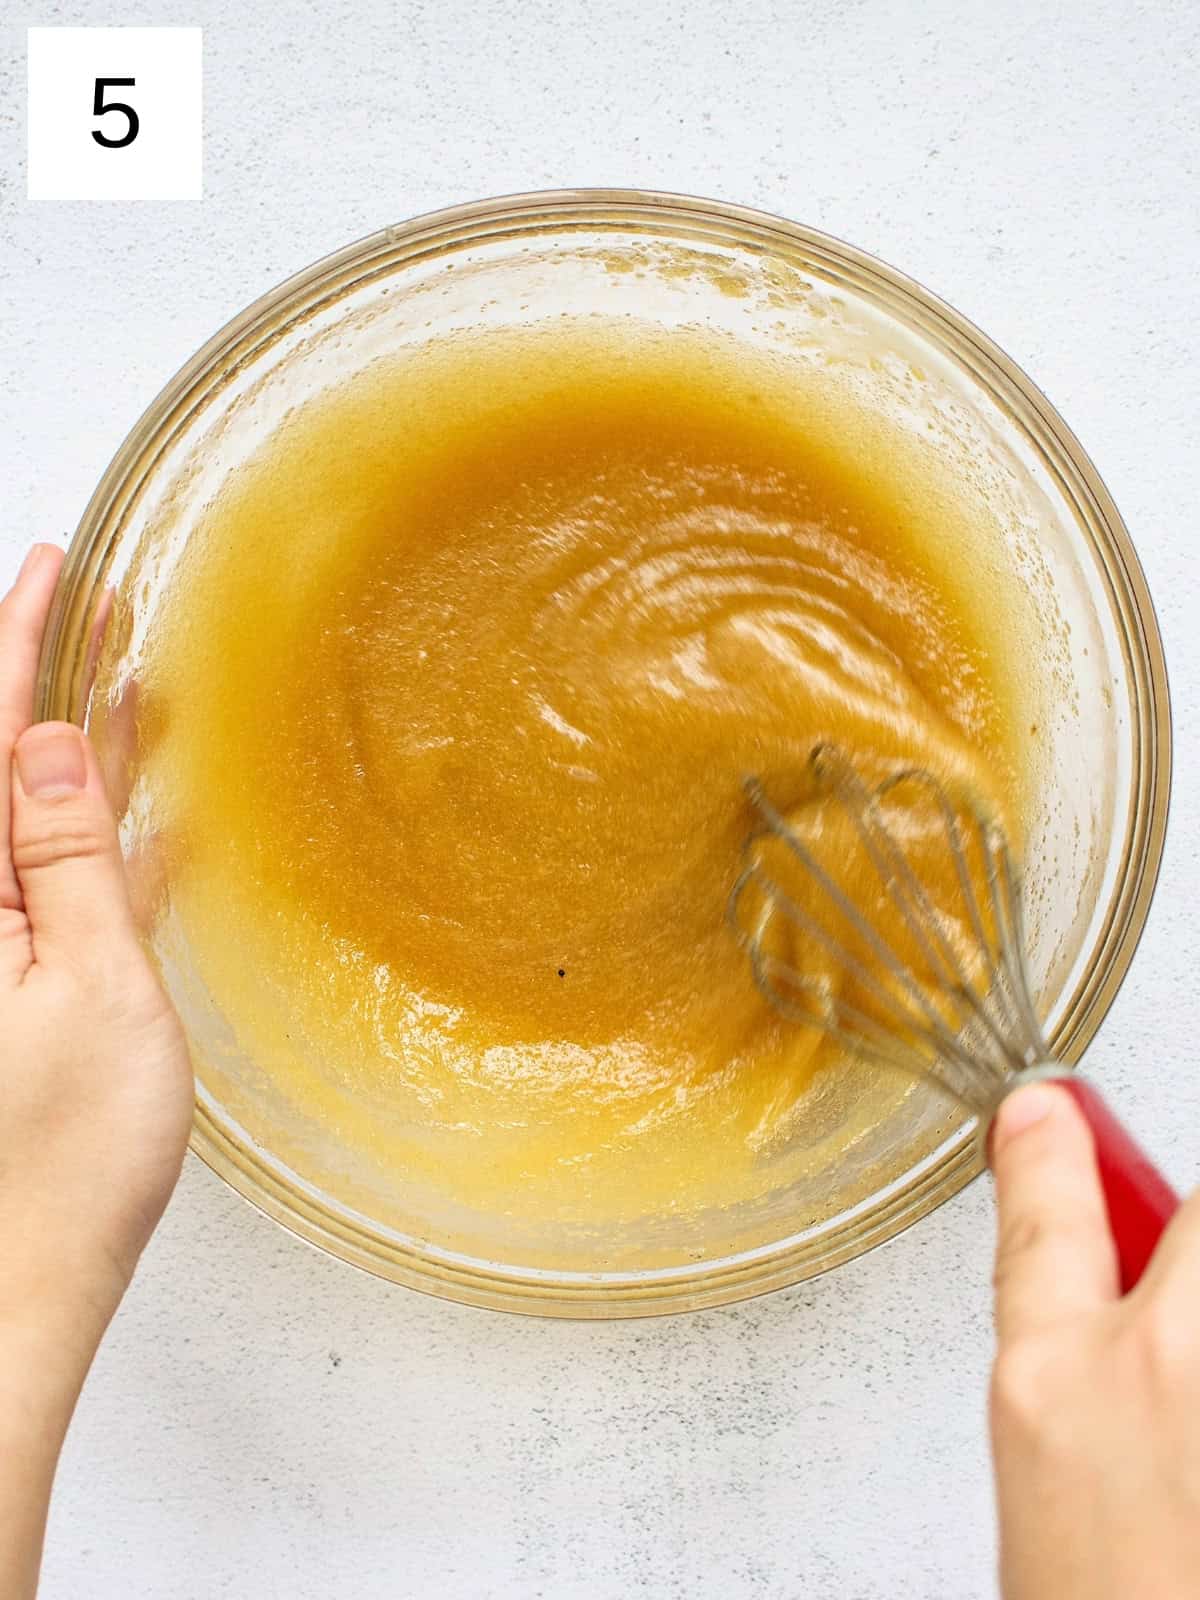
Step 2) In a large bowl, combine the melted butter, granulated sugar, and brown sugar (image 2). Whisk until well combined (image 3). Add the eggs and vanilla extract, and whisk until the mixture is smooth and slightly pale (images 4 & 5).
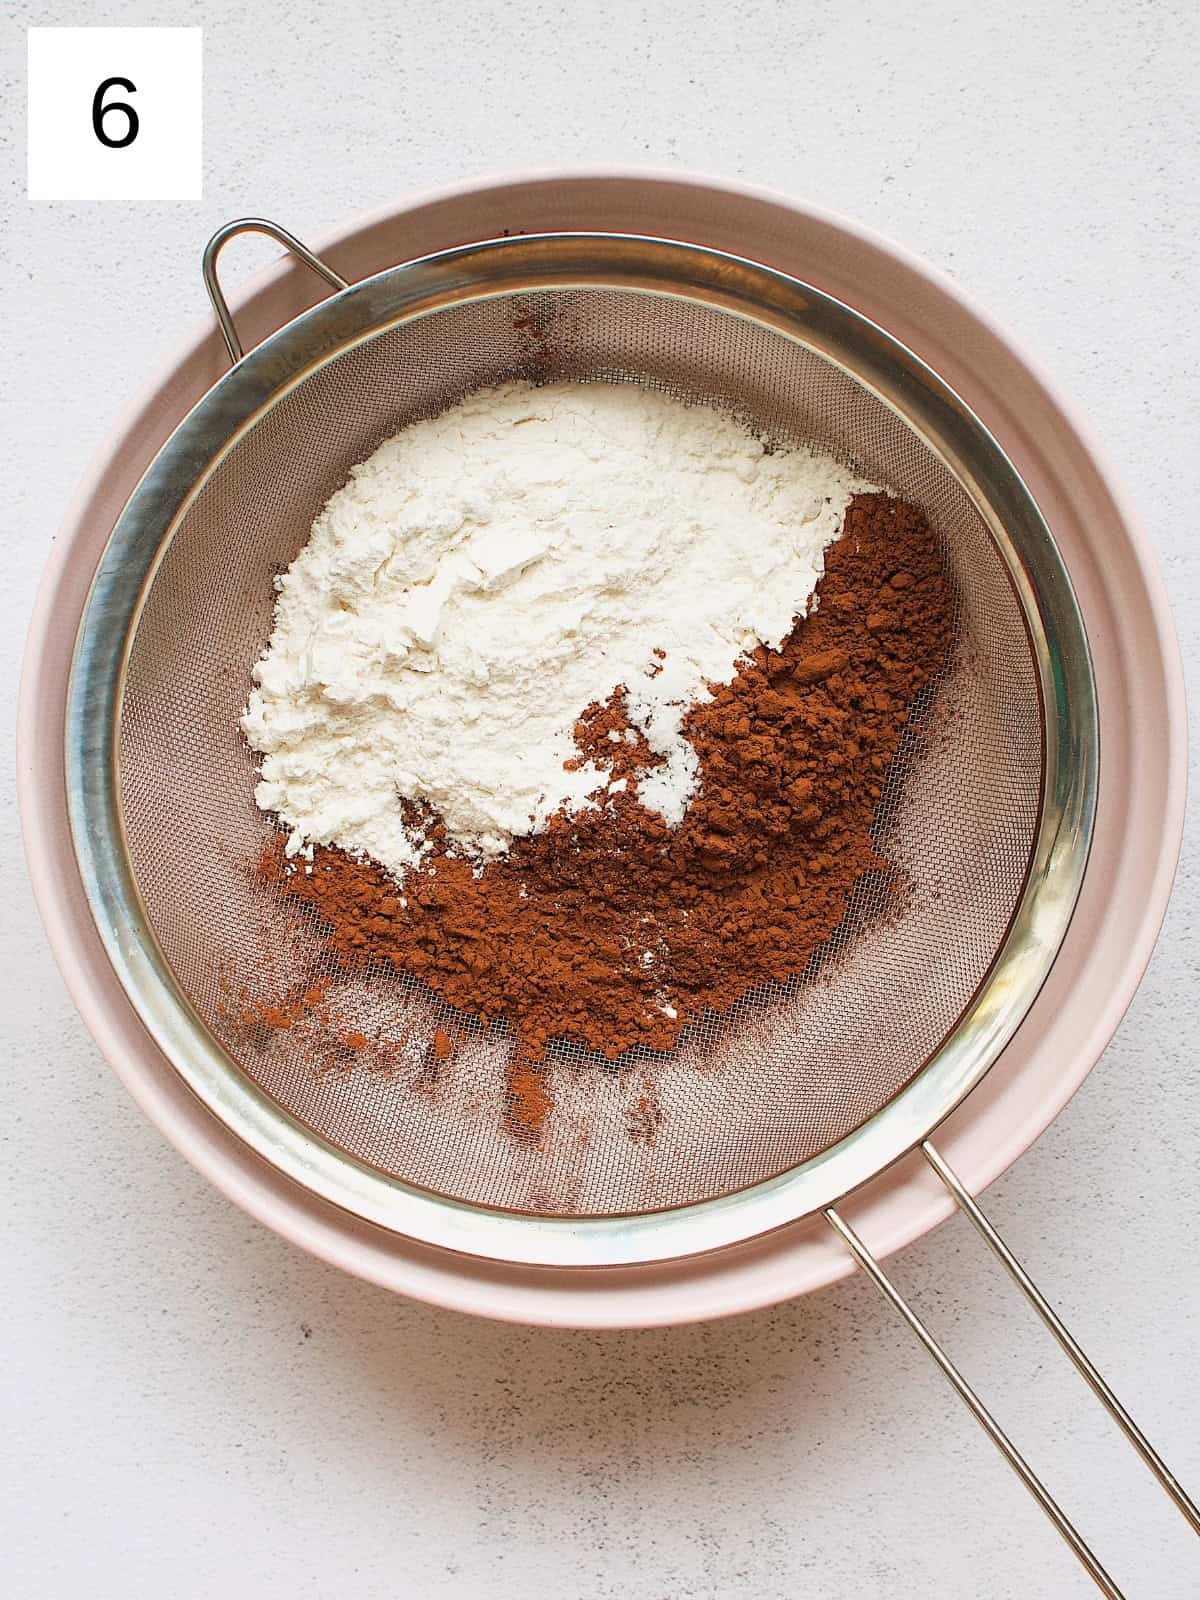
Step 3) In a separate bowl, sift together the all-purpose flour, unsweetened cocoa powder, and salt (image 6).
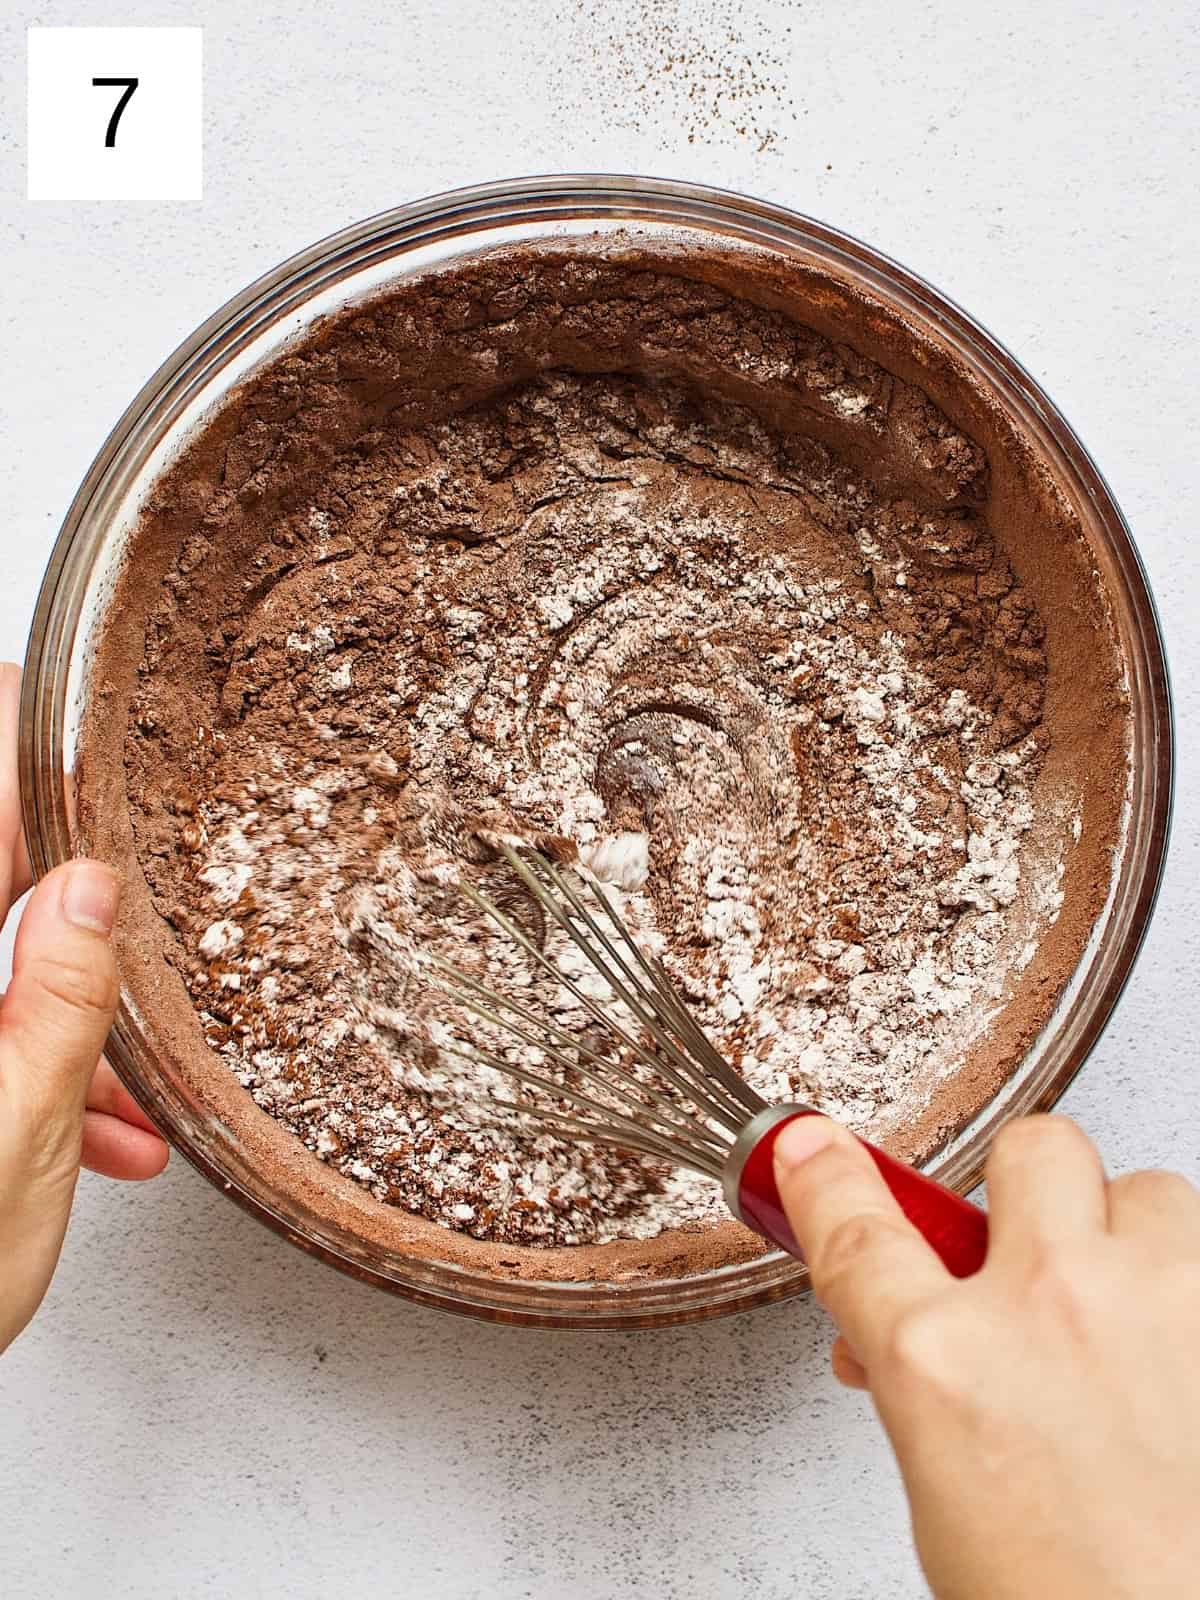
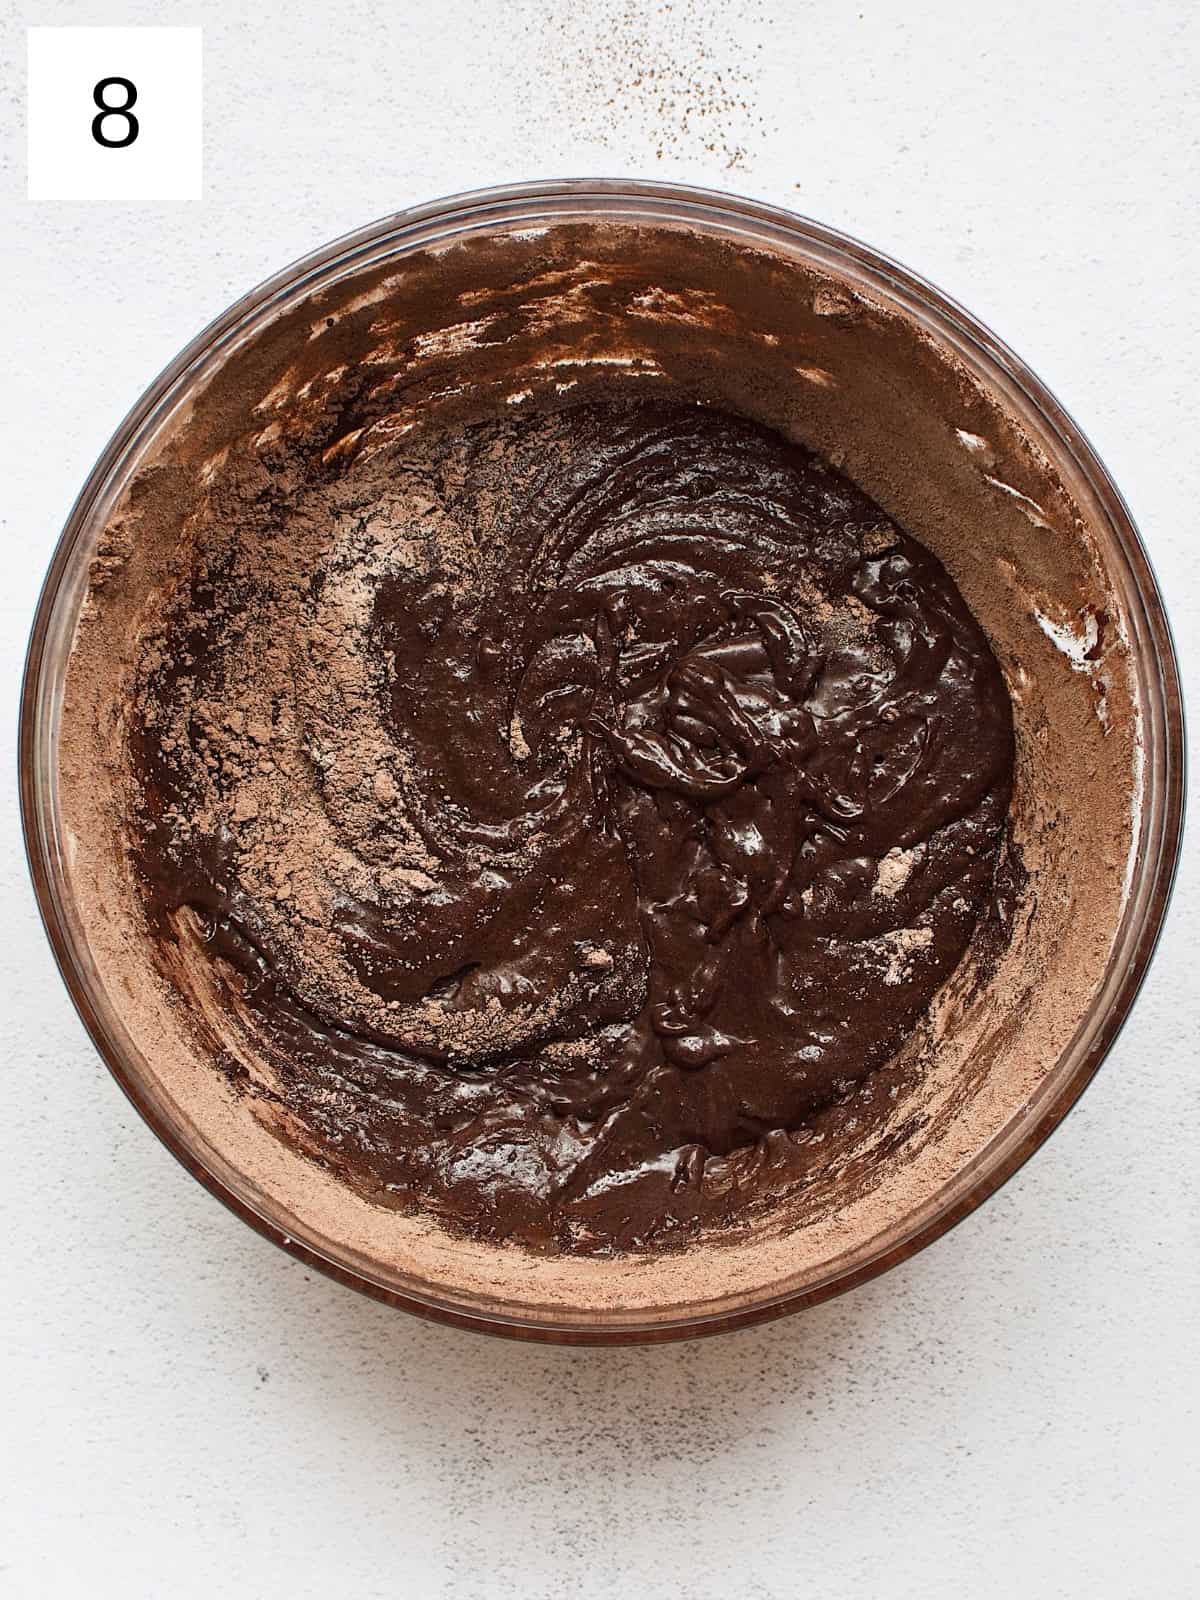
Step 4) Gradually add the dry ingredients to the wet ingredients, mixing until just combined. Be careful not to overmix (image 7 & 8).
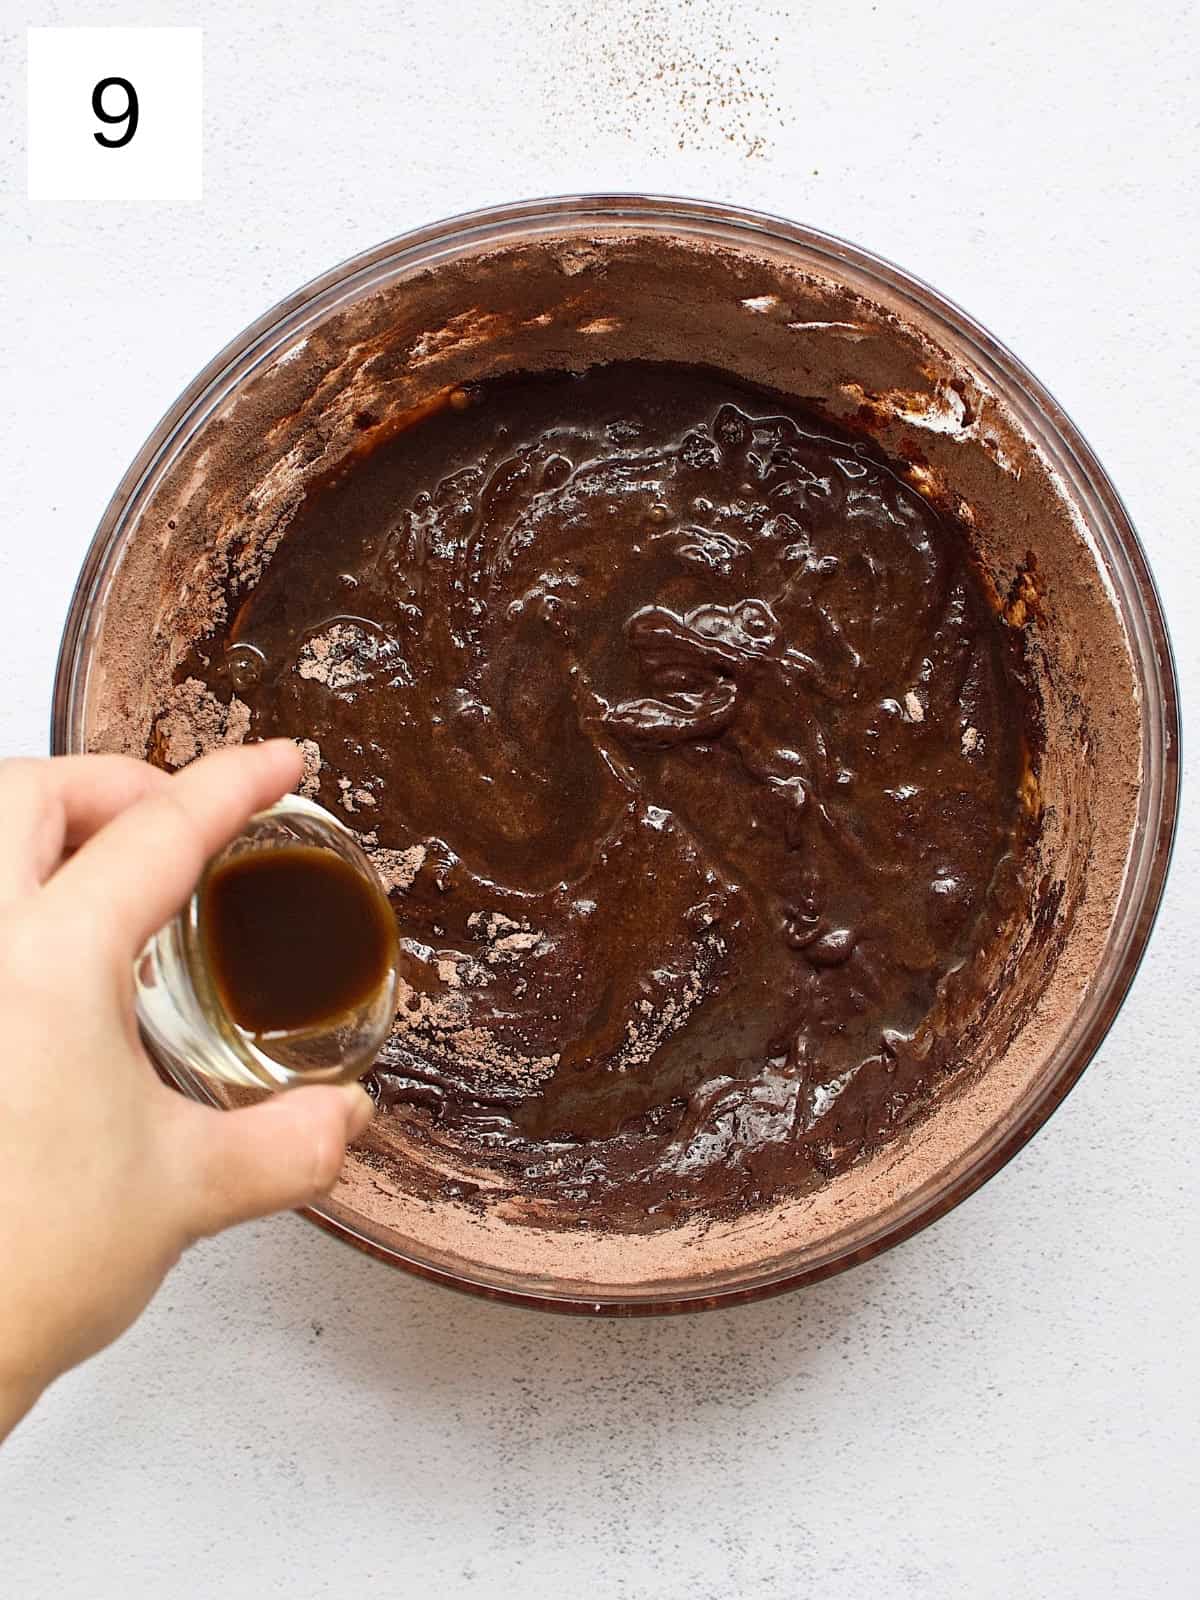
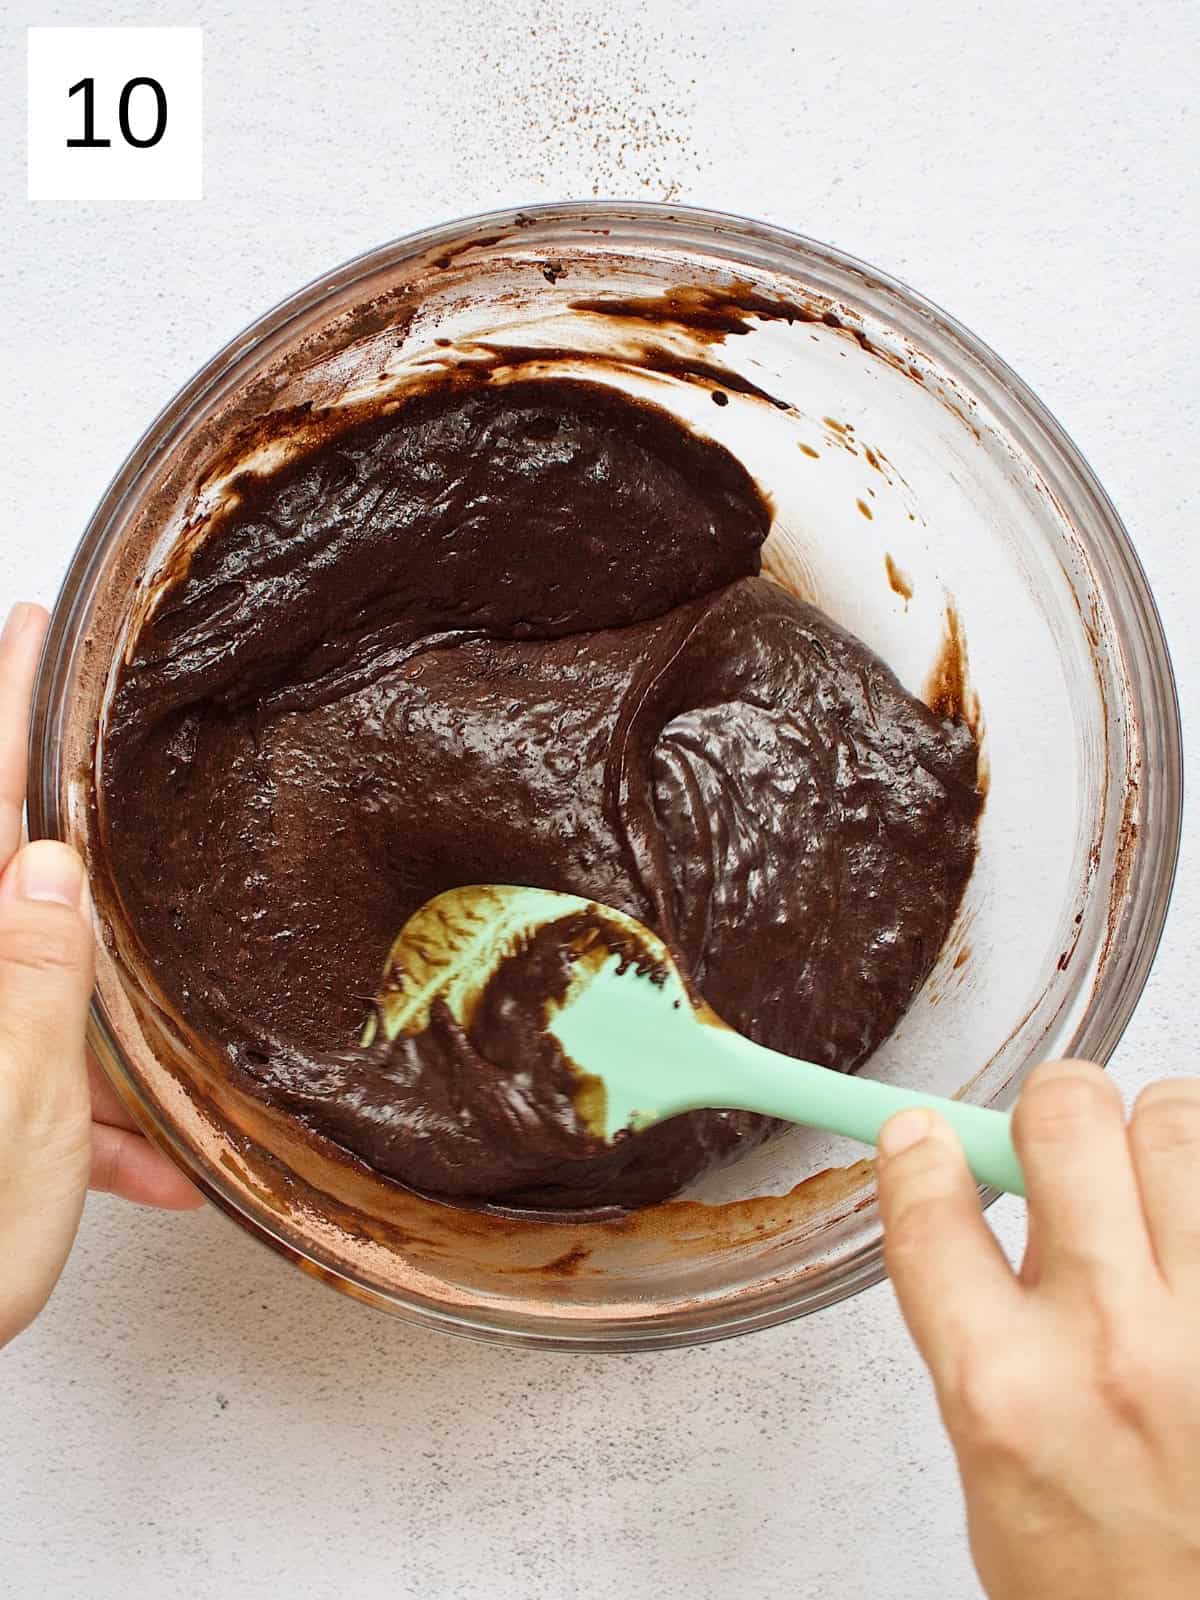
Step 5) Stir in the water or brewed coffee until the batter is smooth and well combined (image 9 & 10).
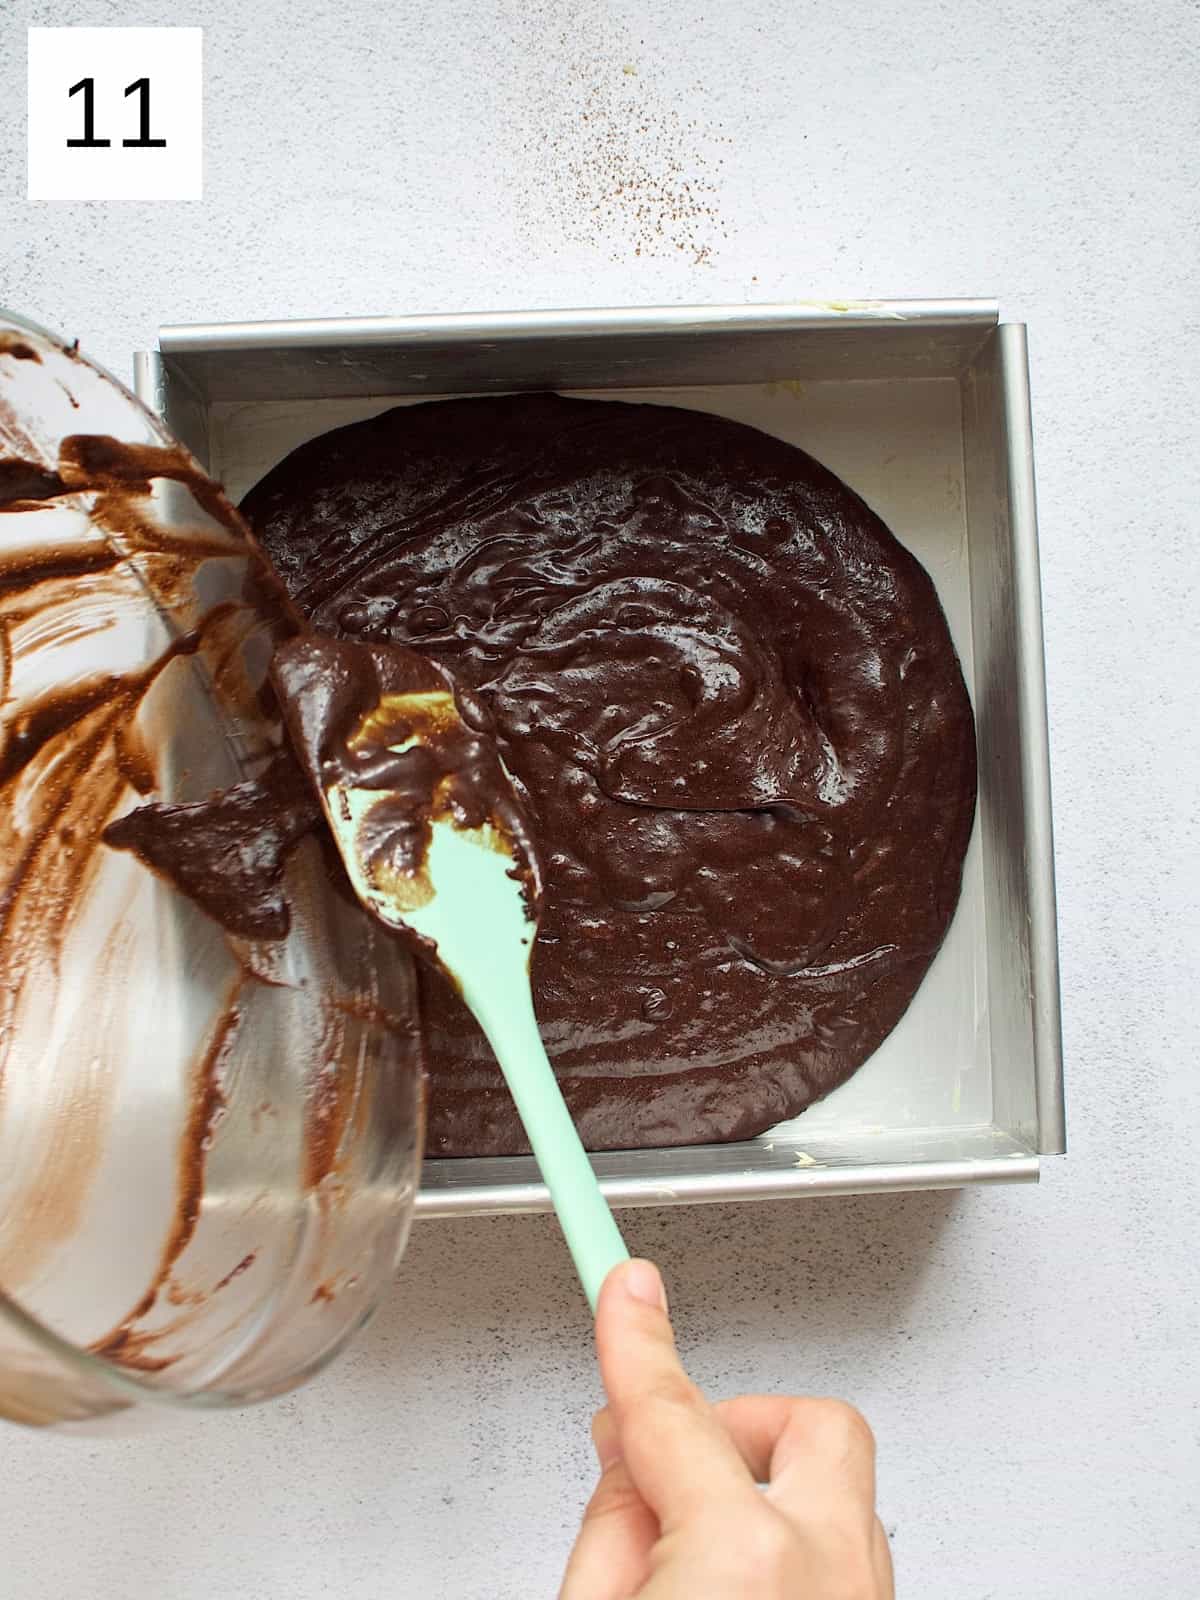
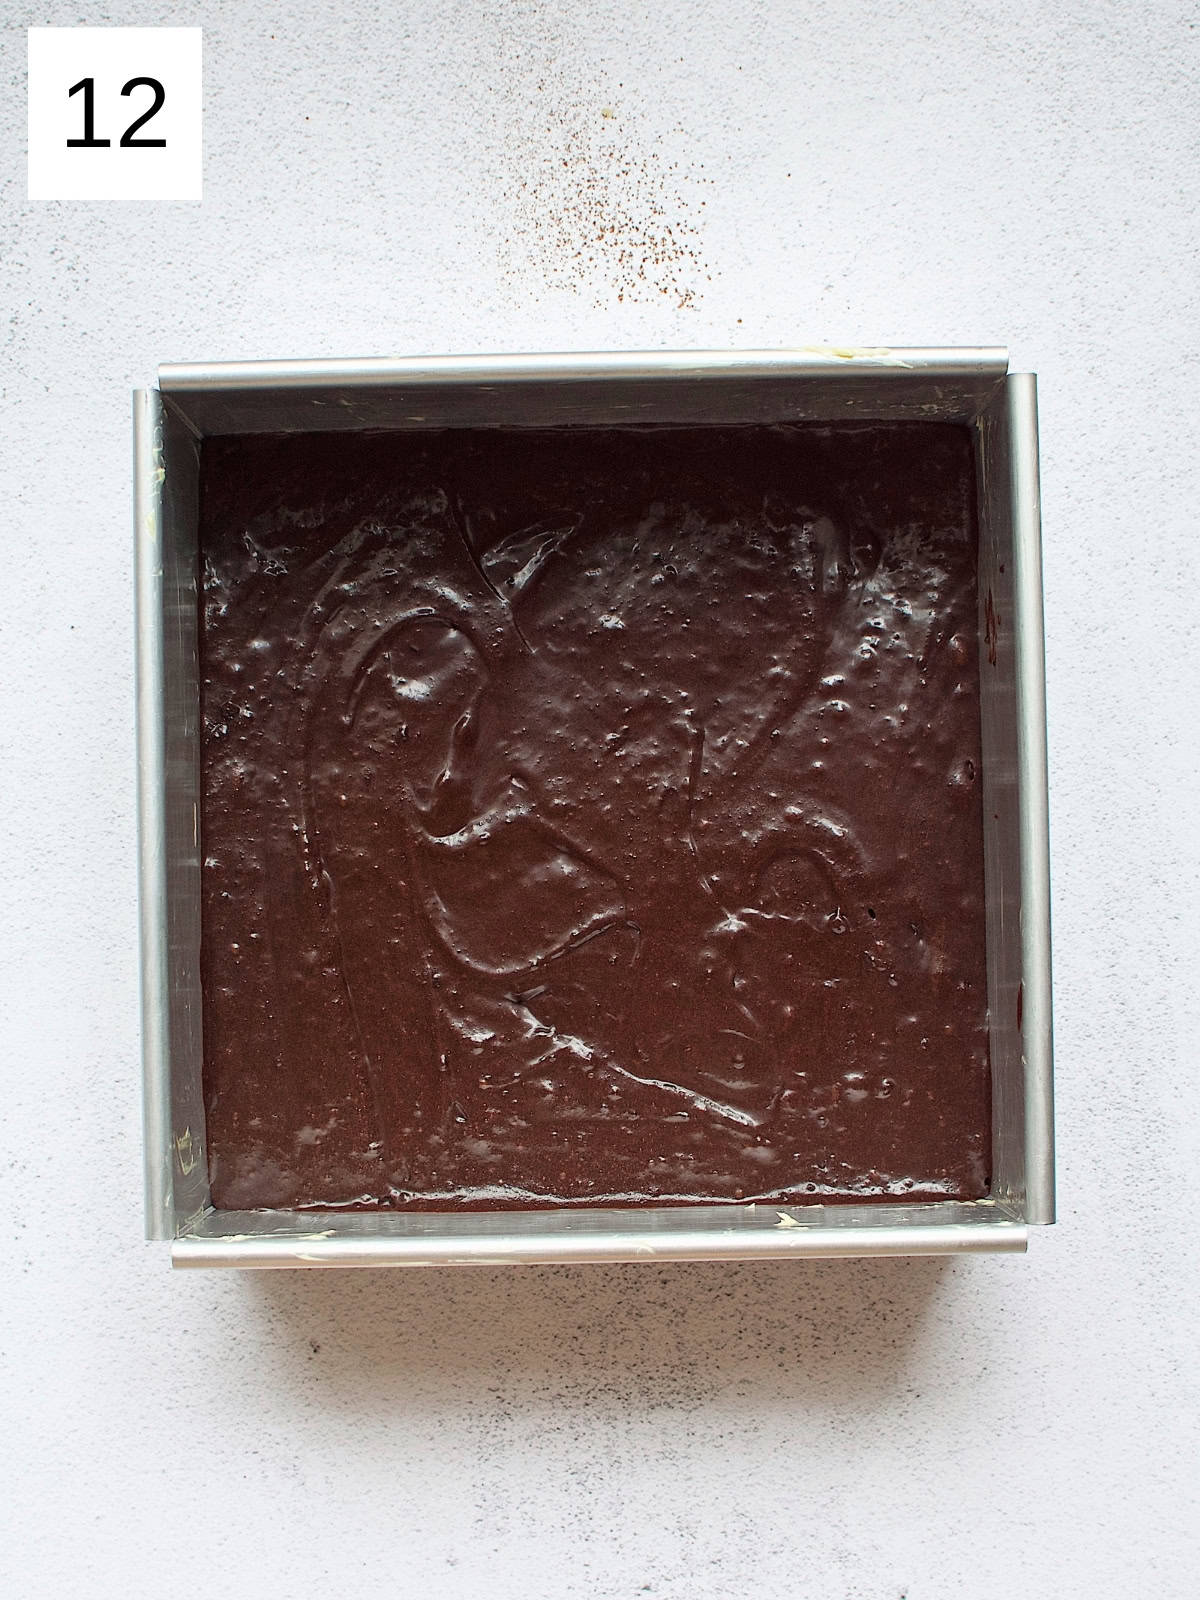
Step 6) Pour the batter into the prepared baking pan and spread it evenly (image 11 & 12). Bake for 25-30 minutes, or until a toothpick inserted into the center comes out with a few moist crumbs.
Important!
Watch out early on, around the 15-minute mark, and start checking if the brownies are good - this brownie should be slightly under for the perfect chewy texture. Mine get a bit crunchy at the edges but the chewiness is definitely still there, especially in the middle section; I even sometimes have a hard time cutting clean slices.
Step 7) Allow the brownies to cool completely in the pan before cutting them into squares. Enjoy!


🌟 Variations
- Nutty Brownies: Add up to ½ cup of chopped nuts, such as walnuts or pecans, for added crunch and flavor.
- Salted Caramel Brownies: Swirl in 14 to ⅓ cup of salted caramel sauce before baking for a rich, gooey treat.
- Peanut Butter Swirl Brownies: Drop spoonfuls of peanut butter into the brownie batter and use a knife to create a marbled effect.
- Mint Chocolate Brownies: Incorporate ½ teaspoon of peppermint extract into the batter and top with a layer of mint chocolate frosting.
- Vegan Brownies: Substitute each egg with ¼ cup of unsweetened applesauce and use a plant-based butter alternative.
- Gluten-Free Brownies: Replace the all-purpose flour with a 1:1 gluten-free flour blend for a gluten-free option.
- Chocolate Chip Brownies: Fold in up to 1 cup of chocolate chips for an extra chocolatey experience.
🎂 Storage and Reheating
These chewy brownies are best enjoyed in the first two days after making them, but they'll keep well in an airtight container at room temperature for up to a week, and stay good in an airtight bag or container in the freezer for up to 6 months.
To reheat from room temperature or the fridge, I recommend serving them warm— 20 seconds in the microwave will do the trick— with a cup of cacao tea or a strong latte. You could also reheat them from frozen in the microwave for about 60 seconds on half power.
👨🏻🍳 Expert Notes & Tips
Butter: Make sure the butter is fully melted to ensure it incorporates smoothly with the sugars.
Mixing: Avoid overmixing the batter once you add the dry ingredients. Overmixing can lead to tougher brownies.
Baking Time: Start checking the brownies at the 15-minute mark, if your oven tends to run hot. You want them to be set on the edges but still slightly gooey in the center for that perfect chewy texture.
Liquid Addition: Adding water or coffee enhances the moisture and intensifies the chocolate flavor. Coffee won't make the brownies taste like coffee but will deepen the chocolate taste.
Cooling: Let the brownies cool completely before cutting to ensure clean slices and the best texture.
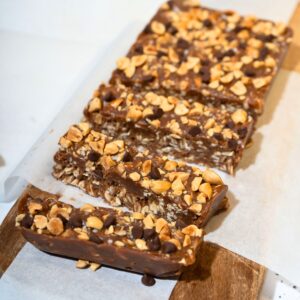
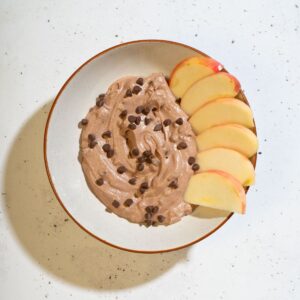
❓ What to Enjoy With Chewy Brownies


🙋 Frequently Asked Questions
Chewy brownies typically have a higher fat-to-flour ratio, which helps create that desired texture. Using melted butter and not overmixing the batter also contribute to chewiness.
Absolutely! Brownies can be made a day or two in advance. Just make sure to store them properly to maintain their freshness.
You can use ¼ cup of unsweetened applesauce, ¼ cup of mashed bananas, or a flaxseed meal mixture (1 tablespoon of flaxseed meal mixed with 2.5 tablespoons of water) as a substitute for a single egg.
If your brownies turn out dry, it may be due to overbaking - make sure to check them a few minutes before the suggested baking time. You can also try serving them with ice cream or a drizzle of sauce to add moisture.
Have you tried this recipe?
If you like the recipe, please leave a 5-star ⭐️⭐️⭐️⭐️⭐️ rating on the recipe card, or even a comment! I love to hear how your recipes turned out, and your feedback can help other readers! Also join us on Instagram, Facebook & Pinterest.
📖 Recipe
Easy Chewy Brownies (in 30 Minutes!)
Equipment
- oven
Ingredients
- ½ cup unsalted butter, melted 115g
- 1 cup granulated sugar 200g
- ½ cup brown sugar, packed 100g
- 2 large eggs
- 1 teaspoon vanilla extract
- ¾ cup all-purpose flour 95g
- ½ cup unsweetened cocoa powder 50g
- ¼ teaspoon salt
- 1 tablespoon water or brewed coffee
Instructions
- Preheat your oven to 350°F (175°C). Grease an 8x8 inch baking pan or line it with parchment paper.
- In a large bowl, combine the melted butter, granulated sugar, and brown sugar. Whisk until well combined. Add the eggs and vanilla extract, and whisk until the mixture is smooth and slightly pale.
- In a separate bowl, sift together the all-purpose flour, unsweetened cocoa powder, and salt.
- Gradually add the dry ingredients to the wet ingredients, mixing until just combined. Be careful not to overmix.
- Stir in the water or brewed coffee until the batter is smooth and well combined.
- Pour the batter into the prepared baking pan and spread it evenly. Bake for 25-30 minutes, or until a toothpick inserted into the center comes out with a few moist crumbs.Watch out early on, around the 15-minute mark, and start checking if the brownies are good - this brownie should be slightly under for the perfect chewy texture. Mine get a bit crunchy at the edges but the chewiness is definitely still there, especially in the middle section; I even sometimes have a hard time cutting clean slices.
- Allow the brownies to cool completely in the pan before cutting them into squares. Enjoy!

Comments
No Comments