


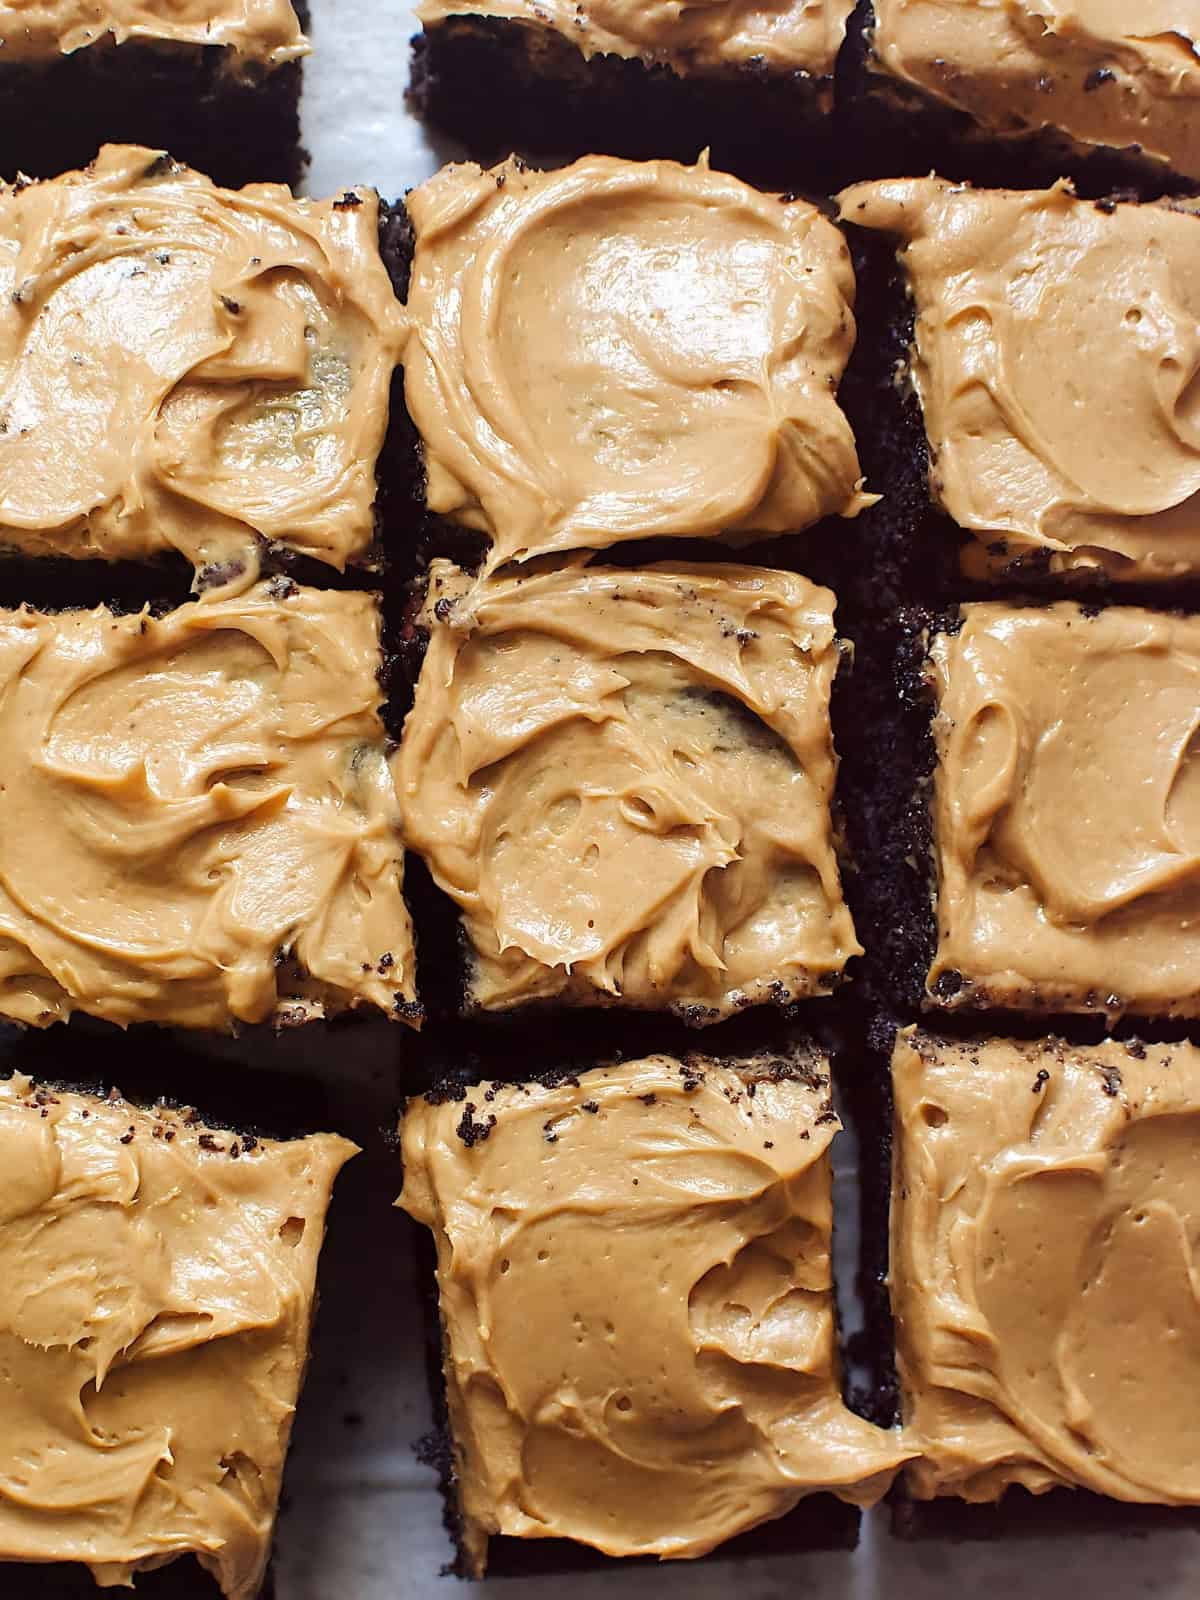
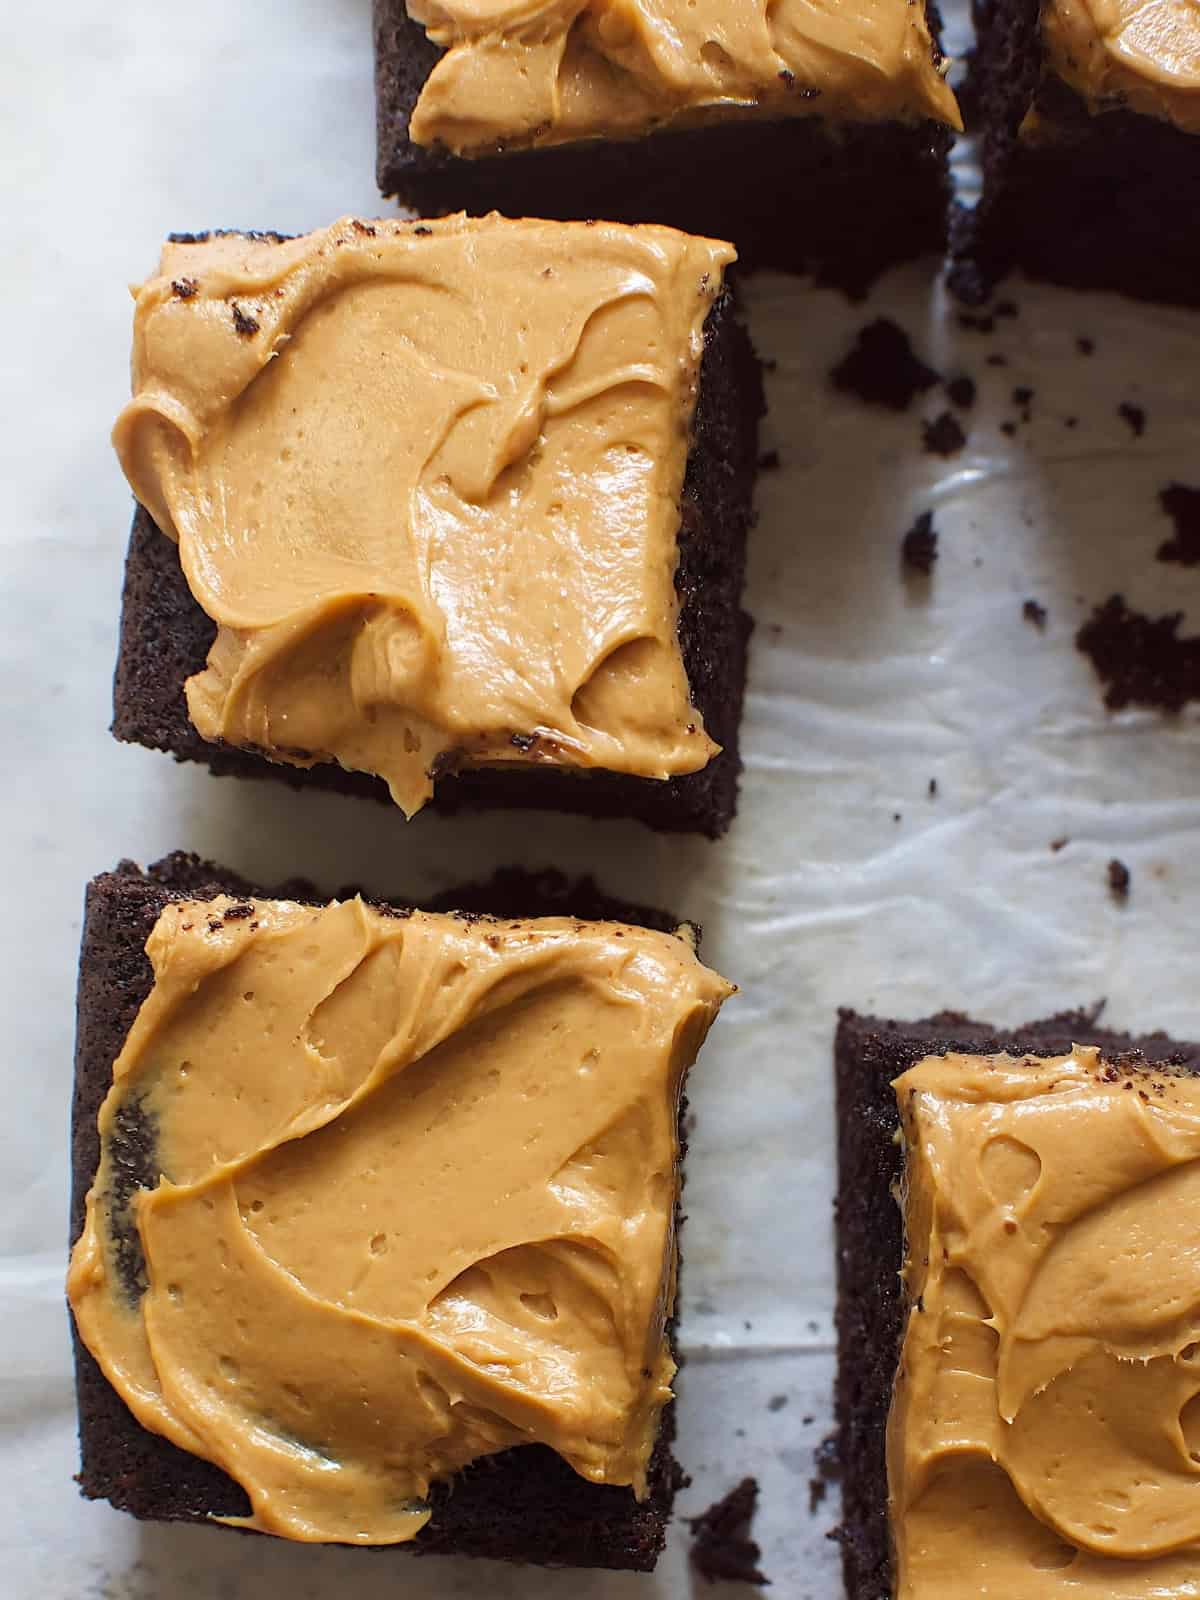
Elevate any dessert with Caramelized White Chocolate Ganache whipped into luxurious and velvety frosting or cake filling. It adds a touch of sophistication to cakes, cupcakes, or cookies, giving the rich flavors of caramelized white chocolate a light, airy texture.
If you like recipes that use caramelized white chocolate, try it in my gianduja spread and brigadeiros.
Jump to:
⭐ Why This Recipe is Great
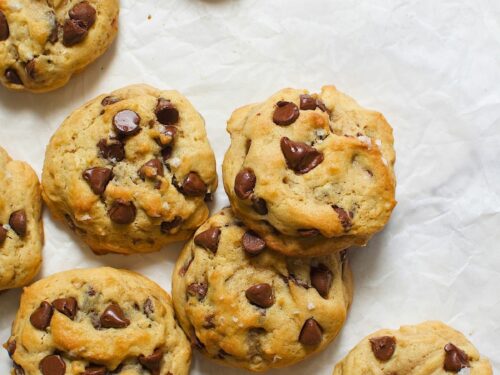
Super Easy: this two-ingredient frosting recipe is incredibly straightforward, and takes just about 10 minutes of melting and then whipping to make your favorite chocolate into a topping for cakes & cupcakes.
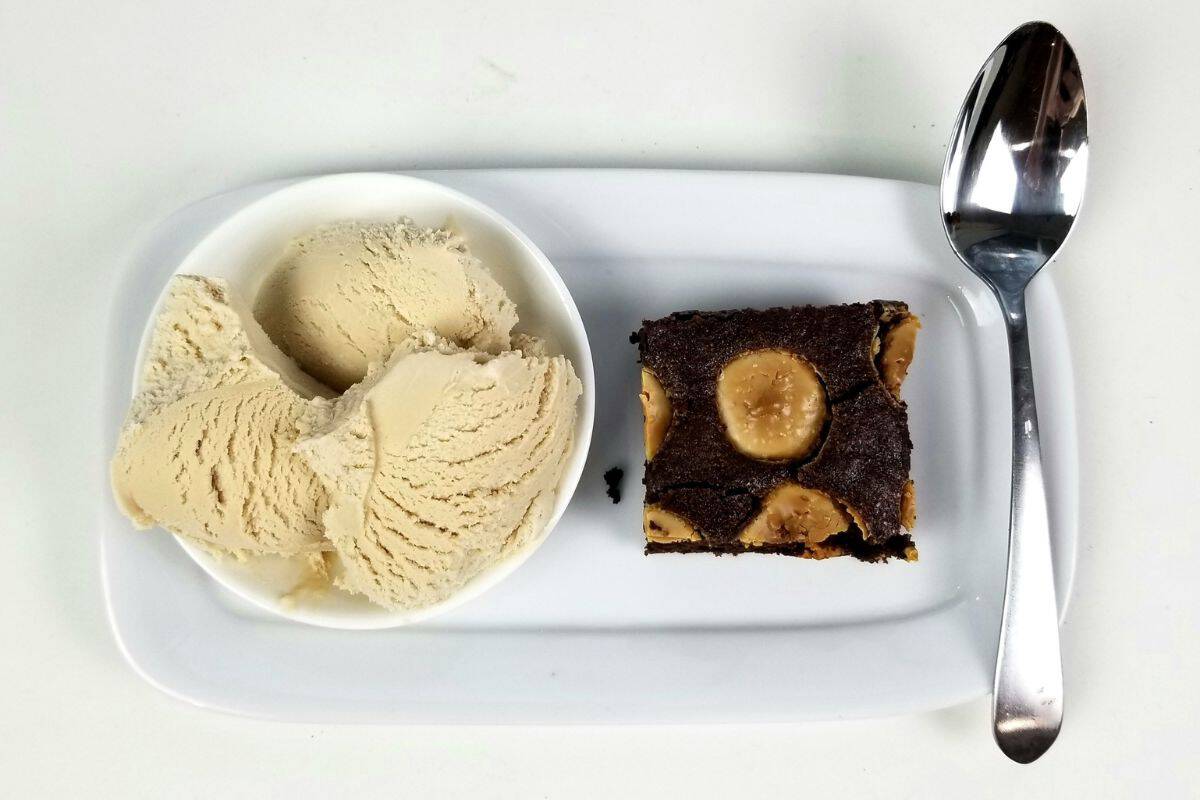
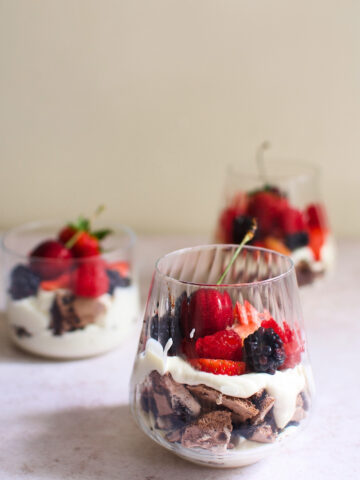
Batching-Friendly: this is a very easy recipe to make in a large batch and make up to a week or two ahead to keep in the fridge or pantry for snacking or using on baked goods, like my chocolate Eton Mess.
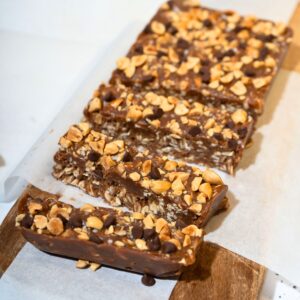
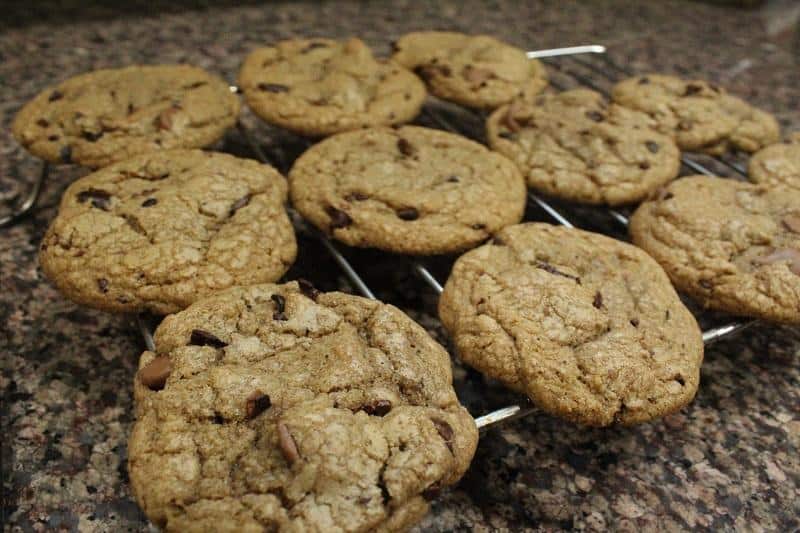
Luxury Dessert Boards: this upgraded white chocolate is an ideal addition to add a toasted cookie, graham cracker flavor to dessert boards and cookie bars, as its understated sweetness is versatile enough to be paired with savory ingredients like nuts and aged cheeses.
🍫 Ingredients
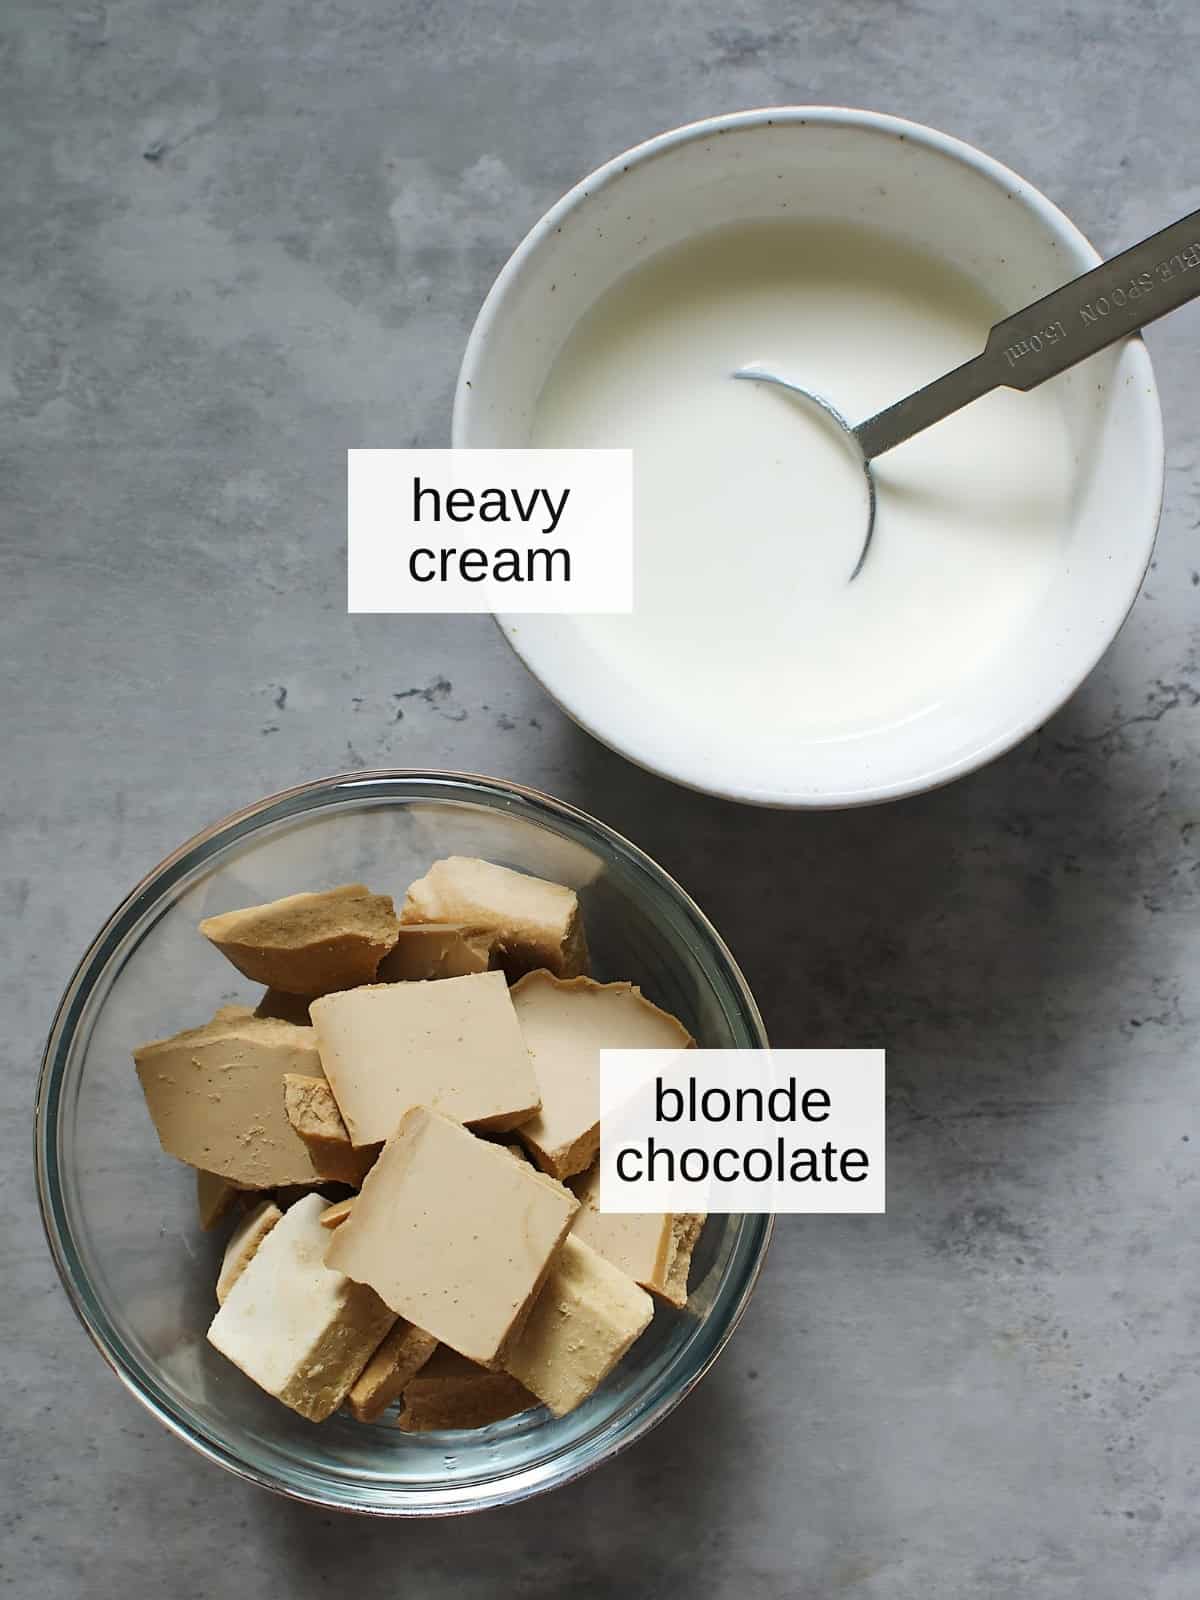
Blonde Chocolate: also known as caramelized white chocolate, this baked creation can be made or purchased, and is what lends this recipe a delicious caramel flavor.
Heavy Cream: this is the thinning ingredient which allows you to make this filling or frosting without butter, and adding the proper ratios will make for a thicker or thinner final product, depending on your needs.
Salt: although optional, this enhances the sweetness in the final batch of chocolate ganache filling.
See recipe card for exact ingredients and measurements.
🥣 How to Make Whipped Ganache (Step-by-Step)
Making Caramelized White Chocolate
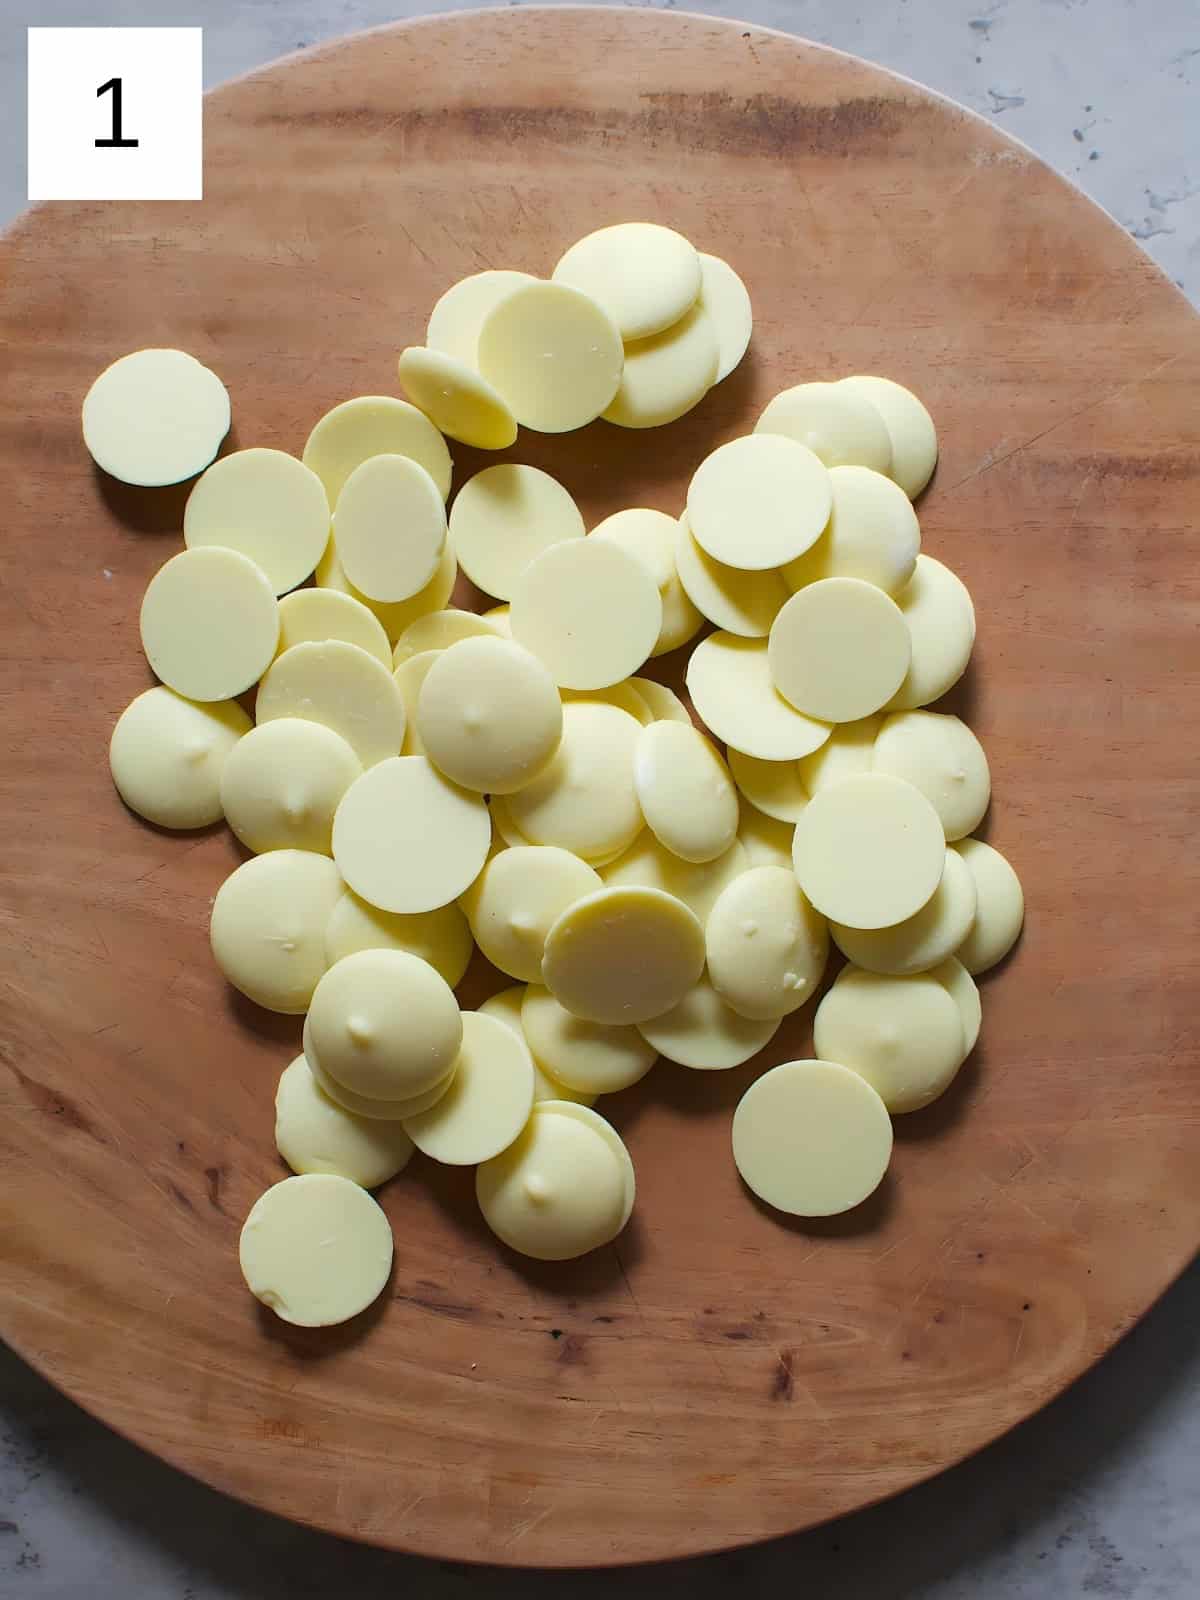
Step 1) First we need to make some caramelized white chocolate - if you already bought or have made some (or want to make whipped ganache frosting with a different type of chocolate), skip to step 6 & the second set of images.
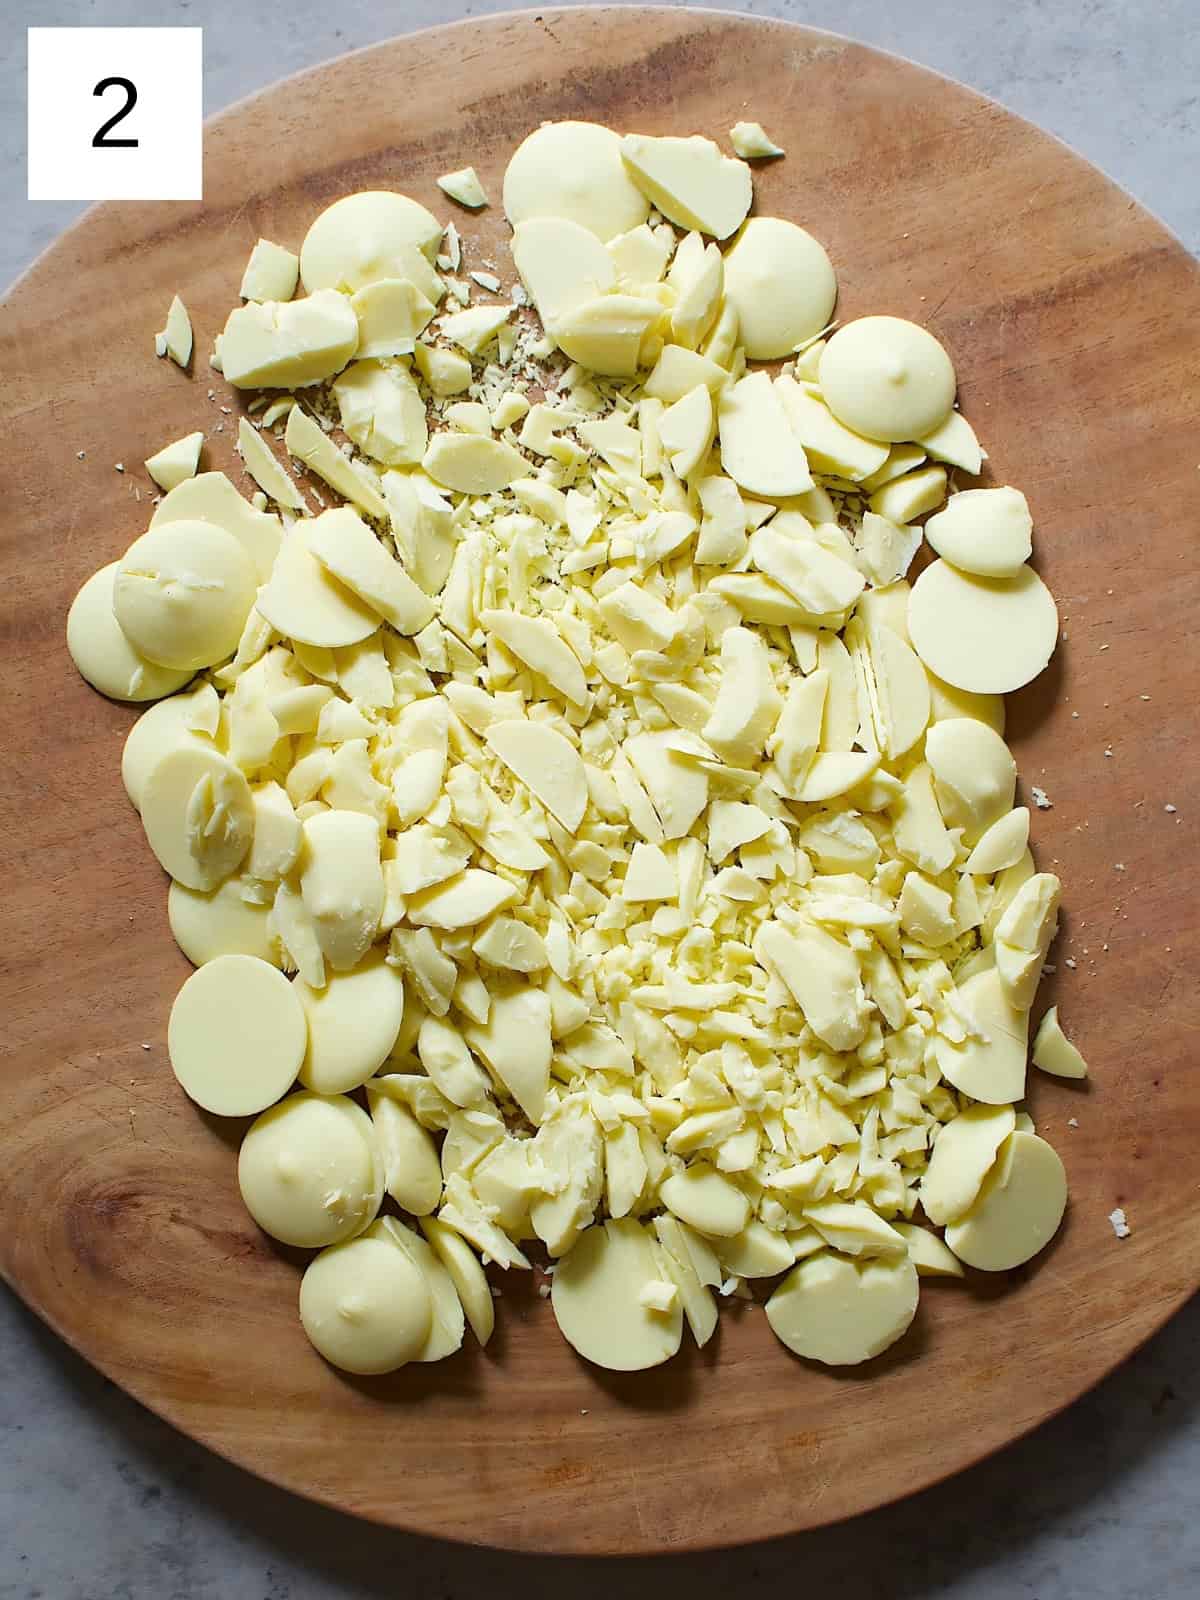
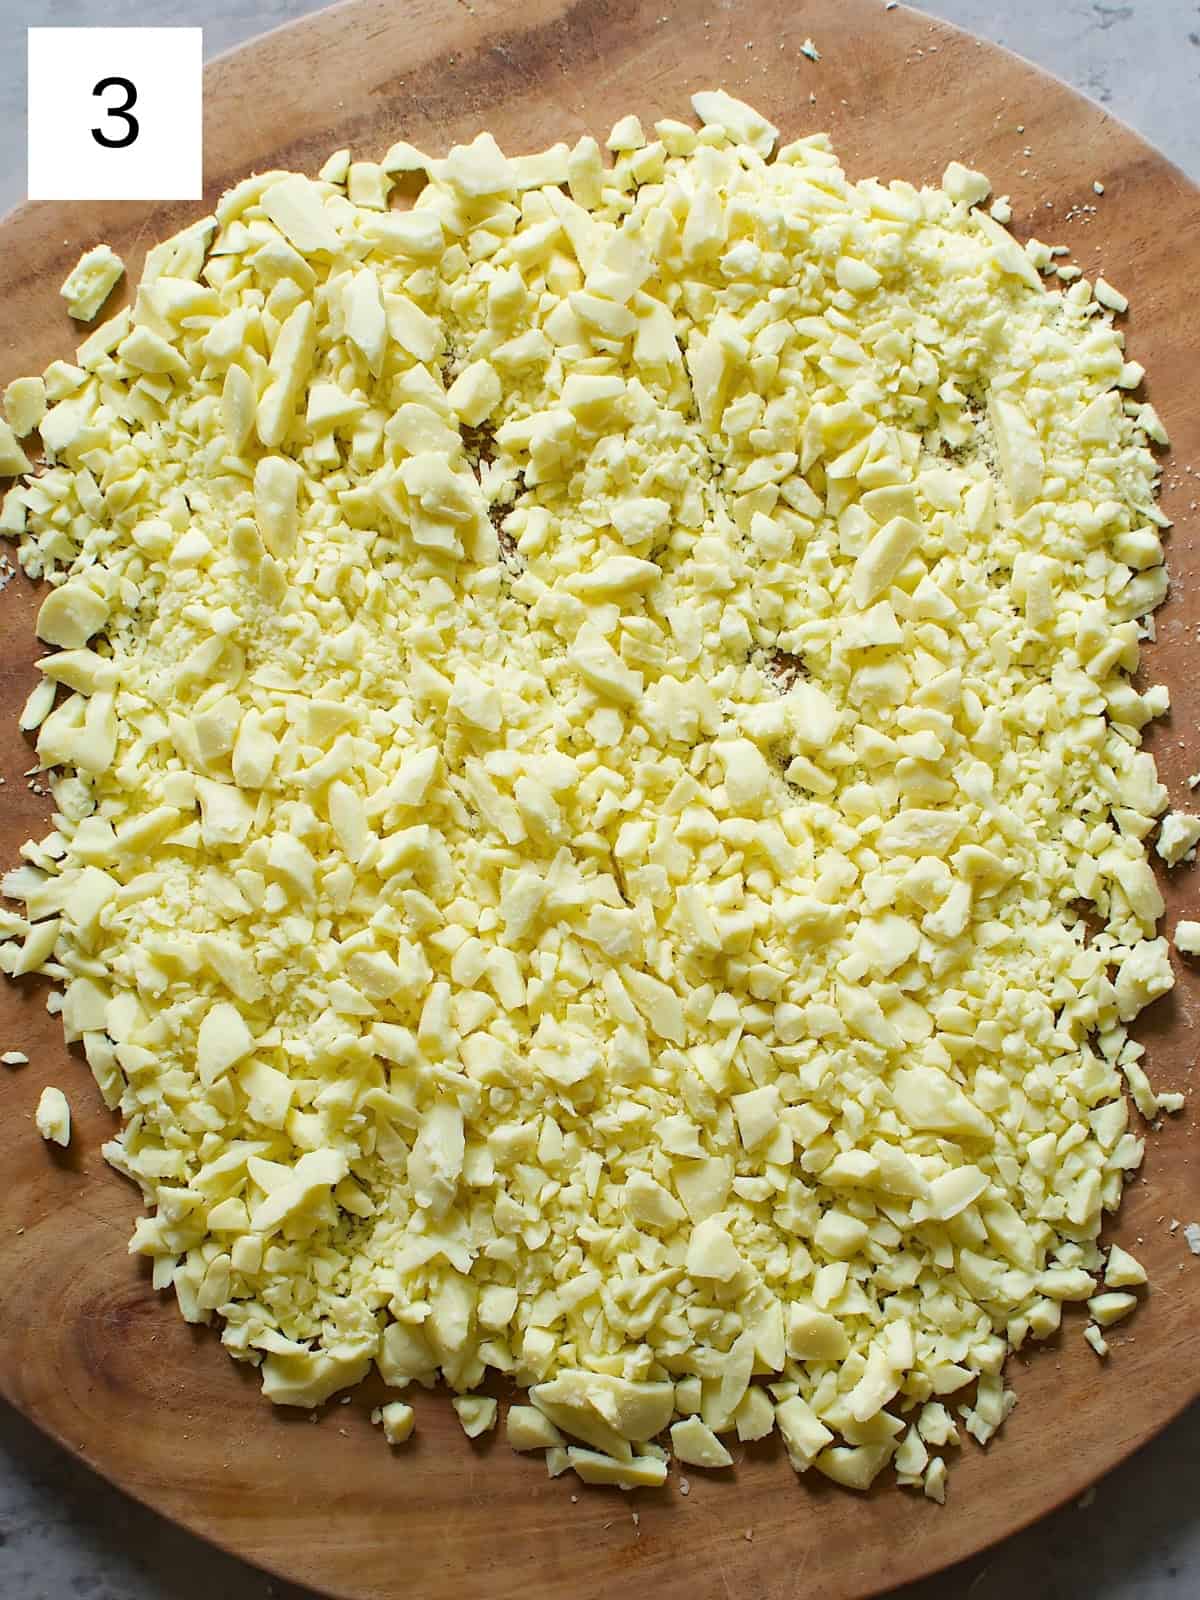
Preheat the oven to 250°F (120°C), then chop up pieces of white chocolate until they look splintered (images 1-3). You want the surface area of the chocolate slivers to be as small as possible so that each one is evenly exposed to the heat.
Pro Tip
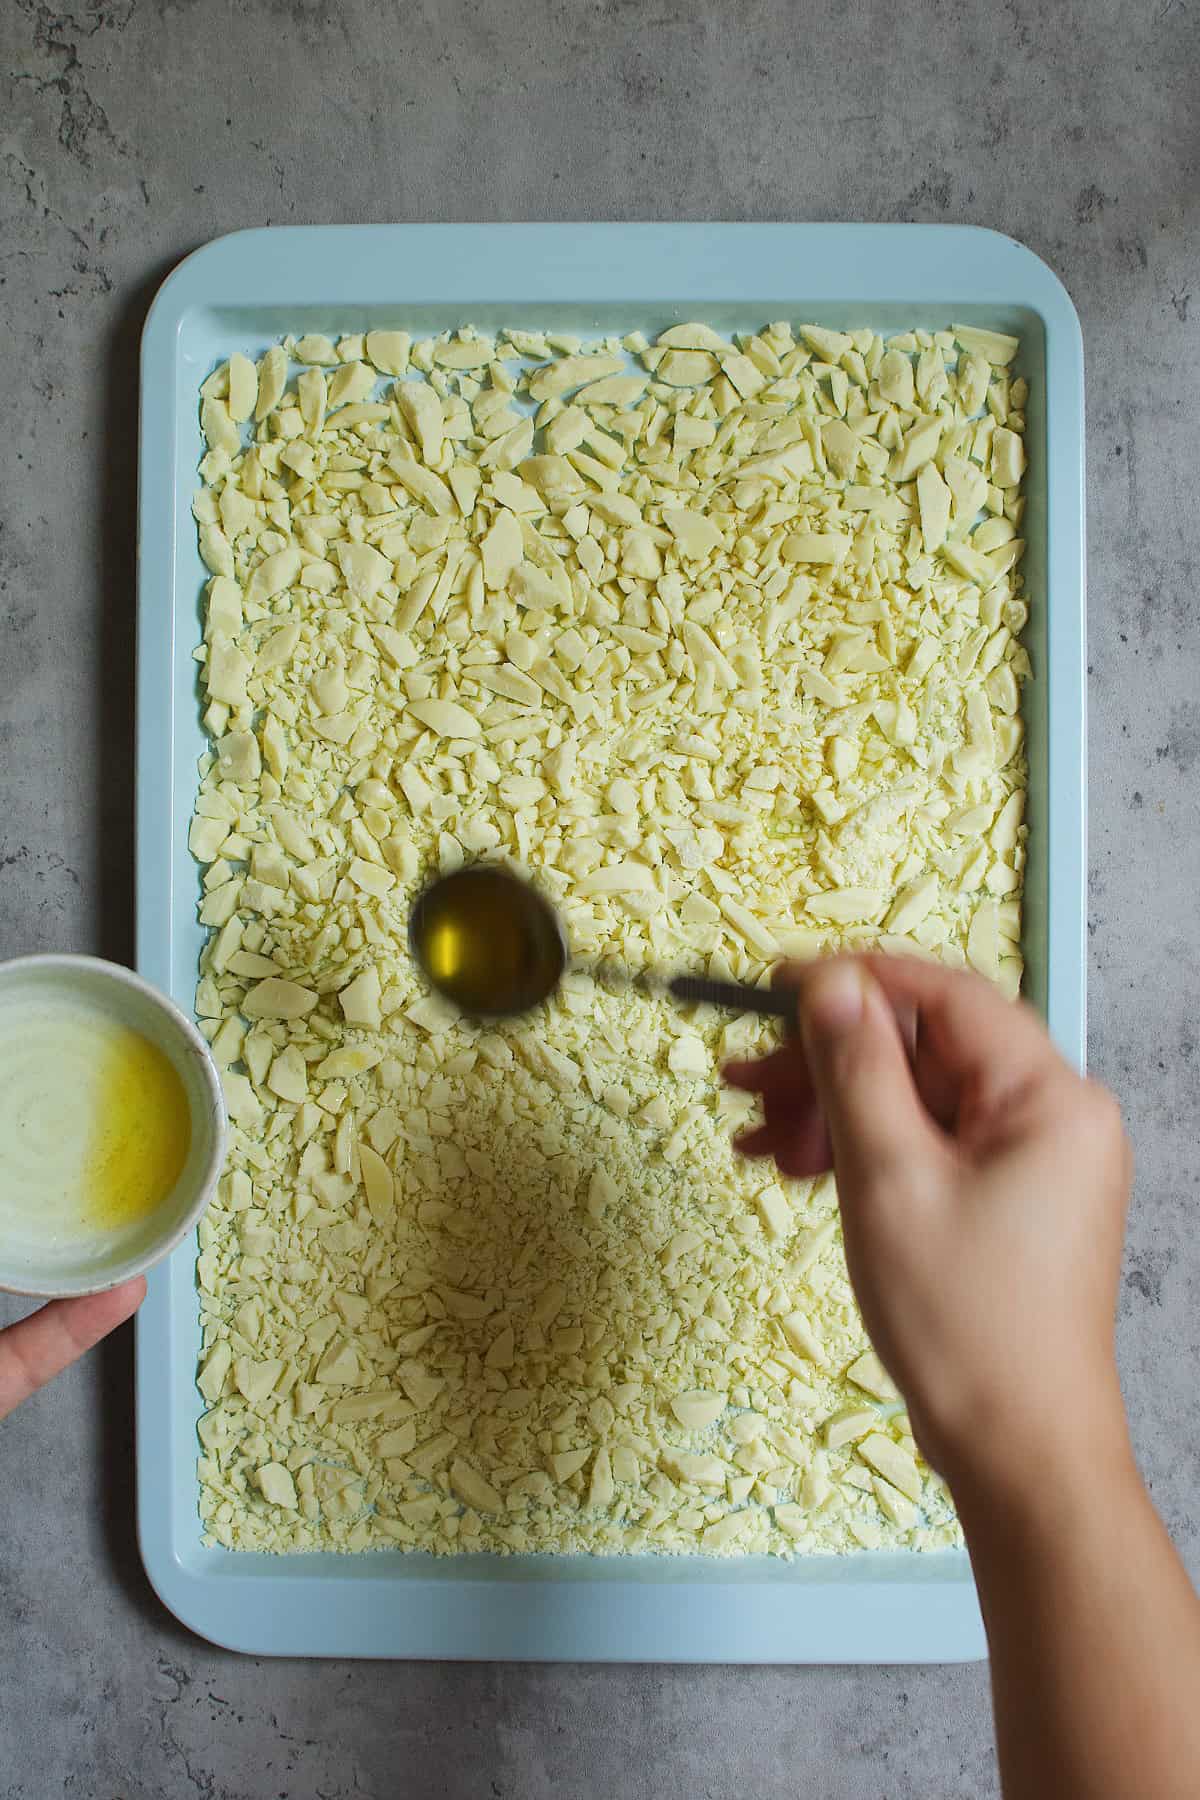
To ensure a smoother texture, if you're using a white chocolate with a lower cocoa butter content, add 1-2 tablespoons of vegetable oil or melted cocoa butter to the chopped chocolates at the very beginning, right before you first pop them into the oven.
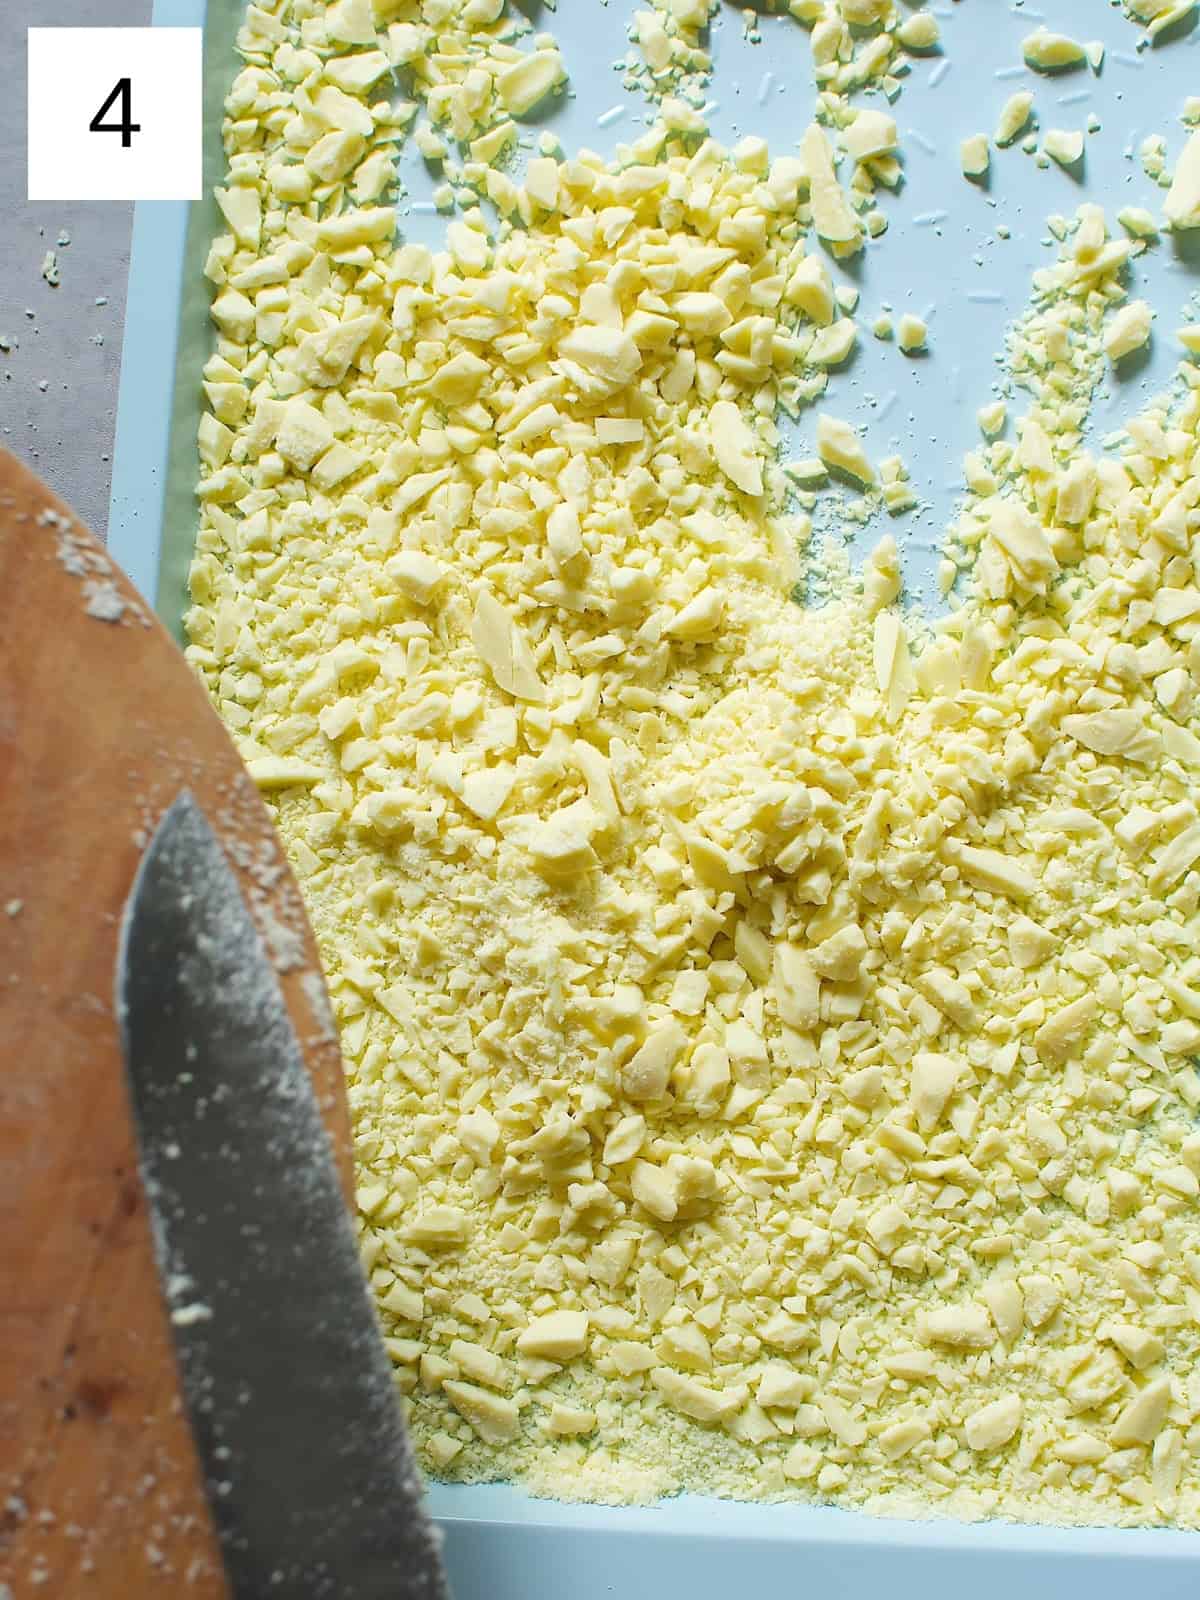
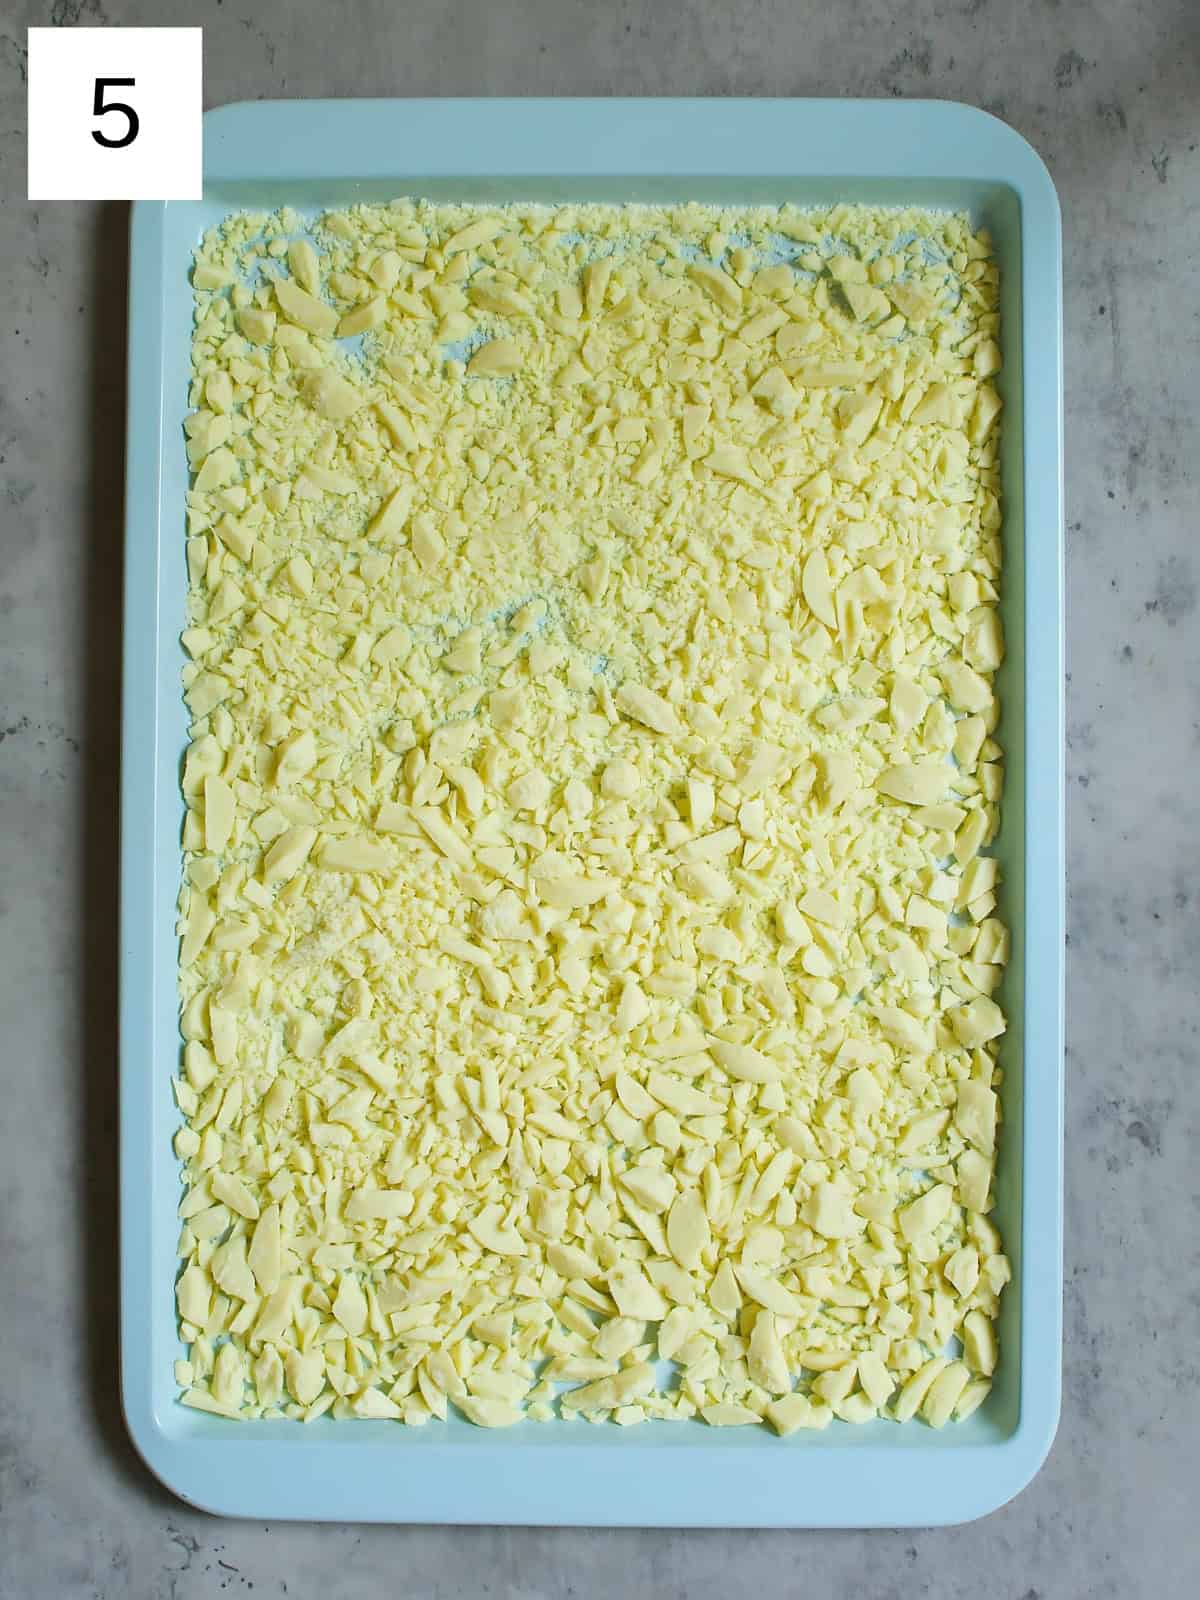
Step 2) Scrape your chopped chocolate on a baking sheet (image 4). Spread out the chocolates in a single layer to ensure even browning (image 5).
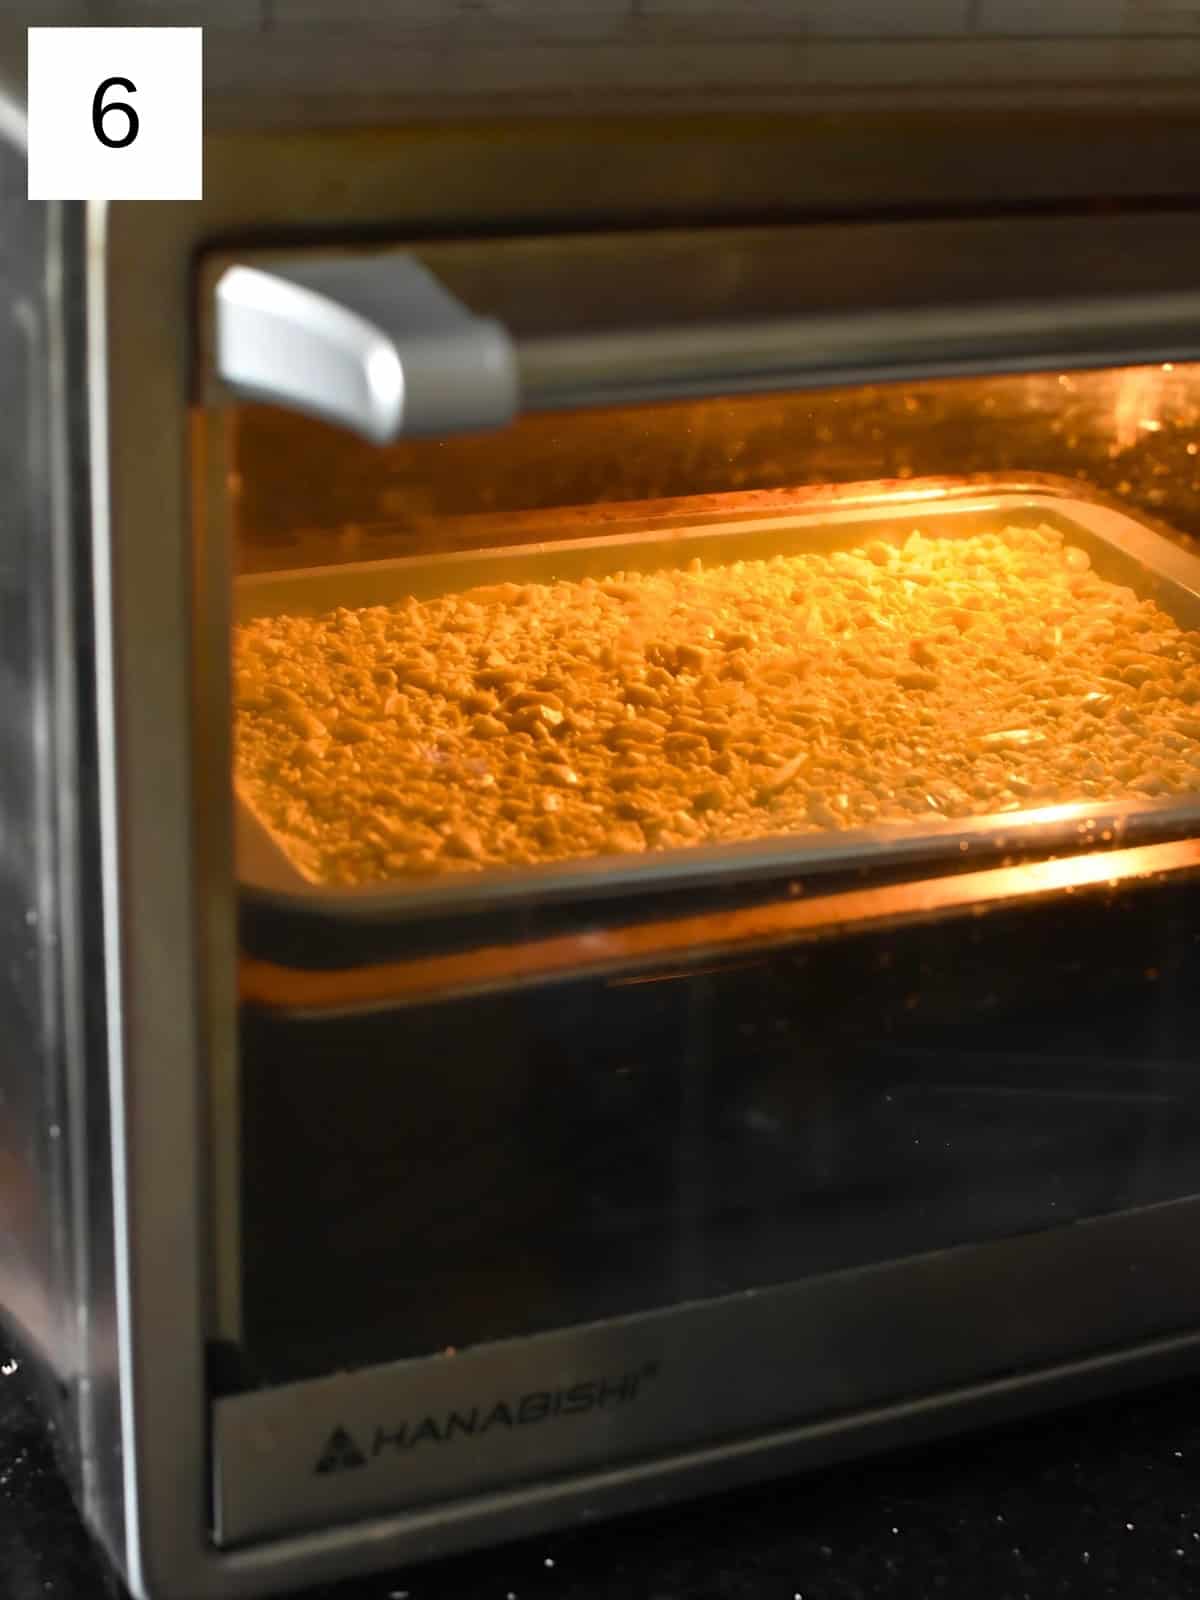
Step 3) Put the chocolate-covered tray in the oven and set the timer for 10 minutes (image 6). When the timer goes off, take out the baking sheet and use your spatula to stir and move the melted chocolate before returning it to the oven for another 10 minutes.
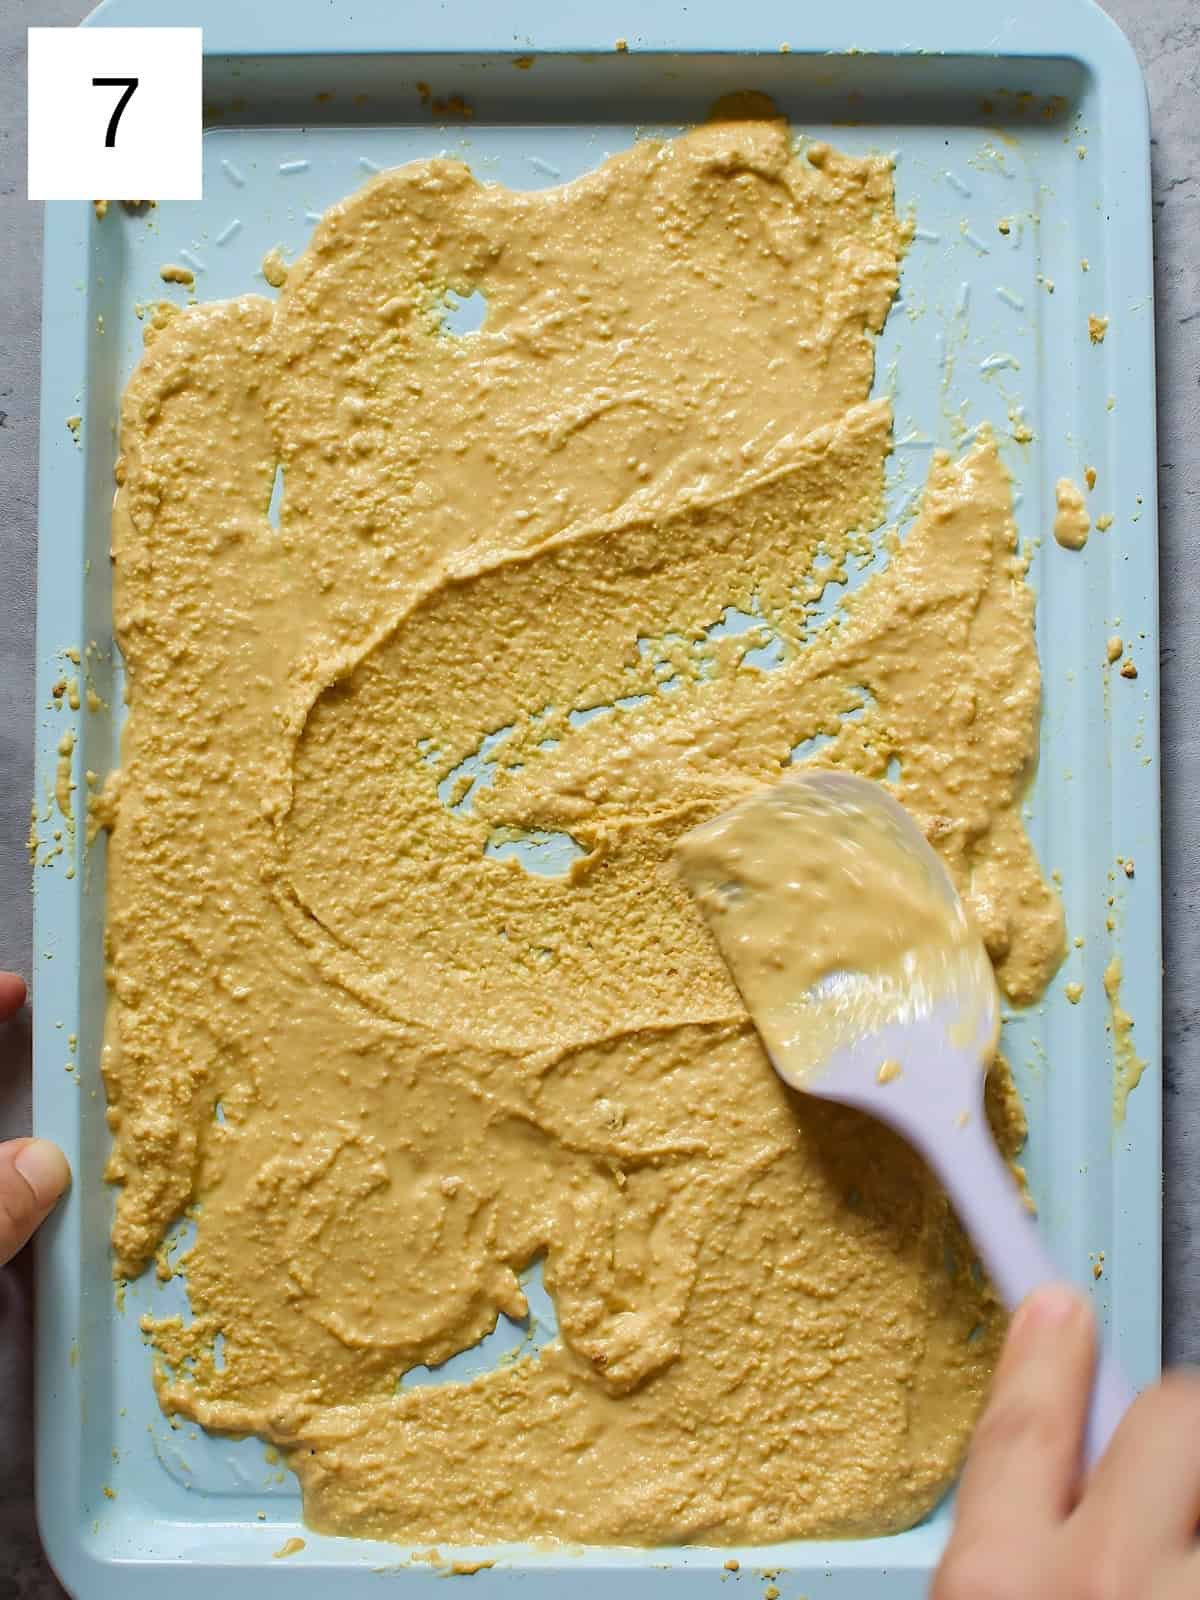
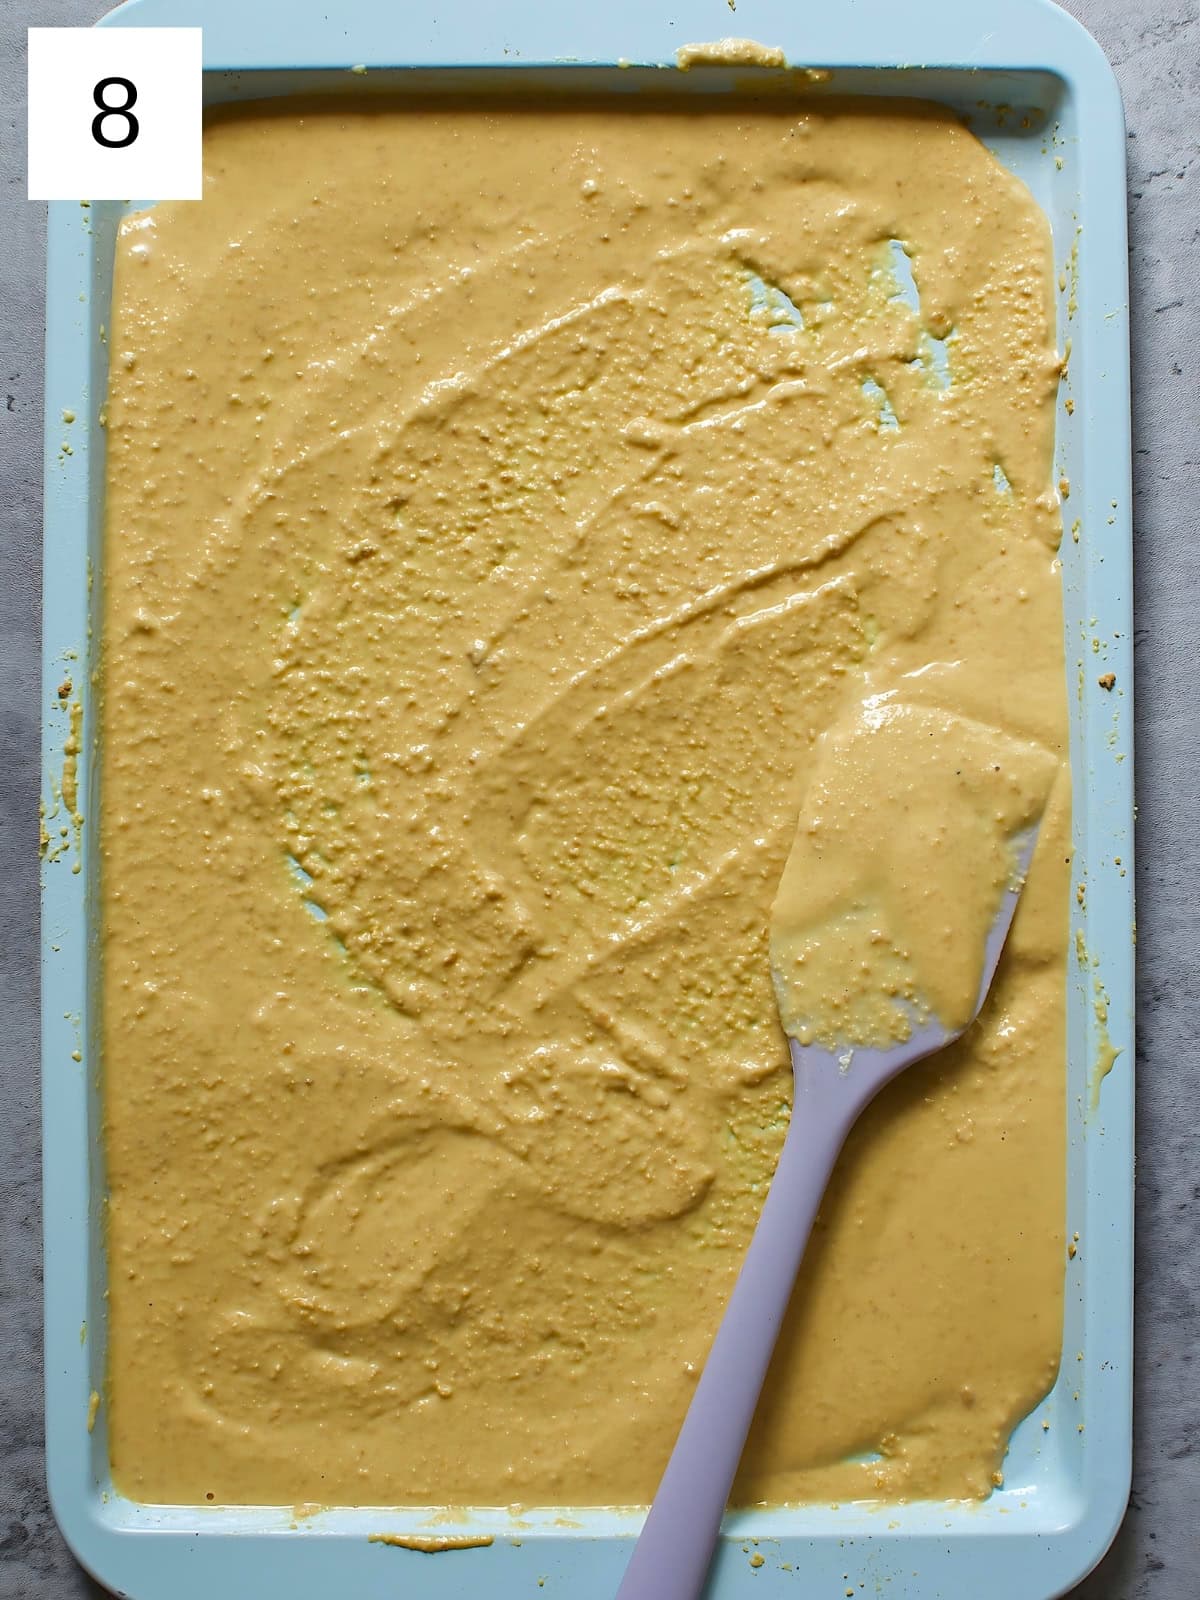
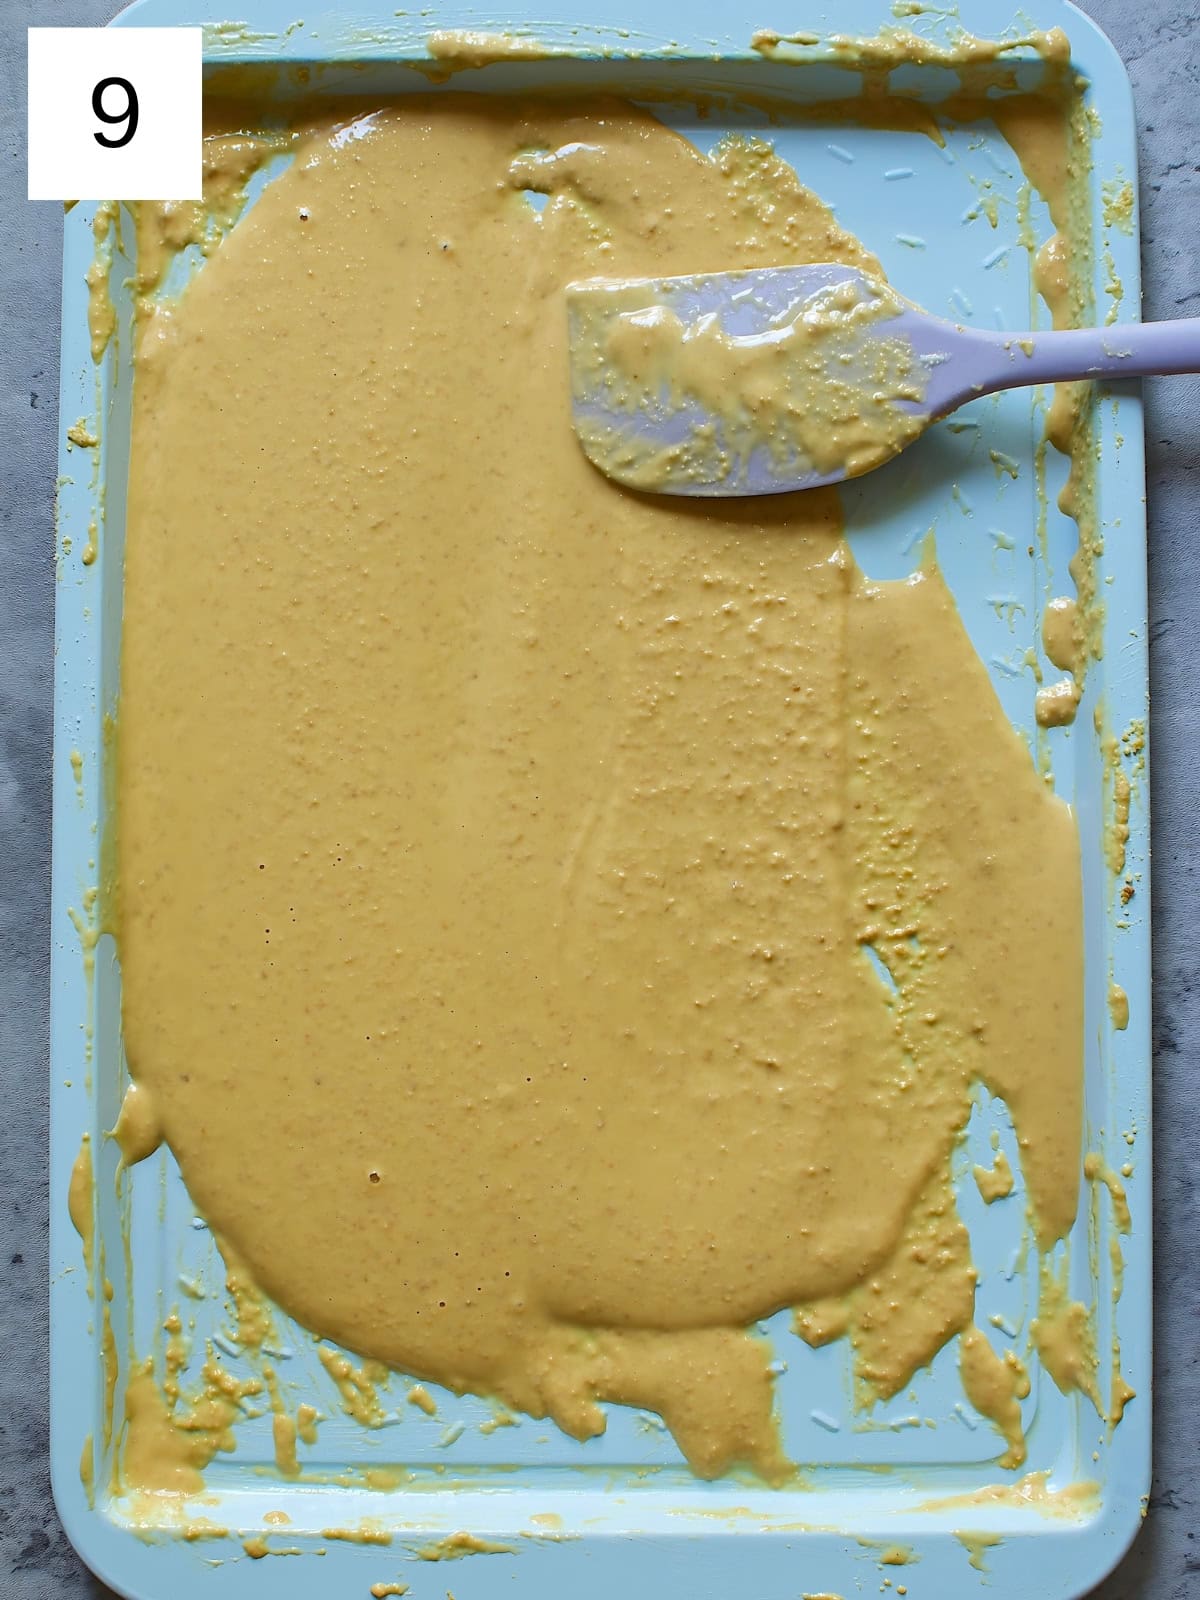
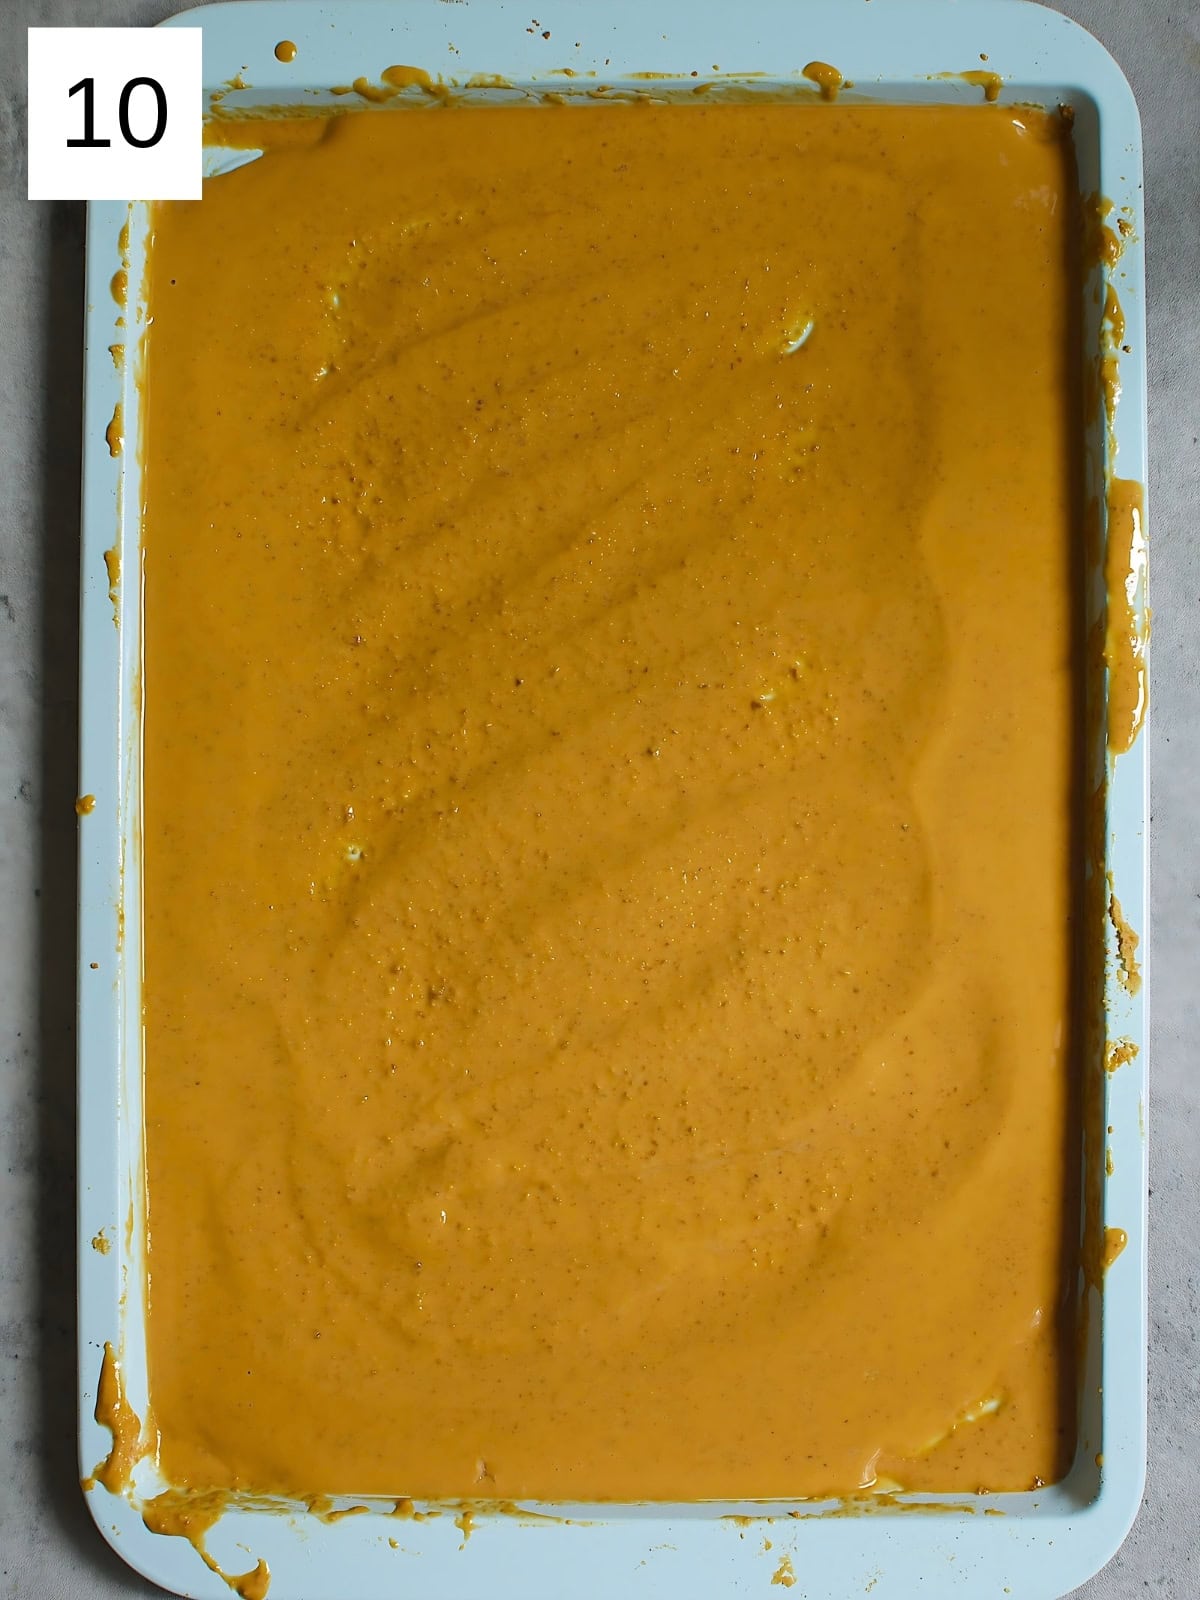
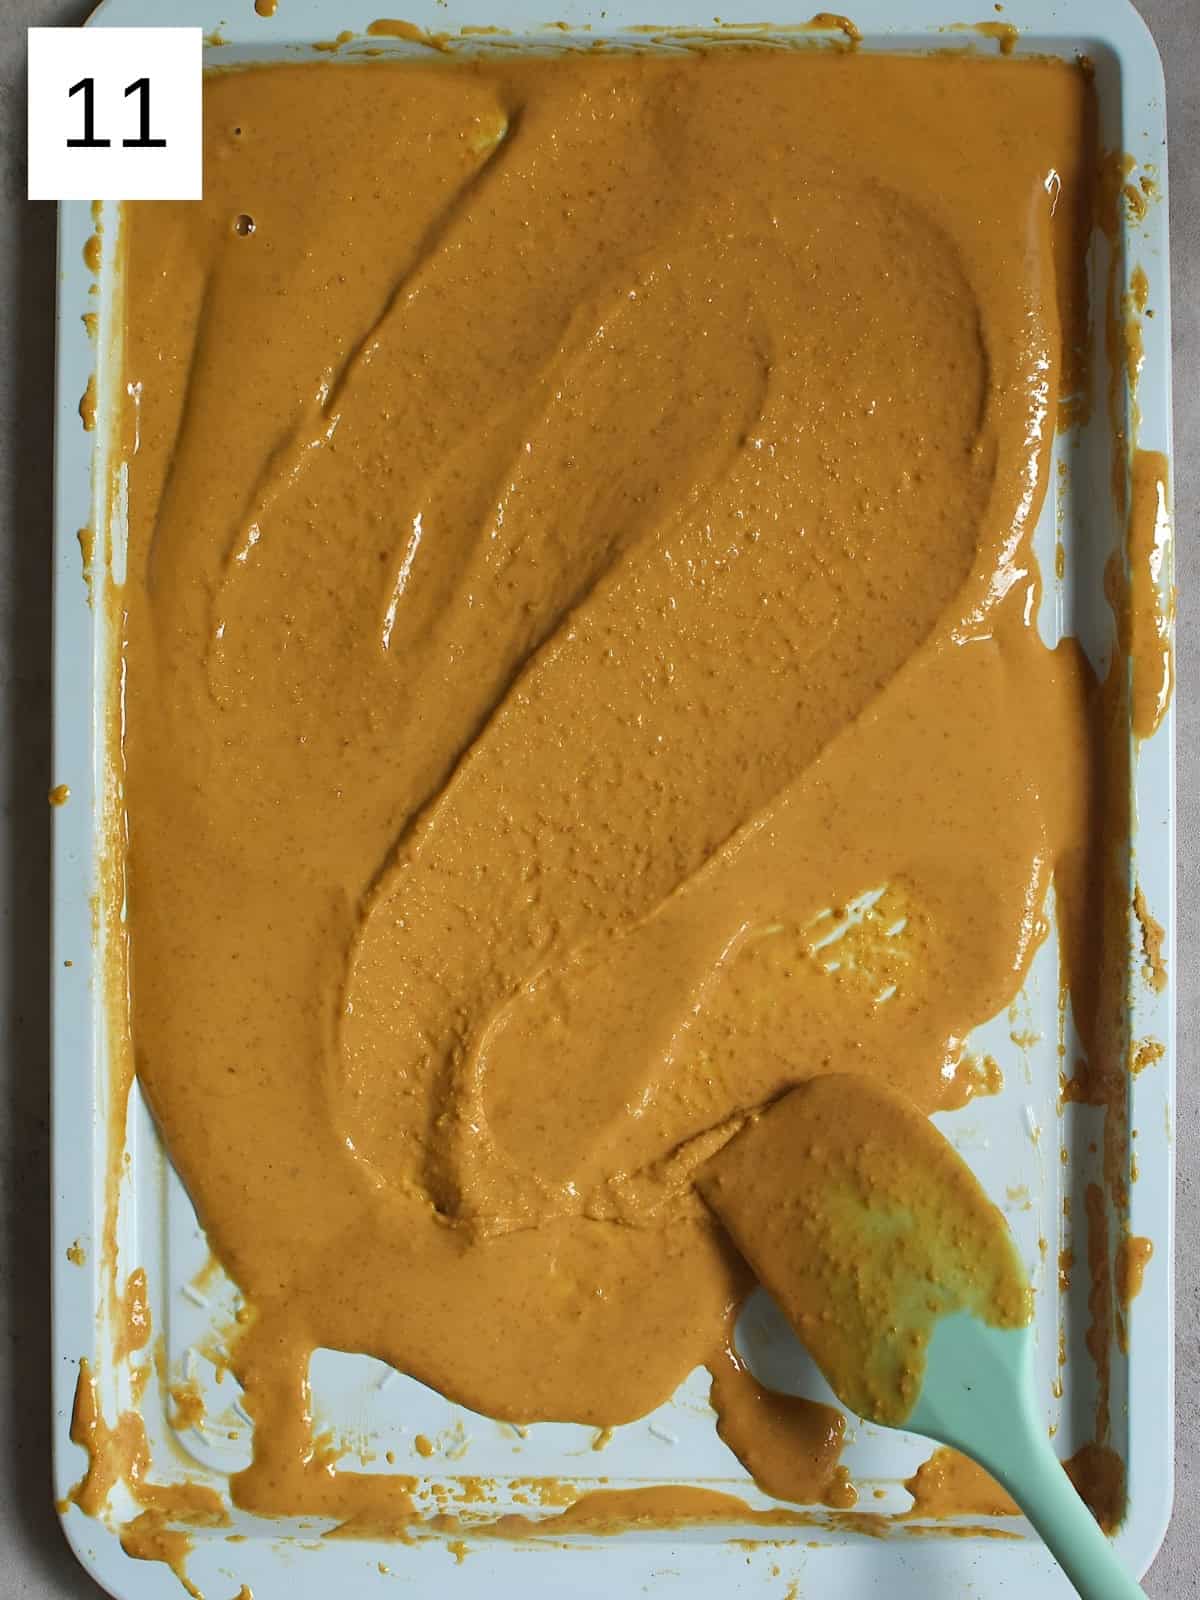
Step 4) Repeat this process two more times (total of 30 minutes) and then every 5 minutes afterward until the chocolate is smooth and deep brown (images 7-9). It should be roughly the color of peanut butter (images 10 & 11).
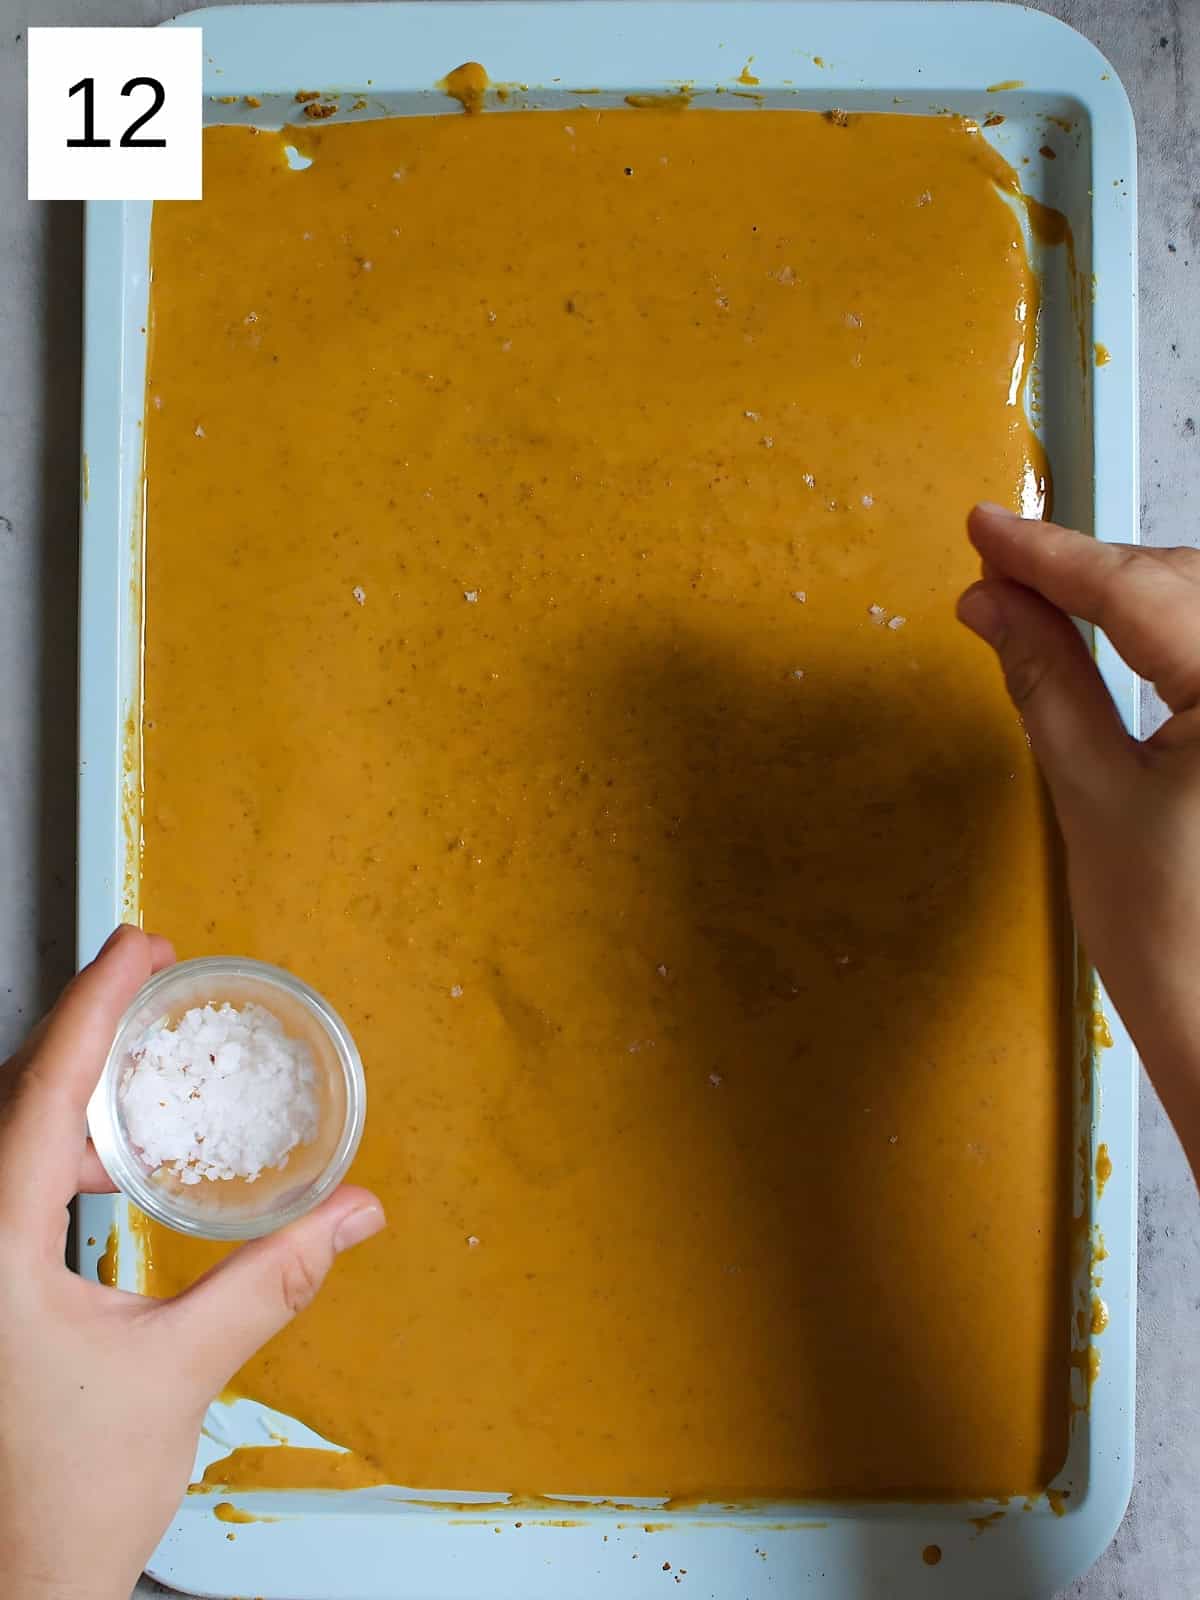
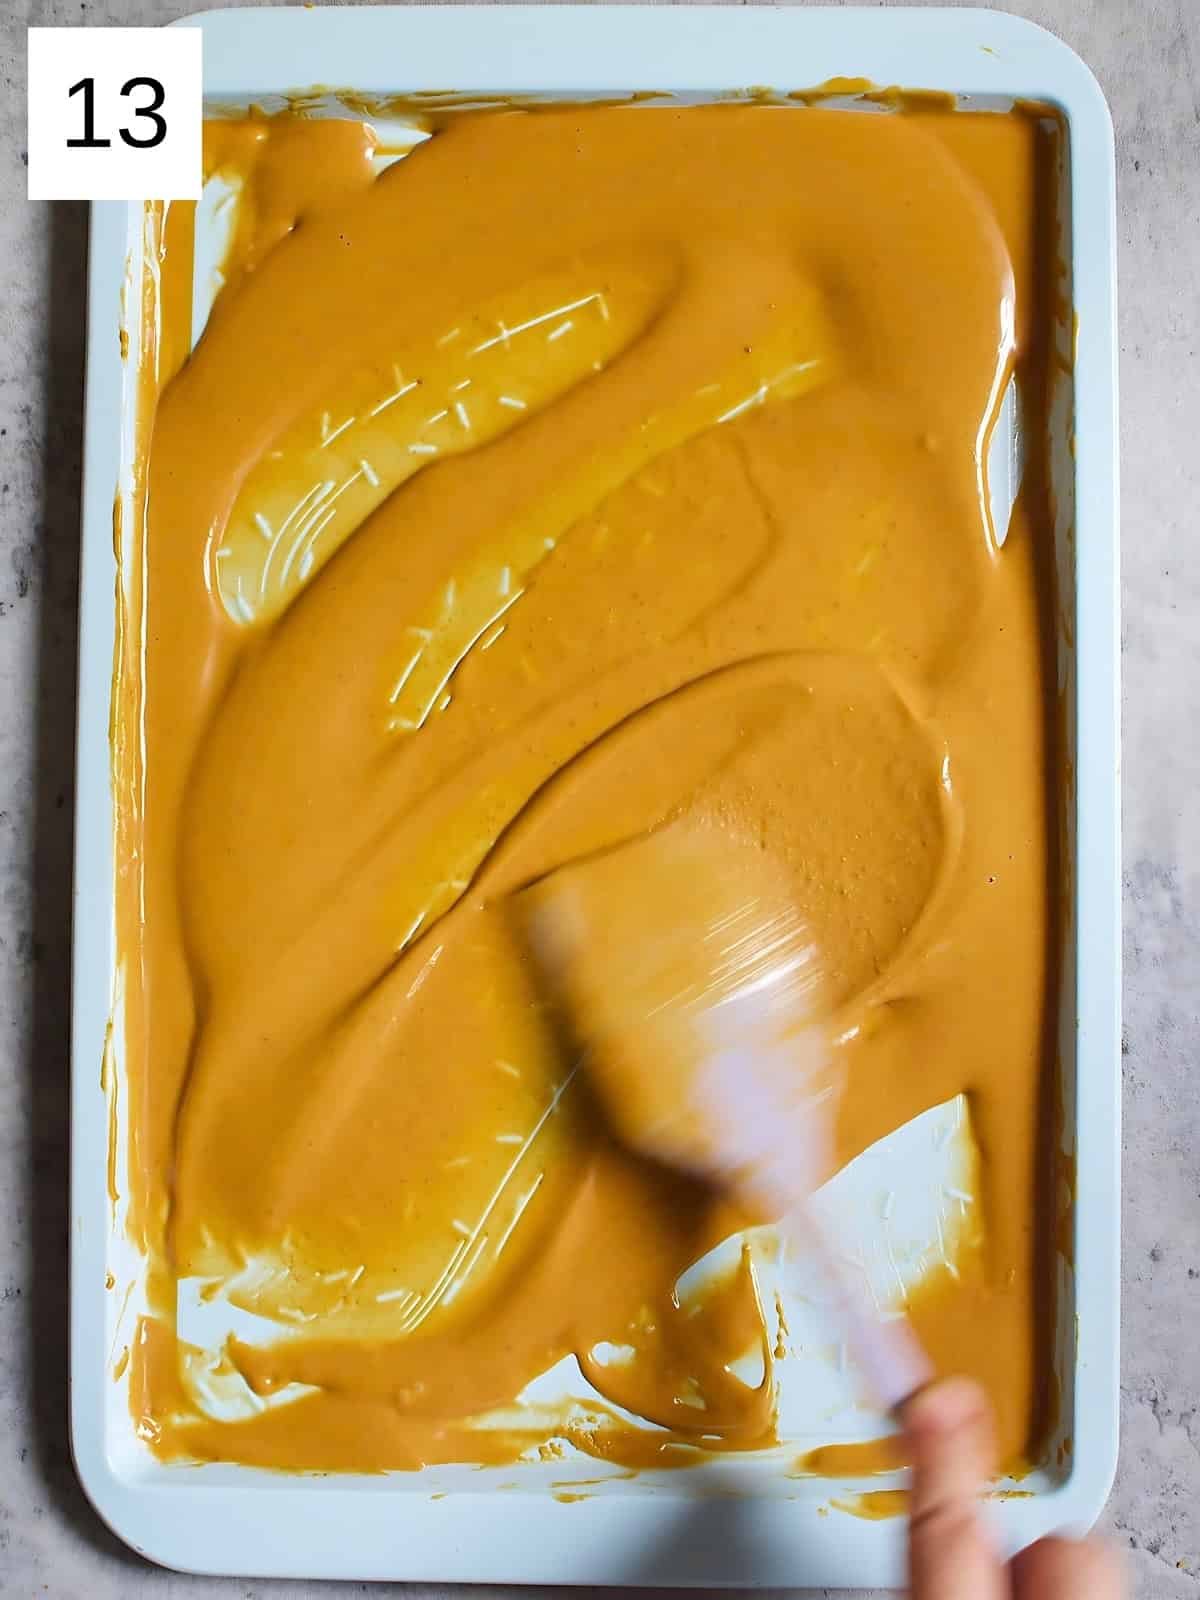
Once it has reached that deep golden brown color, sprinkle a pinch or two of sea salt (optional) if you like that sweet and salty flavor combination (images 12 & 13).
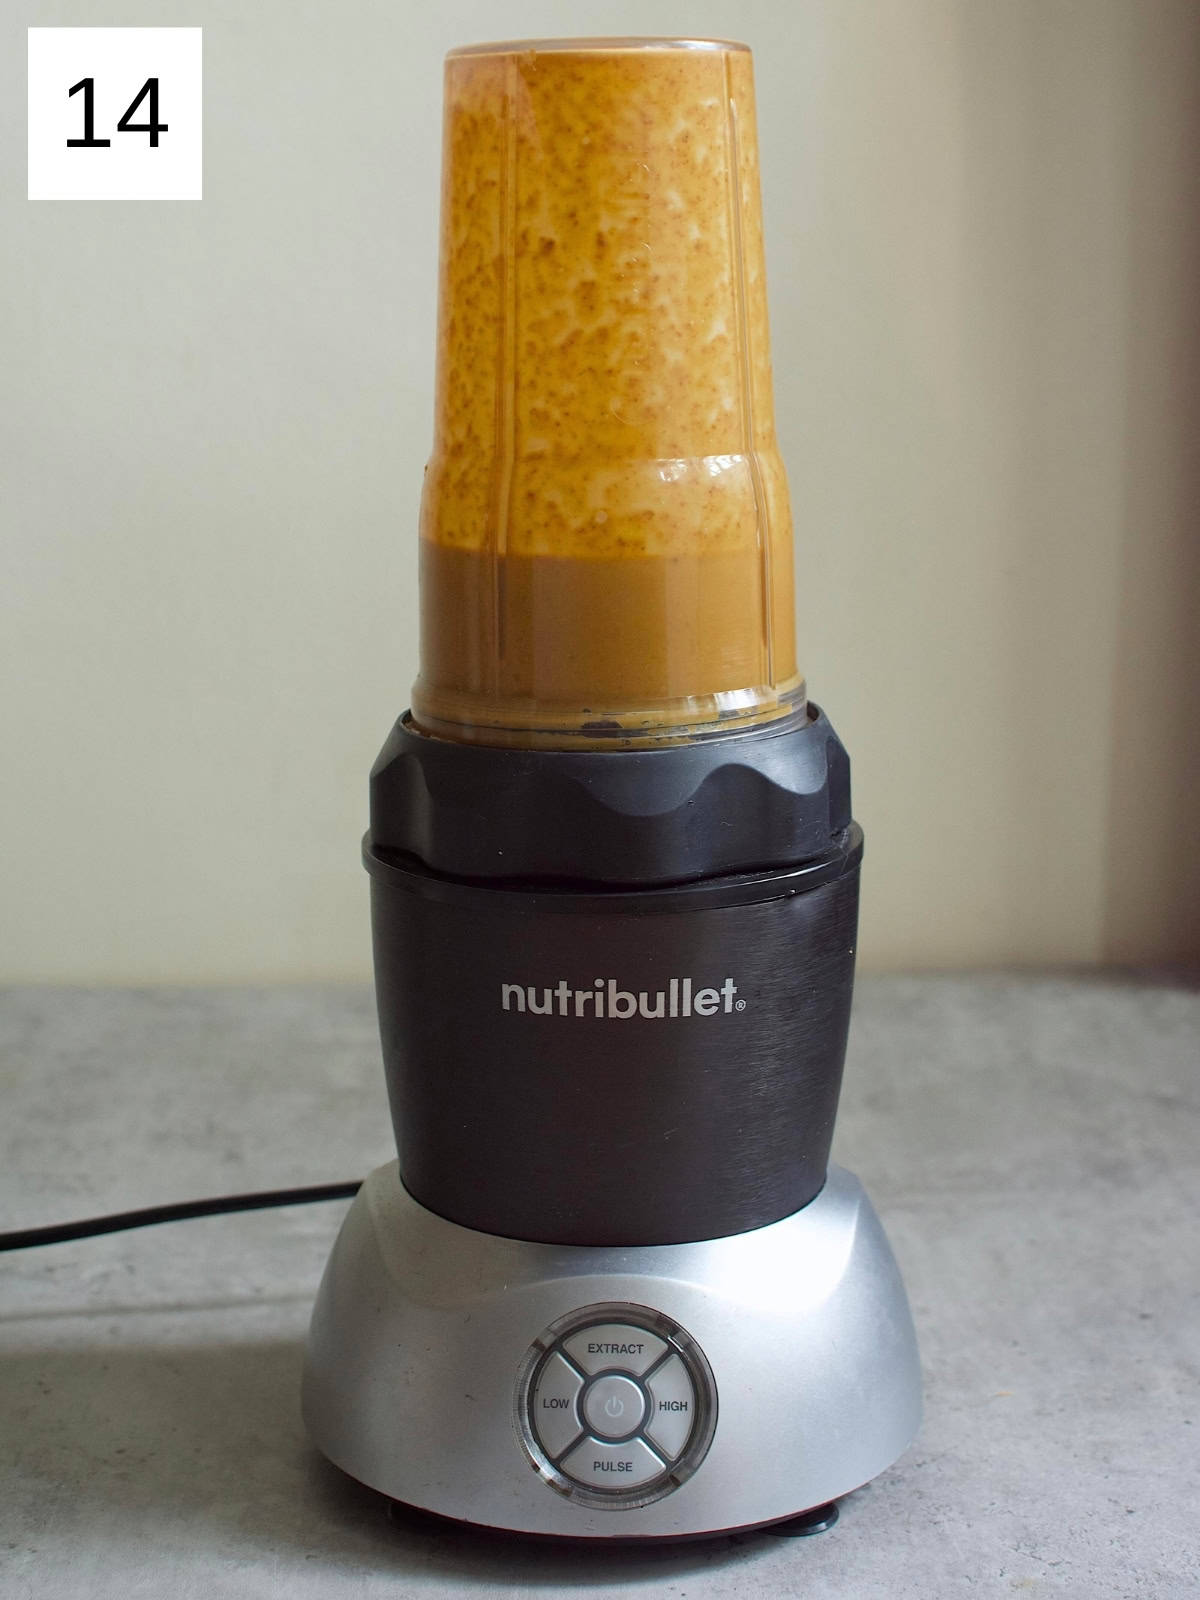
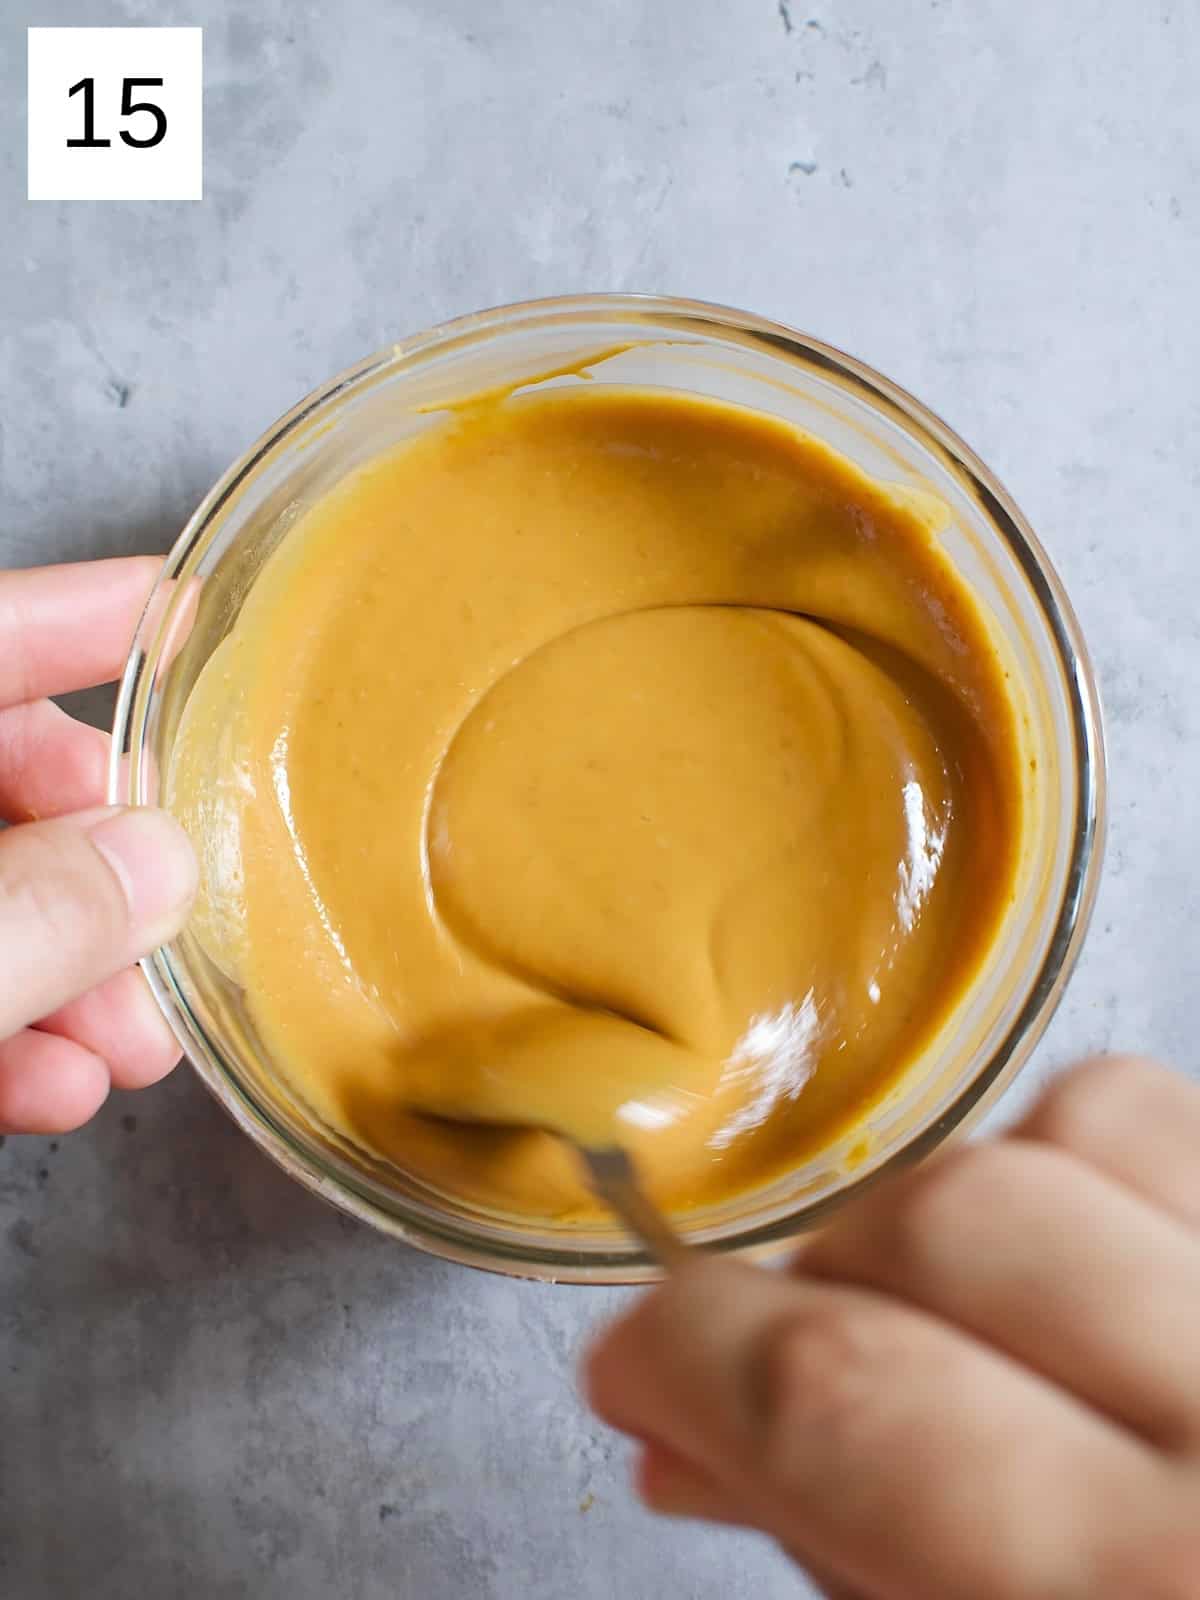
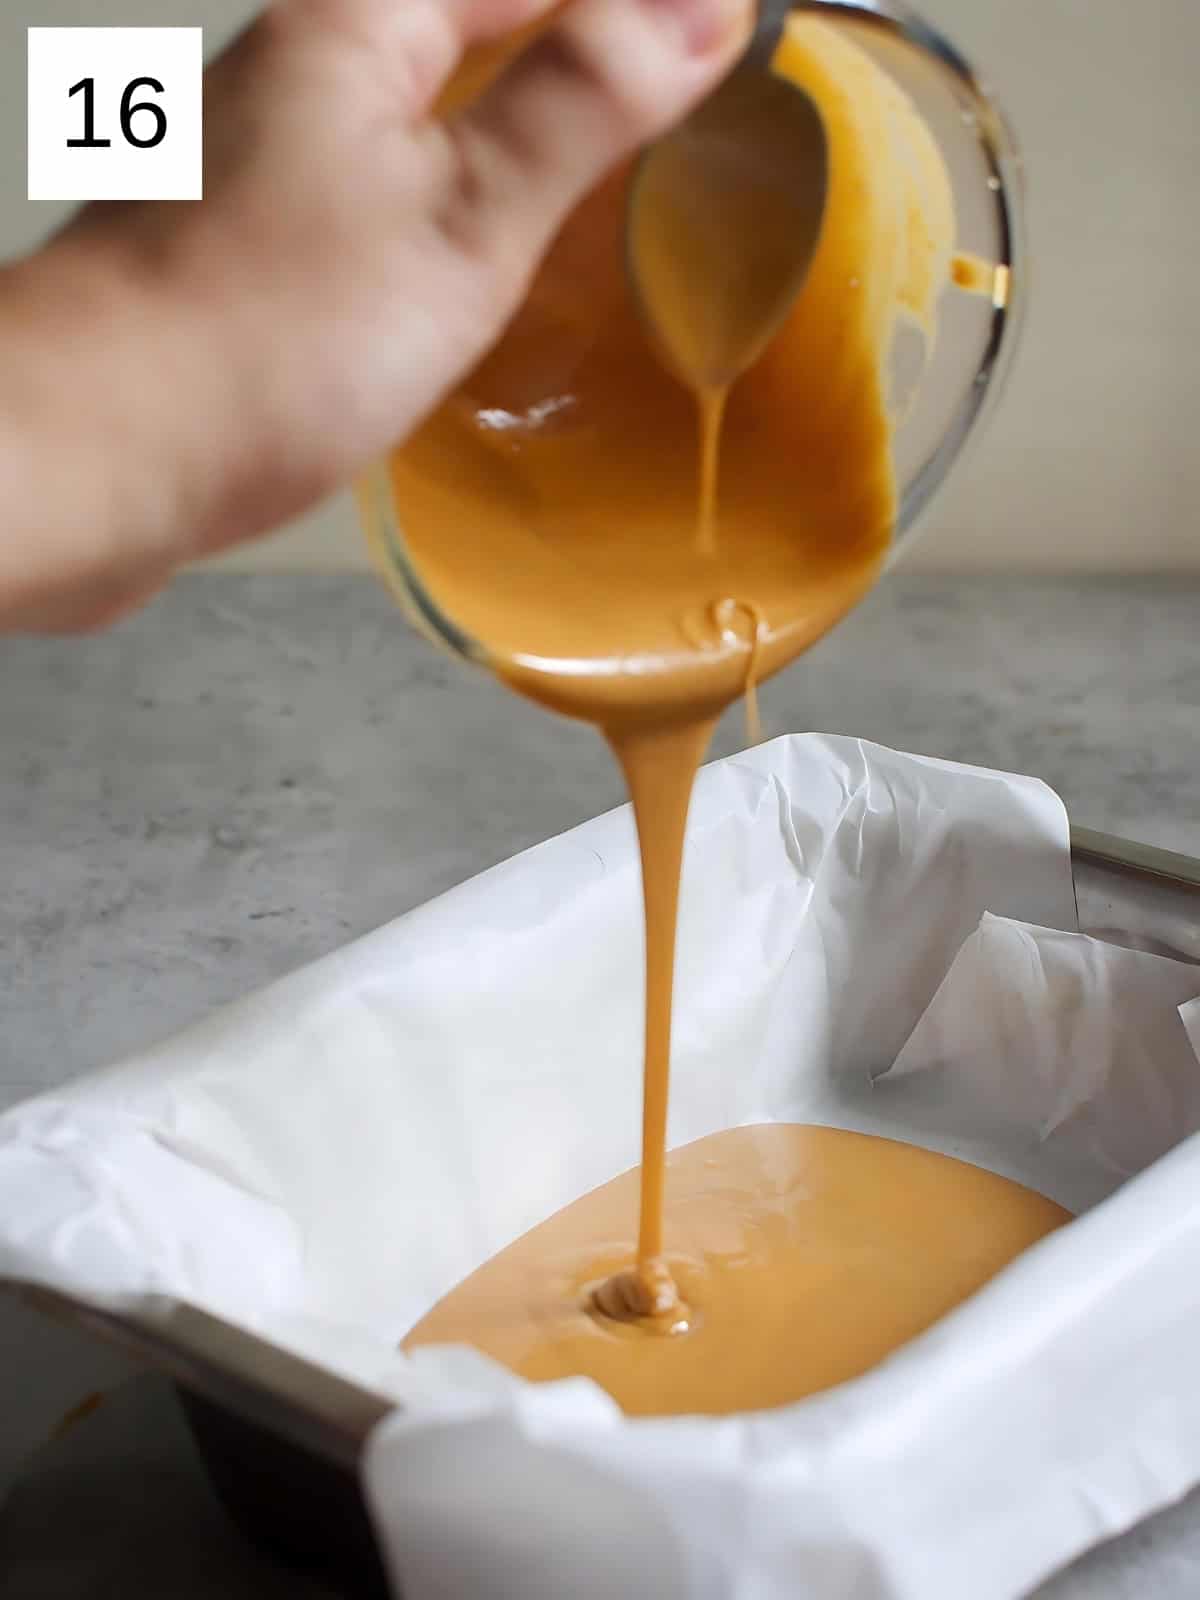
Step 5) Once it’s out of the oven, let it cool first. If the chocolate is separated or is a bit grainy, scrape it into a high-speed blender (you can also use an immersion blender or a food processor) and recombine for a smoother texture (images 14 to 16).
If your caramelized white chocolate is still a bit grainy, you can run it through a mesh sieve to remove any chunks, but then carefully weigh how much you have left before scraping your caramelized chocolate into a large heat-proof bowl and proceeding with the recipe.
Making Whipped Ganache Filling
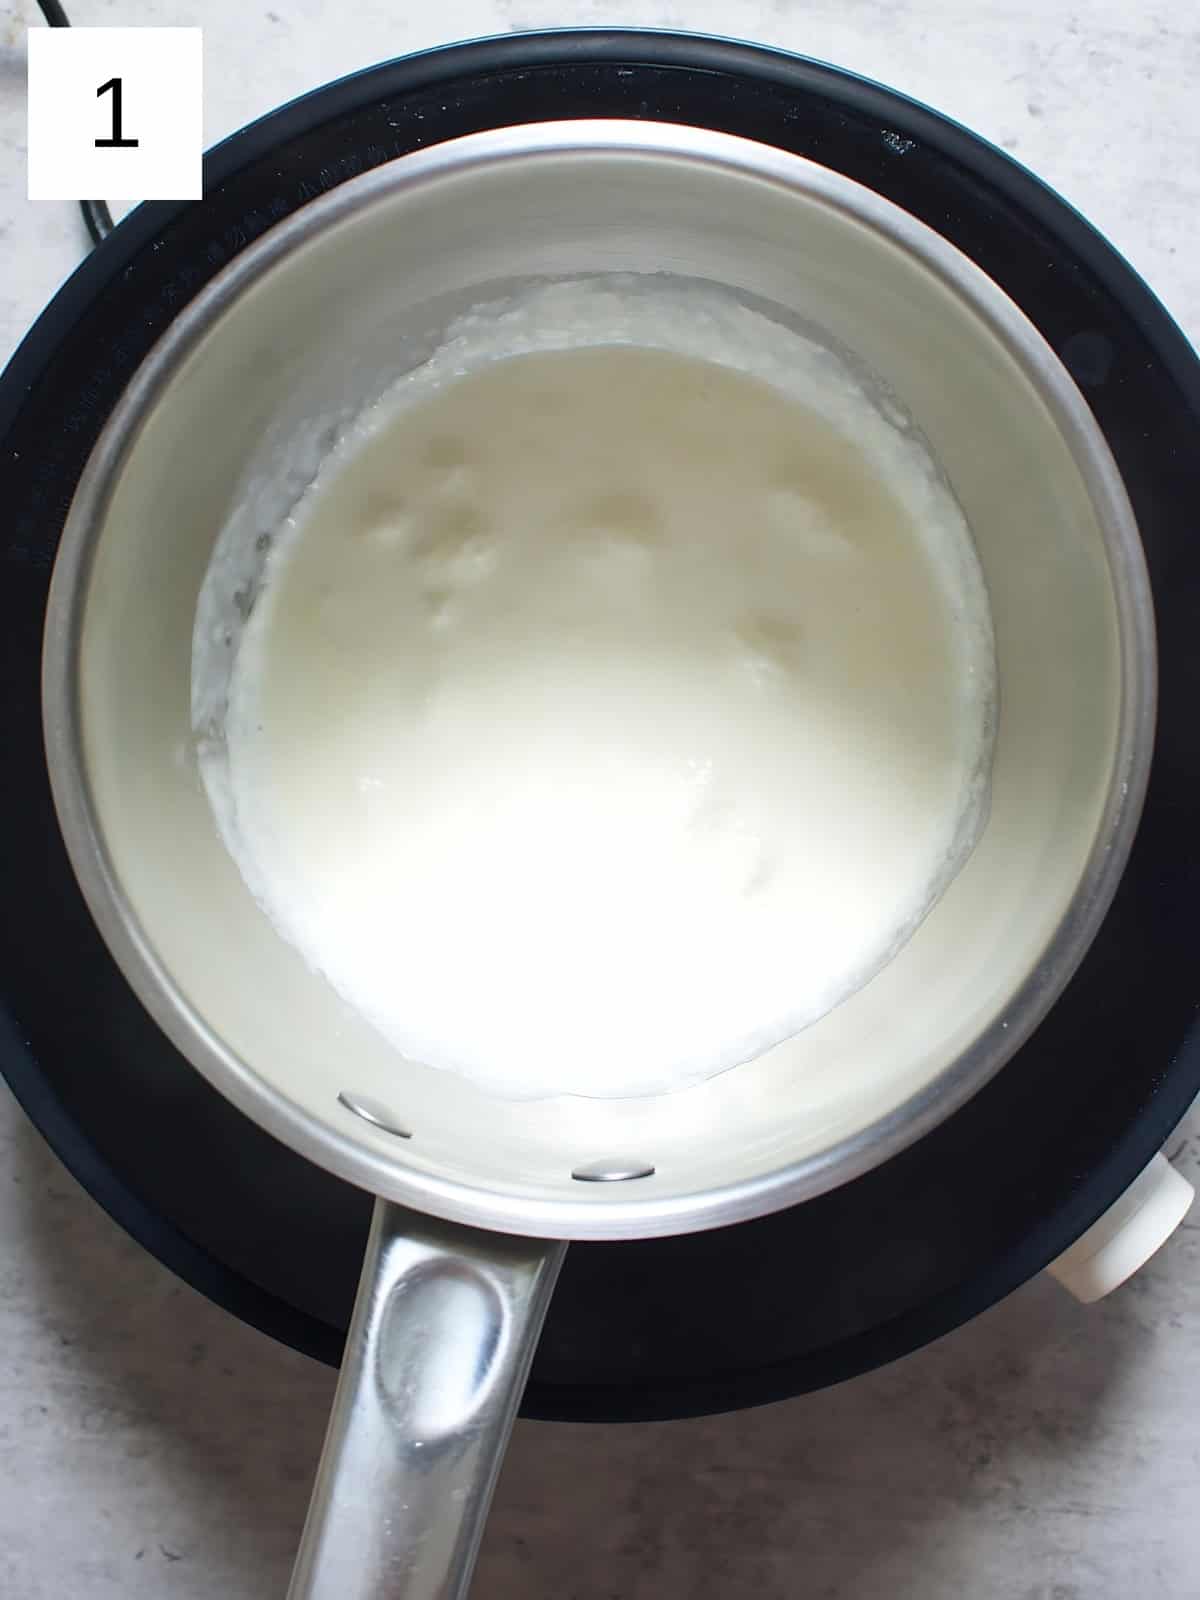
Step 6) In a small saucepan, heat the heavy whipping cream over medium heat until it just begins to simmer. Don't let it come to a rolling boil – you're looking for those little bubbles that tell you it's hot enough (image 1).
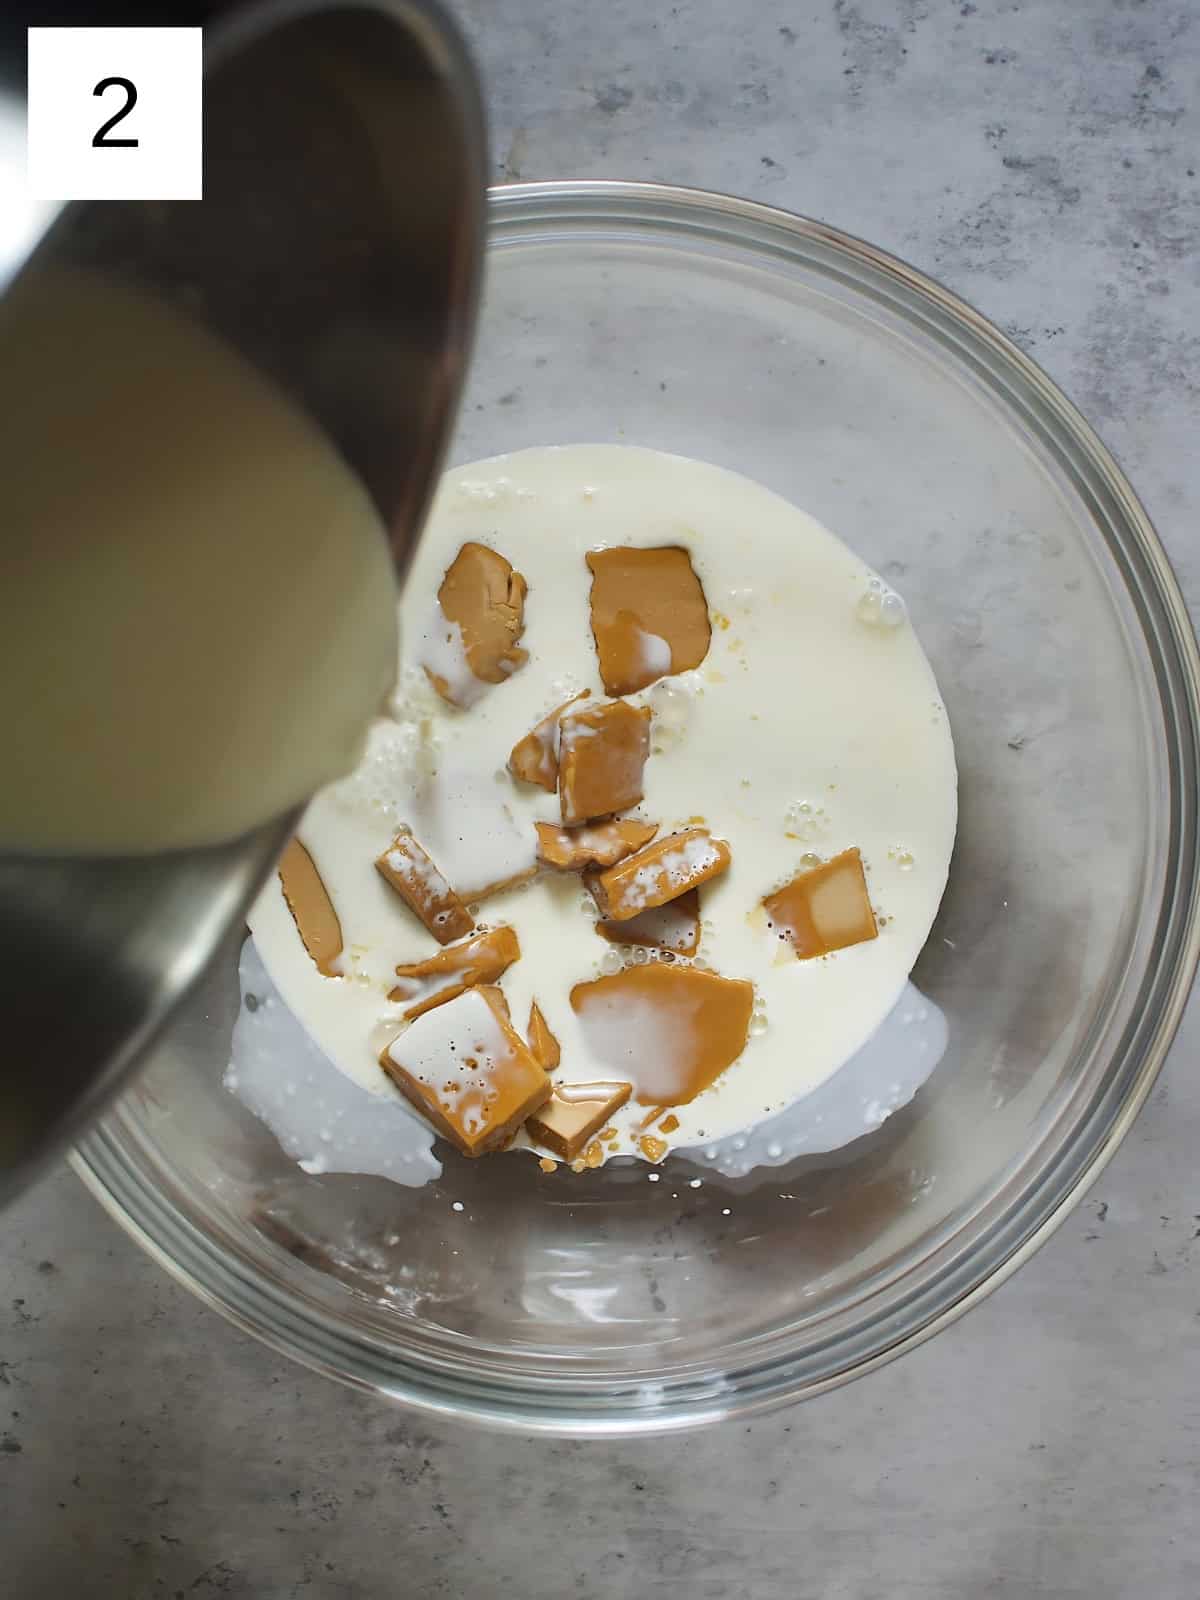
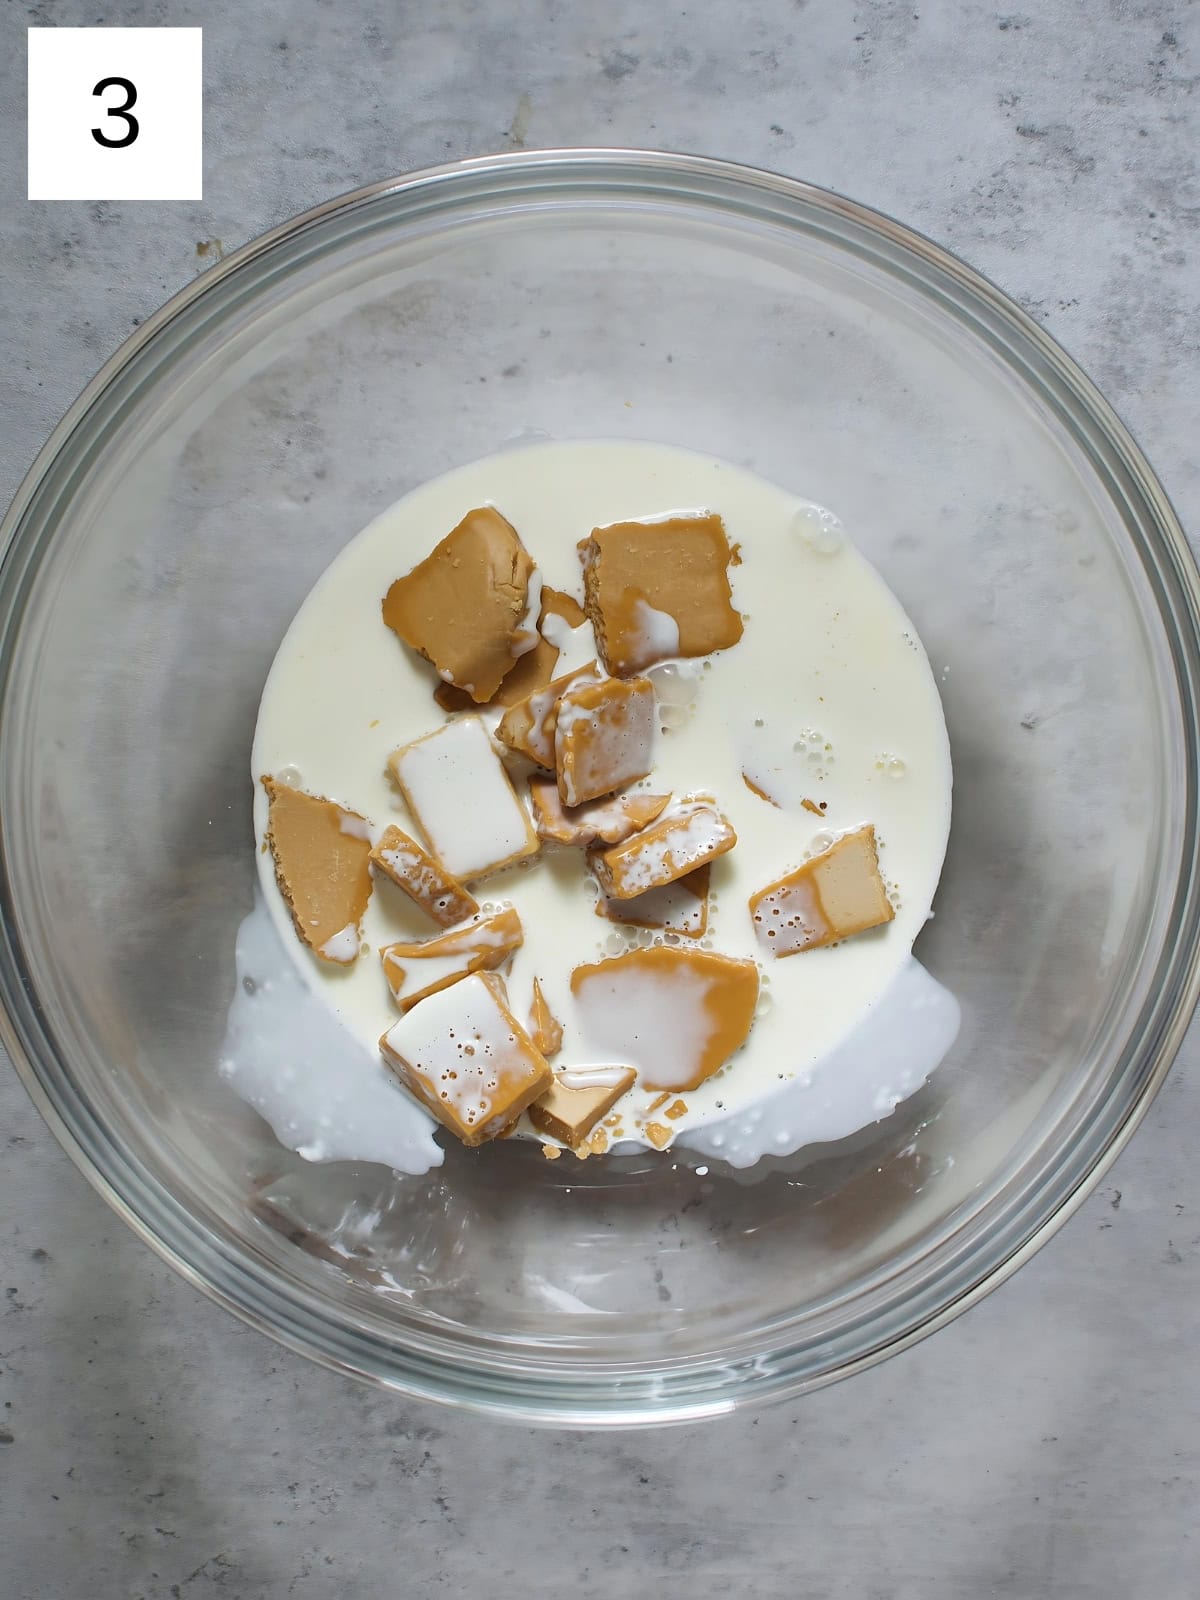
Step 7) Pour the hot cream over the caramelized chocolate, making sure every bit is covered (image 2). Let it sit for about 3 minutes if you just made the caramelized chocolate or 5 minutes if using premade chocolate. This gives the chocolate time to soften and melt into the cream (image 3).
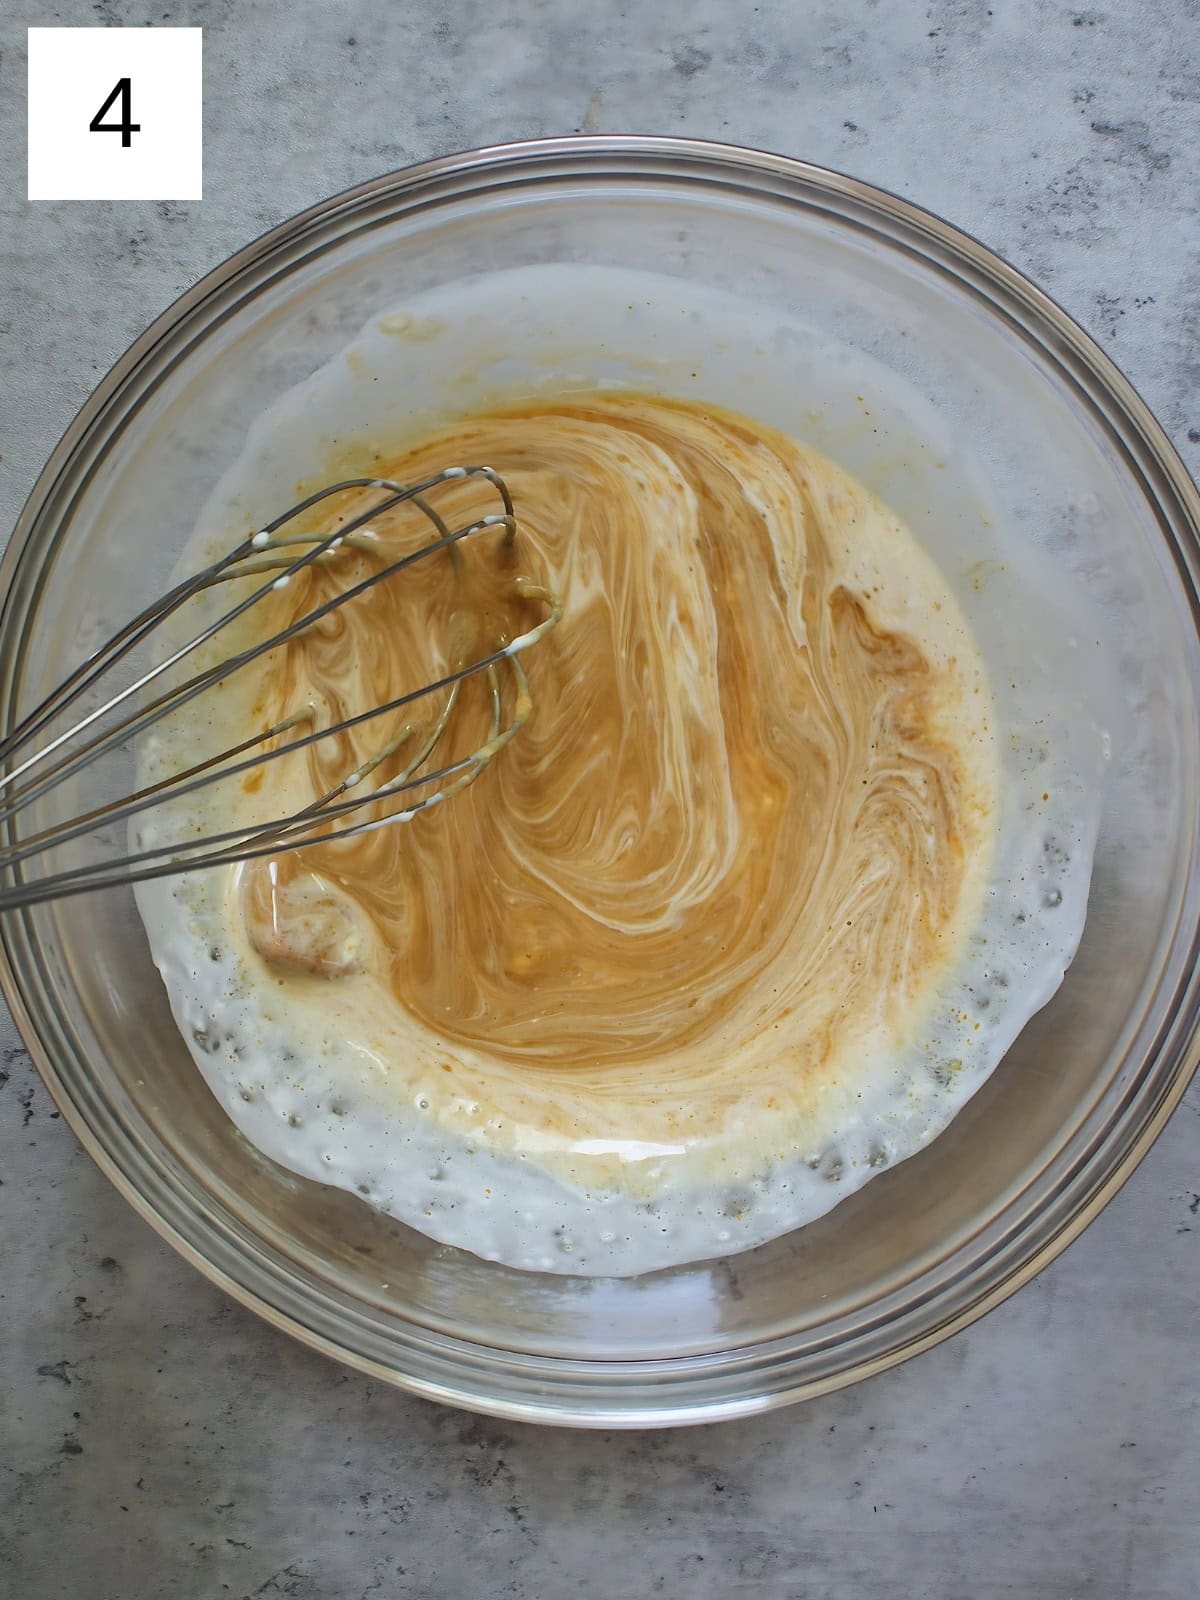
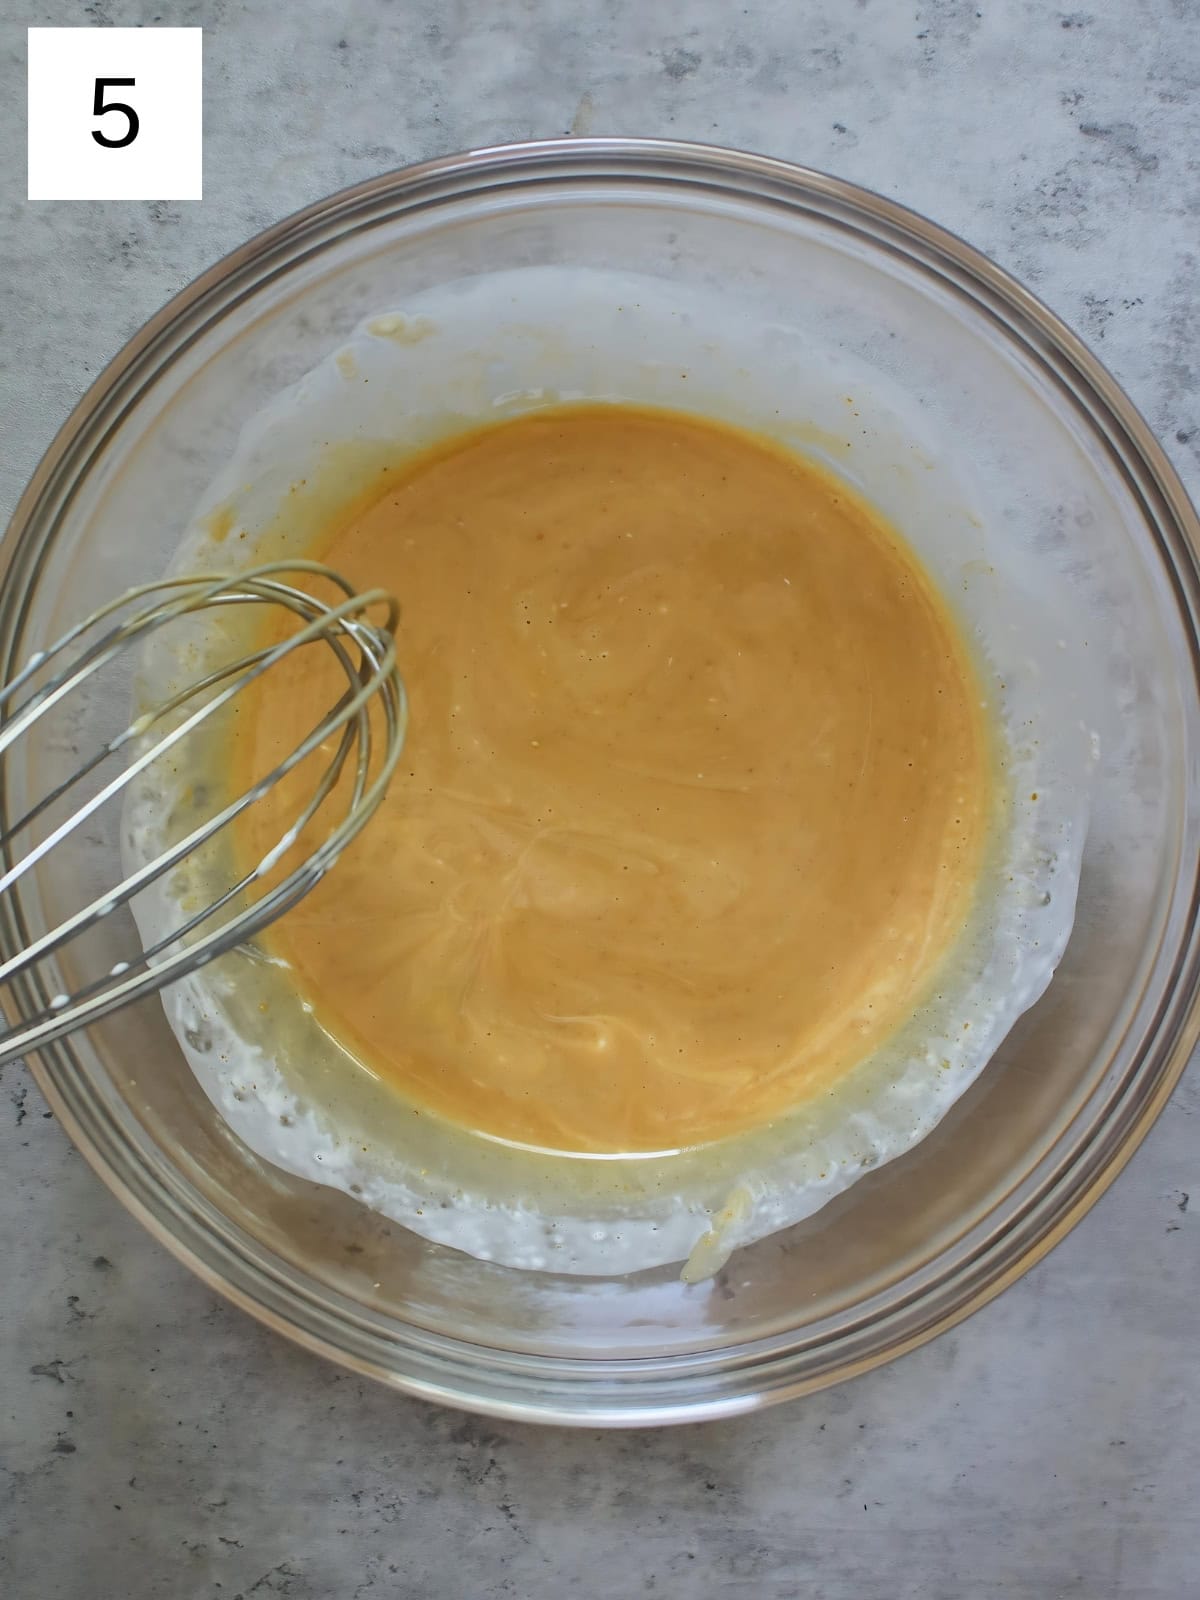
Step 8) After the wait, whisk the mixture until the chocolate is fully melted and the ganache is smooth. If you find any lumps, you can gently heat the mixture over a double boiler while stirring until it's completely smooth (images 4 & 5).
Step 9) Cover the ganache with plastic wrap, pressing it directly onto the surface of the chocolate to prevent a skin from forming on the top. Then chill the emulsion in the refrigerator until it's completely cooled – about 2 hours (image 6).

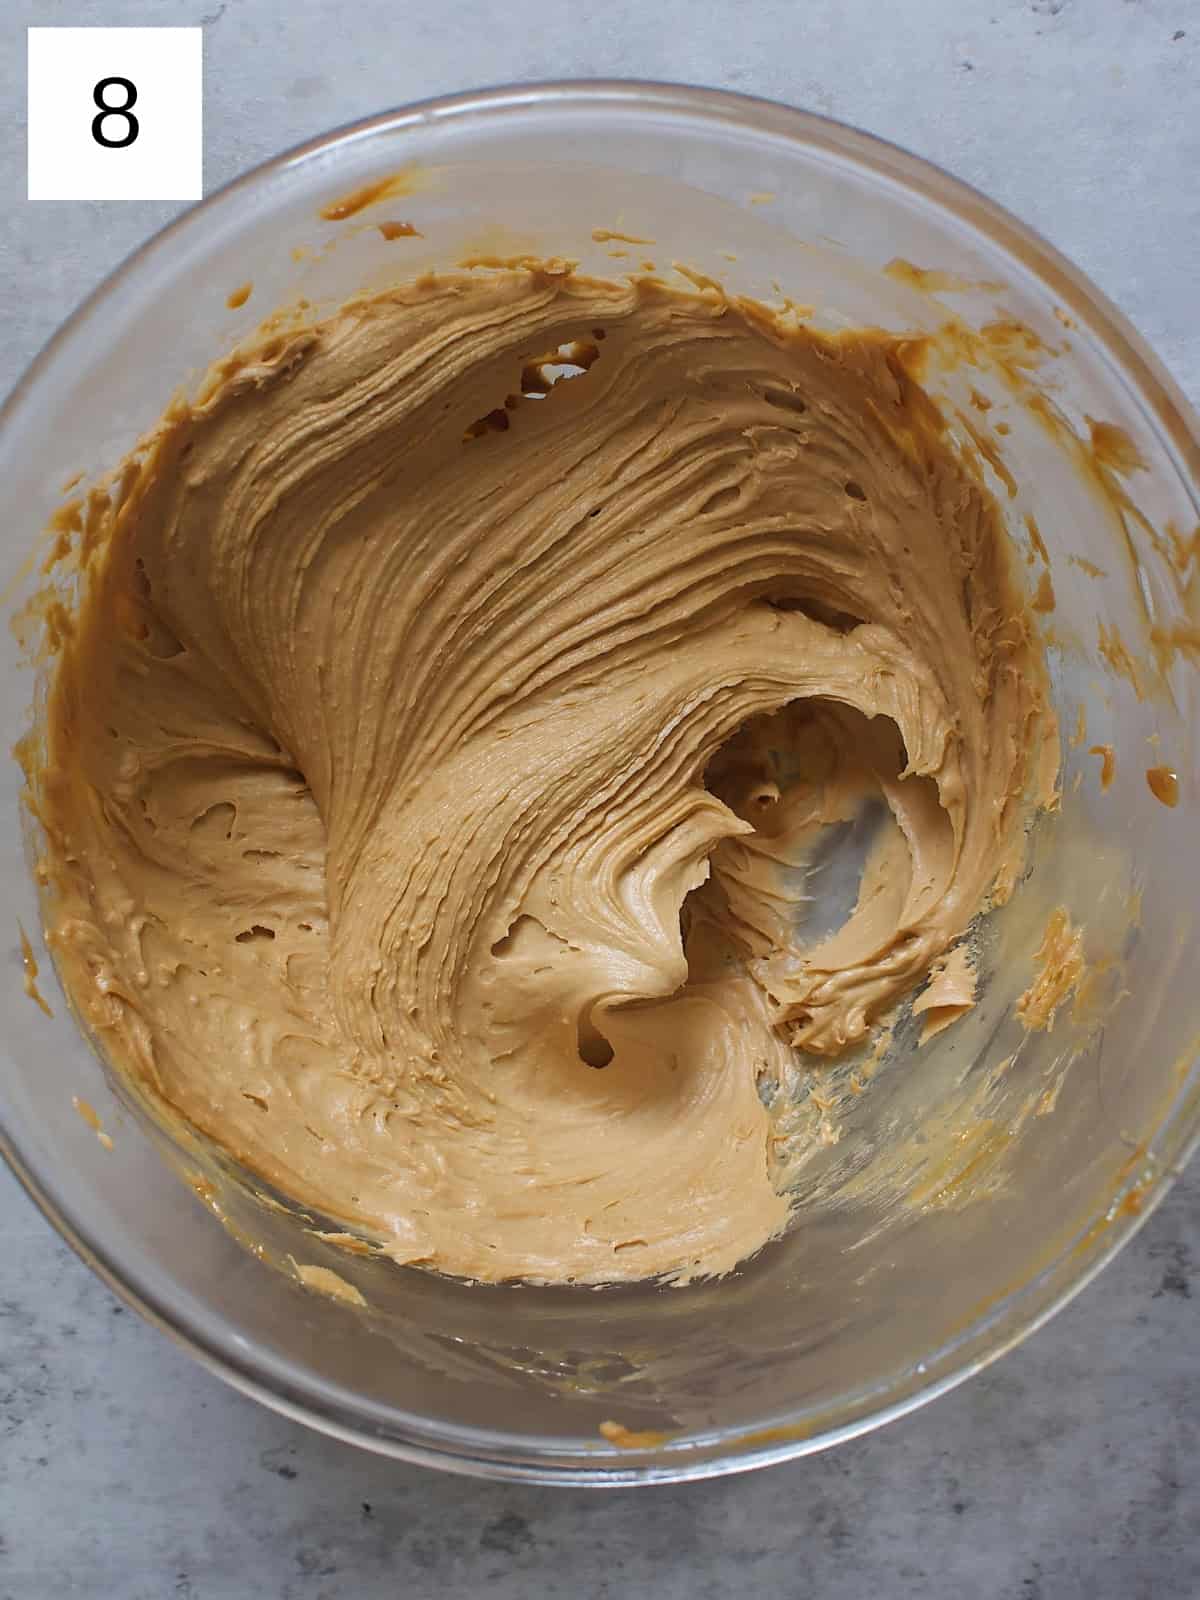
Step 10) Once chilled, take it out and whip it using an electric mixer on high speed until it's light and fluffy, which should take about 3-4 minutes (images 7 & 8).

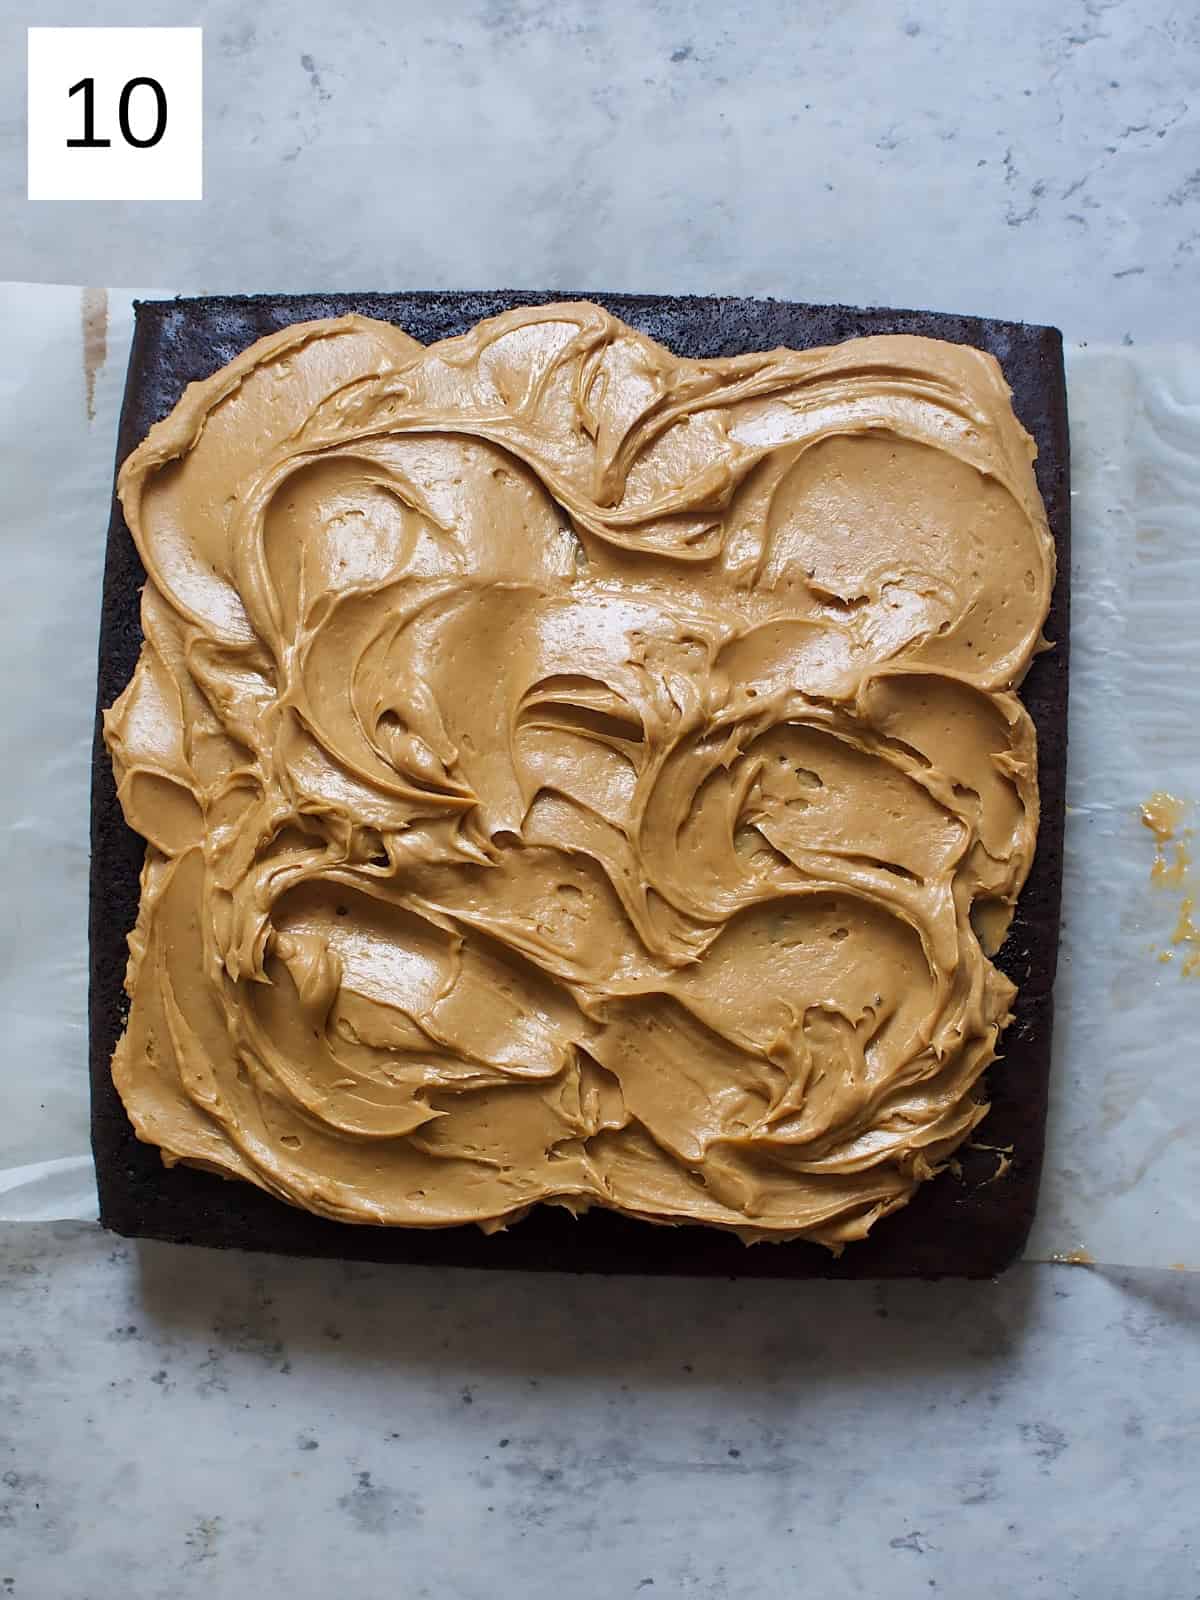
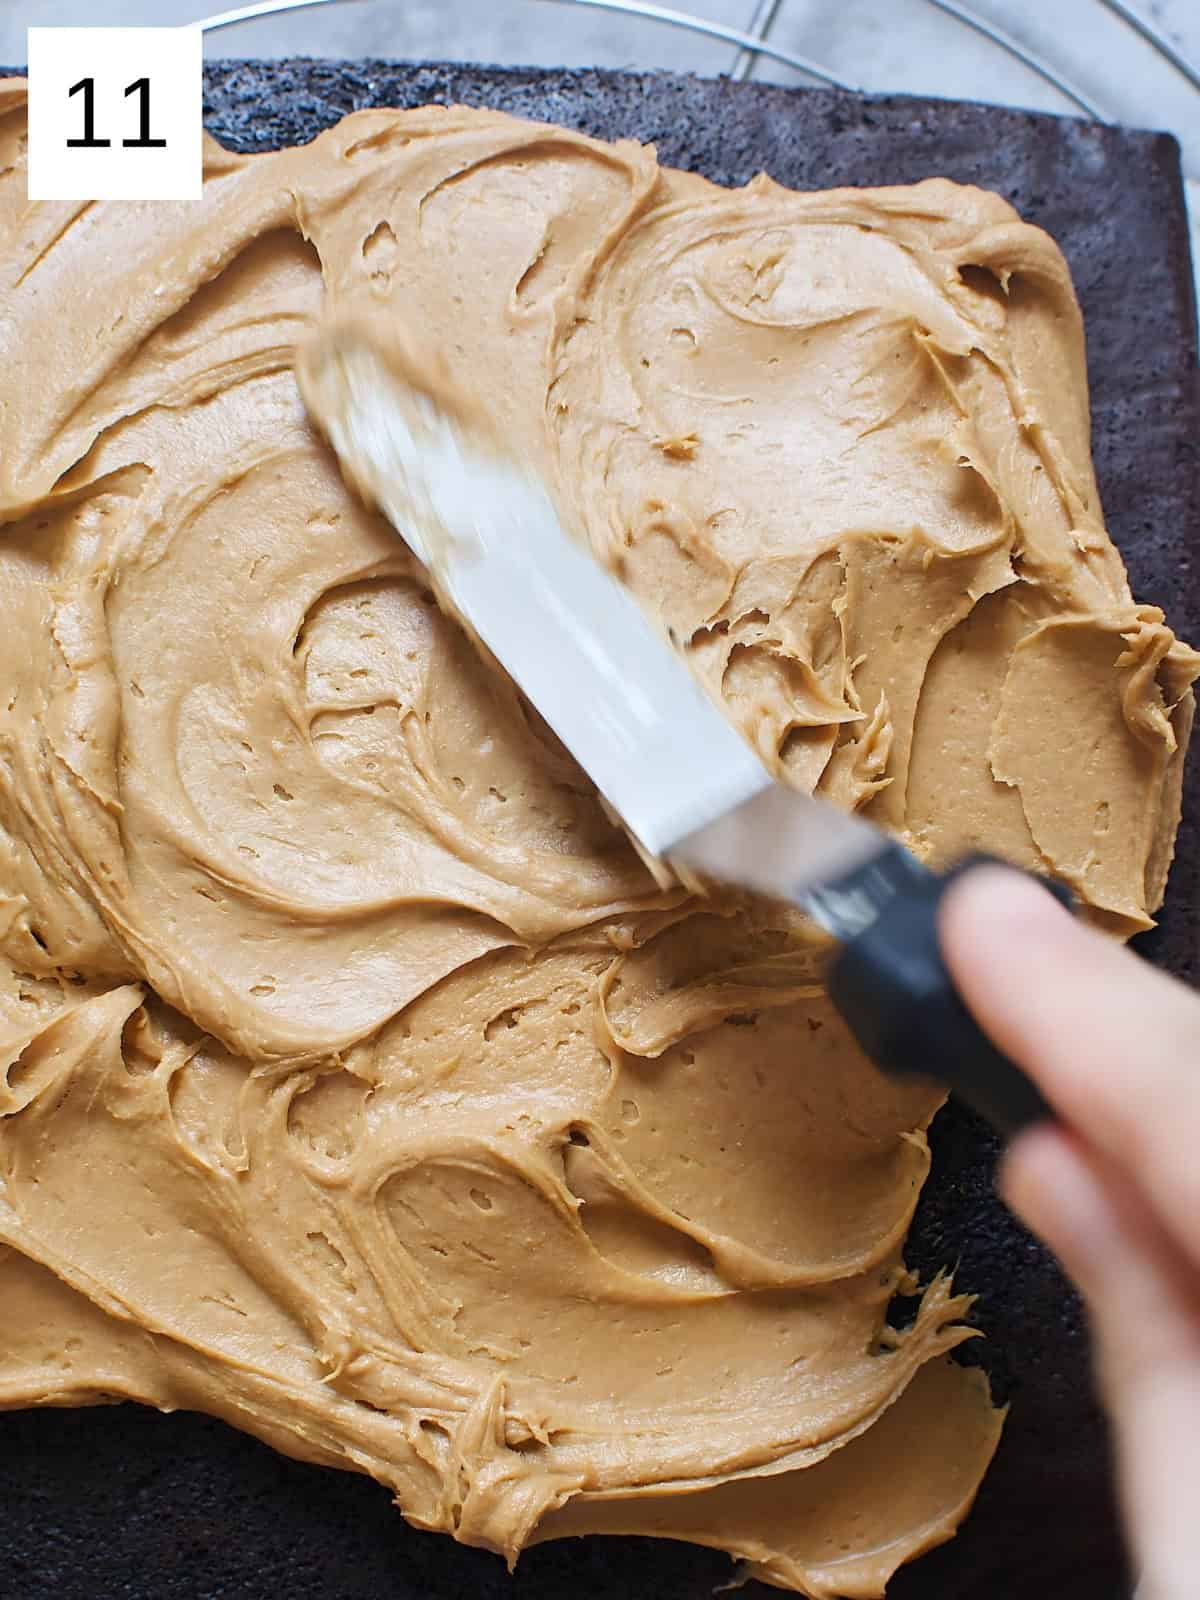
Step 11) Use immediately to frost cakes, cupcakes, or any dessert that could use a touch of creamy, white chocolate goodness, or keep it in the fridge for up to one week (images 9 to 11).

🧁 Storage Length & Tips
This recipe for whipped frosting or filling is meant to be used immediately, but will keep fine in an airtight container in the fridge for up to 2 weeks, and keep its form for up to 6 months in the freezer if already added to your favorite baked goods (though it will slowly get denser as it stays in the freezer for longer). Do not store it at room temperaure, because it contains dairy.
👨🏻🍳 Expert Notes & Tips
Quicker Cleanup: for easier cleanup when making the caramelized chocolate, you can just line the baking sheet with a silicone mat or parchment paper. However, in my experience, it's easier to move and stir the chocolates without the lining.
Watch for Water: make sure you don't accidentally get any water on the chocolate at any time, as that can cause the chocolate to seize up and become unworkable, not to mention stop caramelizing and/or whipping (depending on what step you're on).
Fixing Broken Ganche: If you overwhip the ganache, meaning the mixture becomes grainy and separated instead of light and fluffy, transfer the ganache to a heatproof container. Heat a small amount of water in a saucepan and place the bowl of ganache on top of it.
Then re-melt the ganache by mixing using a rubber spatula until it’s smooth again. Let it cool before chilling it in the fridge. It needs to be chilled again for about 2 hours before you try whipping it again.
🍪 Recipes for Using Whipped Chocolate Ganache
🙋🏻♂️ Frequently Asked Questions
Yes, you can use different types of chocolate such as dark, milk, white, or ruby chocolate depending on your preference or the flavor profile you want to achieve.
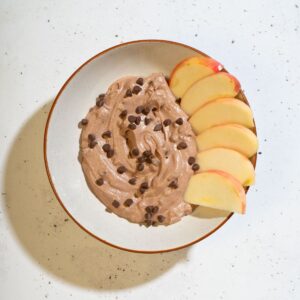
Whipped chocolate ganache is versatile and can be used as a frosting for cakes, filling for pastries, or as a topping for desserts like cupcakes, tarts, or even as a dip for fruits.
To prevent crystallization, brush down the sides of the pan with a wet pastry brush while cooking the sugar - this helps dissolve any sugar crystals that may form on the sides of the pan.
Yes! You can also caramelize milk chocolate. I actually first tried caramelized white chocolate and caramelized milk chocolate in the same afternoon, back when I was living in Guatemala in 2015.
Yes, you can make a vegan version of caramelized chocolate ganache by using dairy-free cream and vegan chocolate - I've found that vegan chooclates made with coconut or cashew "milk" taste and caramelize the best using this process.

Have you tried this recipe?
If you like the recipe, please leave a 5-star ⭐️⭐️⭐️⭐️⭐️ rating on the recipe card, or even a comment! I love to hear how your recipes turned out, and your feedback can help other readers! Also join us on Instagram, Facebook & Pinterest.
📖 Recipe
Whipped Caramelized Chocolate Ganache Recipe
Equipment
- Sauce Pan
Ingredients
- 7 to 8 oz blonde chocolate 200-220g
- 6 to 7 tbsps heavy cream
Instructions
How to Make Blonde Chocolate
- If you've already made or bought blonde chooclate, skip to the whipped ganache section below. Preheat the oven to 250°F (120°C). Chop up pieces of white chocolate until they look splintered. You want the surface area of the chocolate slivers to be as small as possible so that each one is evenly exposed to the heat.
- Scrape your chopped chocolate on a baking sheet. Spread out the chocolates in a single layer to ensure even browning.
- Put the chocolate-covered tray in the oven and set the timer for 10 minutes. When the timer goes off, take out the baking sheet and use your spatula to stir and move the melted chocolate before returning it to the oven for another 10 minutes.
- Repeat this process two more times (total of 30 minutes) and then every 5 minutes afterward until the chocolate is smooth and deep brown. It should be roughly the color of peanut butter, according to my boss in Guatemala (where I learned this technique many years ago).
- Once it’s out of the oven, let it cool first. If the chocolate is separated or is a bit grainy, scrape it into a high-speed blender (you can also use an immersion blender or a food processor) and recombine for a smoother texture.
- You can use it immediately in the recipe below, or you can transfer it to an airtight container for later use. It can be stored for up to a month, no refrigeration required.
How to Make Whipped Ganache
- In a small saucepan, heat the heavy whipping cream over medium heat until it just begins to simmer. Don't let it come to a rolling boil – you're looking for those little bubbles that tell you it's hot enough.
- Pour the hot cream over the caramelized chocolate, making sure every bit is covered. Let it sit for about 3 minutes if you just made the caramelized chocolate or 5 minutes if using premade chocolate. This gives the chocolate time to soften and melt into the cream.
- After the wait, whisk the mixture until the chocolate is fully melted and the ganache is smooth. If you find any lumps, you can gently heat the mixture over a double boiler while stirring until it's completely smooth.
- Cover the ganache with plastic wrap, pressing it directly onto the surface of the chocolate to prevent a skin from forming on the top. Then chill the emulsion in the refrigerator until it's completely cooled – about 2 hours.
- Once chilled, take it out and whip it using an electric mixer on high speed until it's light and fluffy, which should take about 3-4 minutes.
- Use immediately to frost cakes, cupcakes, or any dessert that could use a touch of creamy, white chocolate goodness, or keep it in the fridge for up to one week
Comments
No Comments