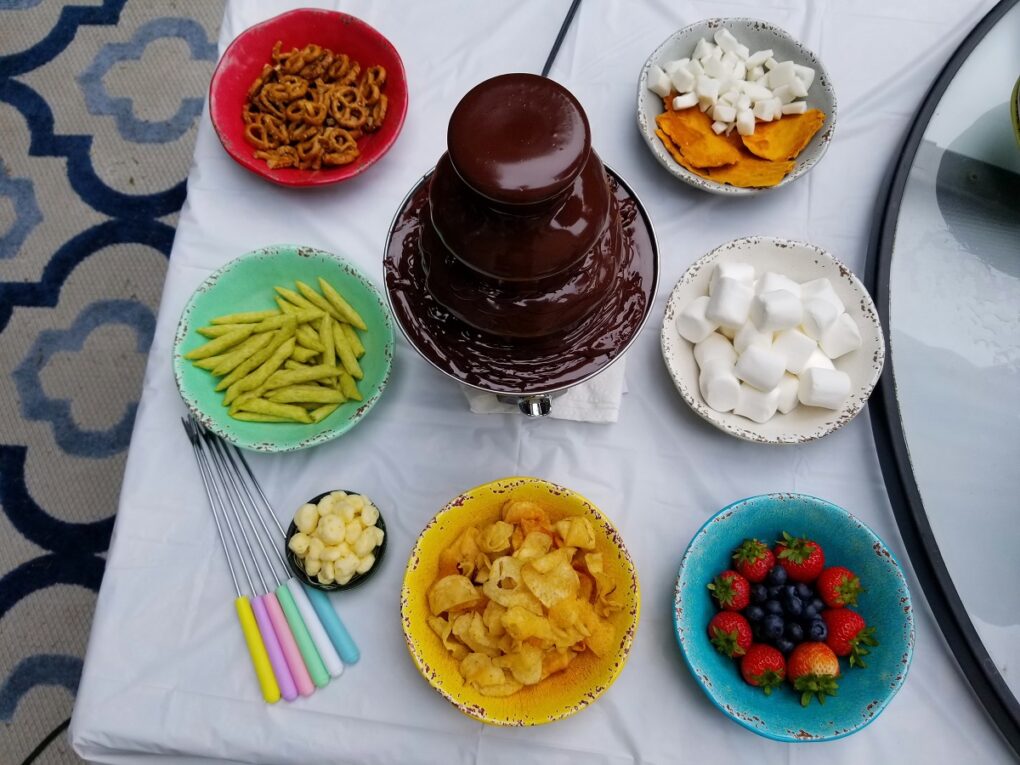
I developed this chocolate fountain recipe with cream to help celebrate a friend's engagement party, and we fixed several issues before everything was flowing smoothly. When I was first searching, I had a hard time finding chocolate fountain recipes using cream.
So I ended up just experimenting until I found the perfect ratio for the desired thickness. This post includes our final recipe for a chocolate fountain, along with our hard-won tips for how to set up a chocolate fountain & the best chocolate for a chocolate fountain.
On my birthday this year we even double-checked my ratios, so hopefully your chocolate contains enough cocoa butter to flow a smoothly as ours. Remember that you don't need to buy Belgian chocolate for the best chocolate fondue or fountain.
Though it's important to note that using cream in a chocolate fountain recipe turns it more into a chocolate fondue fountain, so get ready for a rich treat! Please use the 'Jump To' table of contents below to jump to different sections.
Jump To
Before setting up chocolate fountain
Pick a Location. Be wary of the wind, rain, and sunshine when choosing where to set up & what goodies to offer for dipping. A windy day can tip over the fountain completely, so avoid using a chocolate fountain when windy, and set up an indoor chocolate fountain bar at special events in the fall/winter.
Level the Fountain. Make sure your fountain is somewhere it can be 100% level! I cannot emphasize this enough, because the more level it is, the more stable it is. You can use a paper towel to even out a wobbly table, as we did, but make sure to look at your machine from every angle before starting to add chocolate.
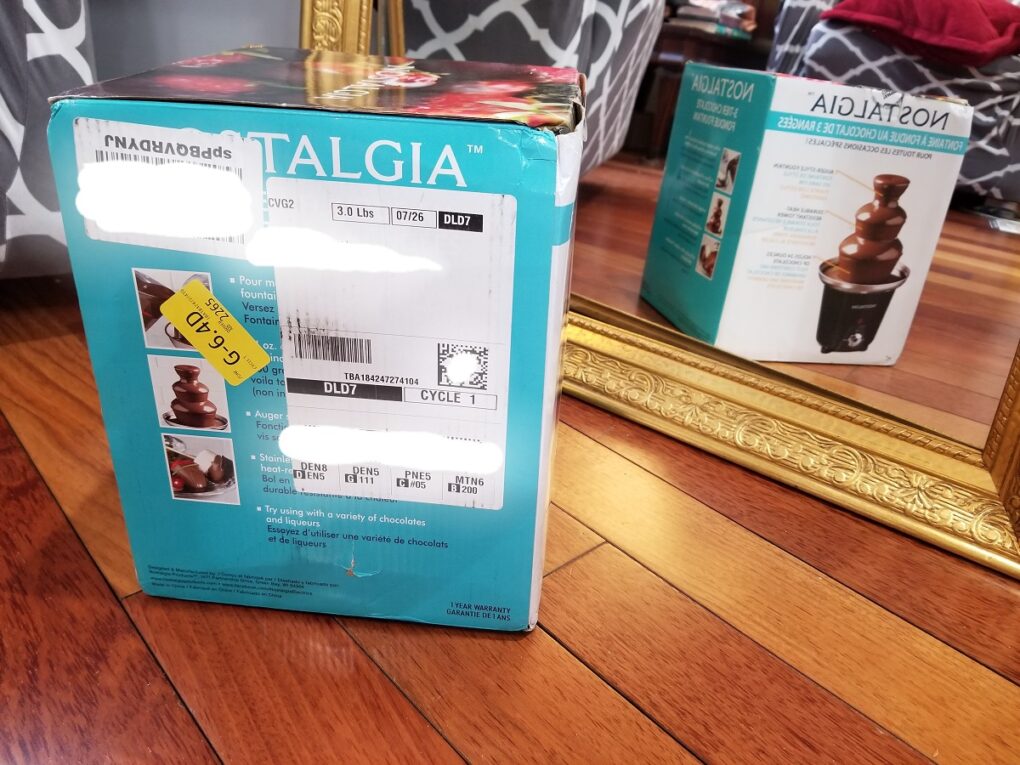
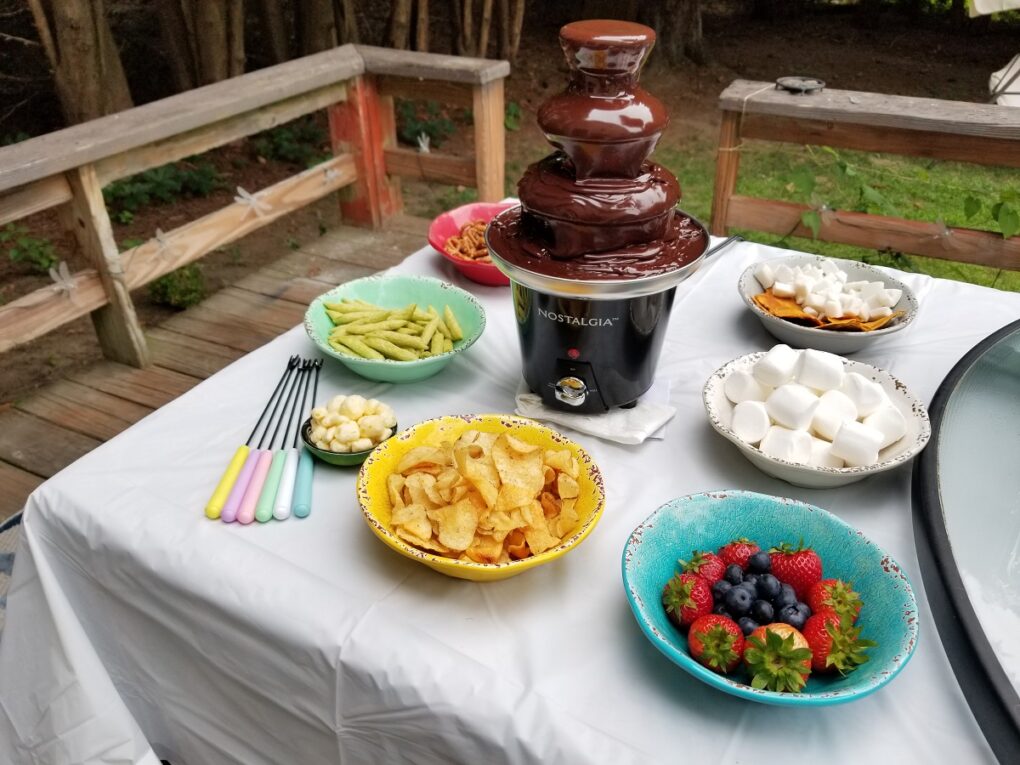
Read the Manual. For best results, I always recommend to read your manual, because your instructions may be different from mine. I have a Nostalgia 3-Tier 24oz. Chocolate Fountain, and this is how I set it up for an August event outdoors.
How to use a chocolate fountain: step-by-step instructions
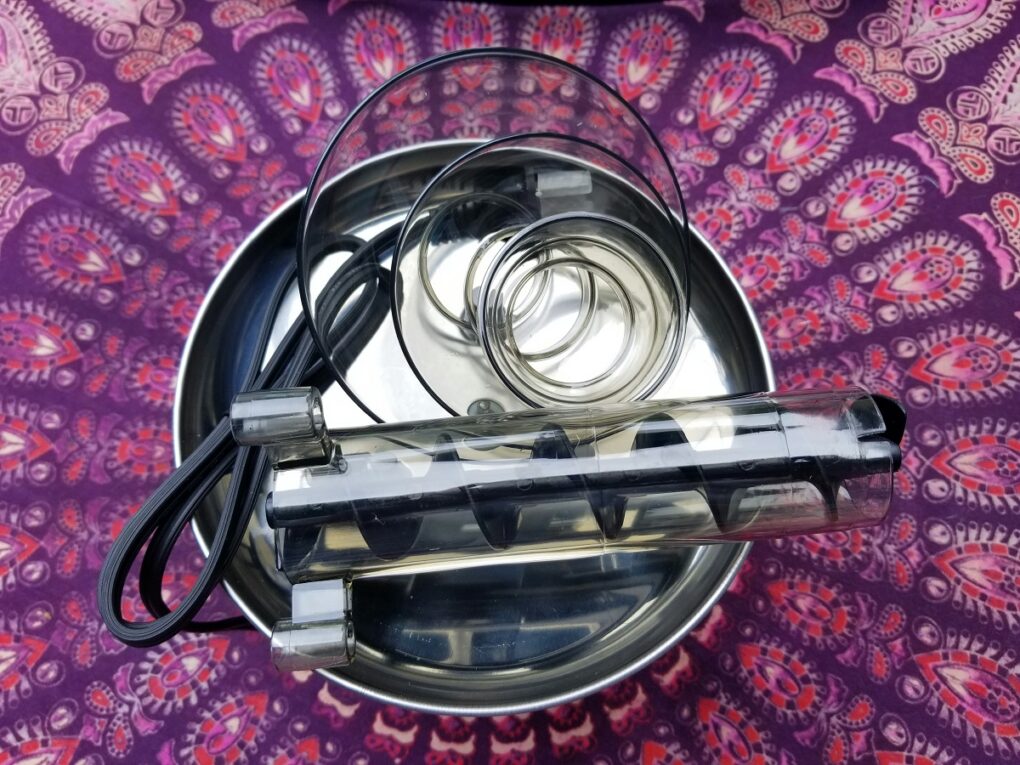
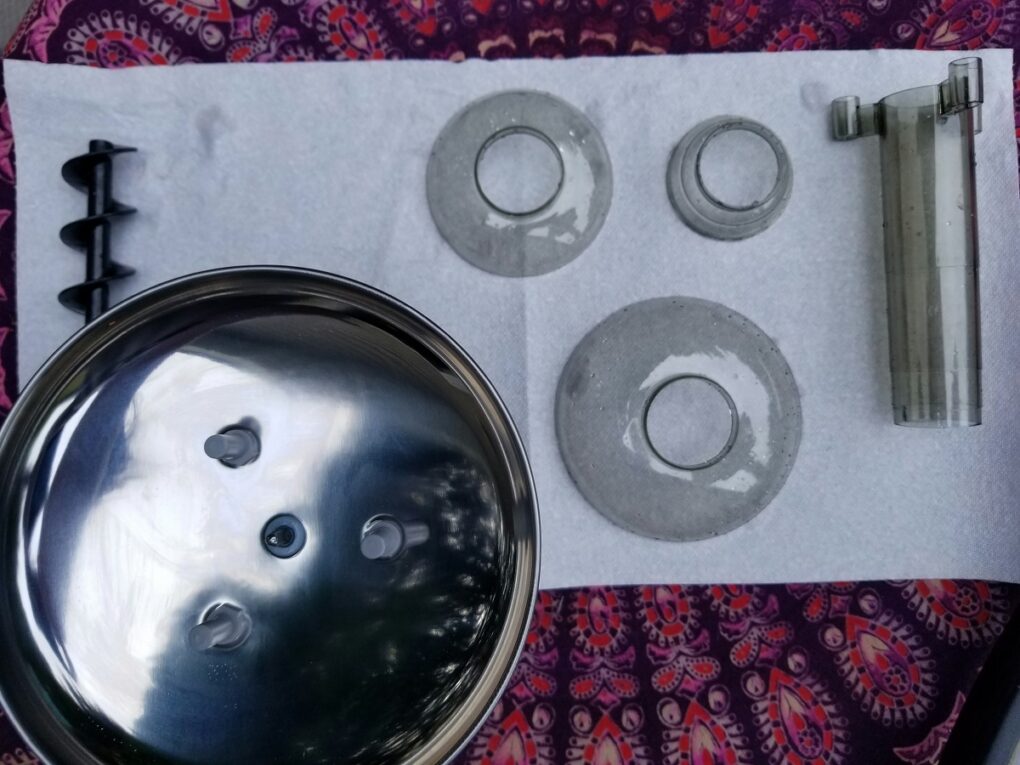
Step 1. Take your machine out of the box and read the instruction manual, at least the quick start guide that all machines include. Most will tell you to take out the chocolate fountain and wipe down the three main parts: the tower, the auger, and the base (which contains the bowl).
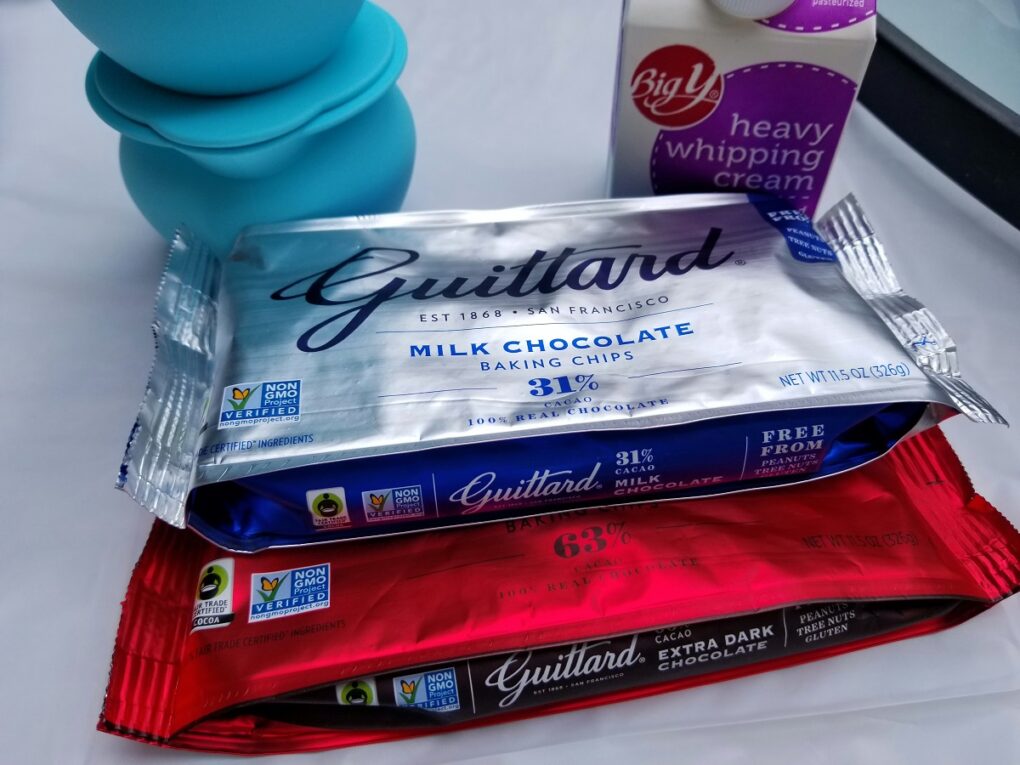
Step 2. Before you preheat your machine as directed (just 3-5 minutes for the Nostalgia), you'll want to heat the chocolate. Measure out 1 ¼ cups heavy cream per 20oz. of chocolate, preferably a high-quality dark chocolate like Guittard or Valrhona, though you could also use a milk chocolate for fountain or fondue prep (see notes to use white chocolate).
Note: if you have a smaller crowd, you can use as little as ¾ cups heavy cream with 11oz. chocolate. Most chocolate chips come in 11.5oz. bags, so this makes it easy to halve the recipe.
2a) MICROWAVE METHOD (easy). To heat chocolate for a chocolate fountain in the microwave, start by putting all your chocolate and cream into a silicone or glass bowl. Heat for 1 minute on high, then stir it and put it back for 4 bouts of 20 seconds, stirring between each one.
After the 4th bout, let the chocolate sit in the microwave for 30 seconds before taking it out and stirring again. Heat for about 2 more minutes in 20-second bursts, until all melted evenly. It took us about 4 minutes' total heating in the microwave for all the chocolate to finish.
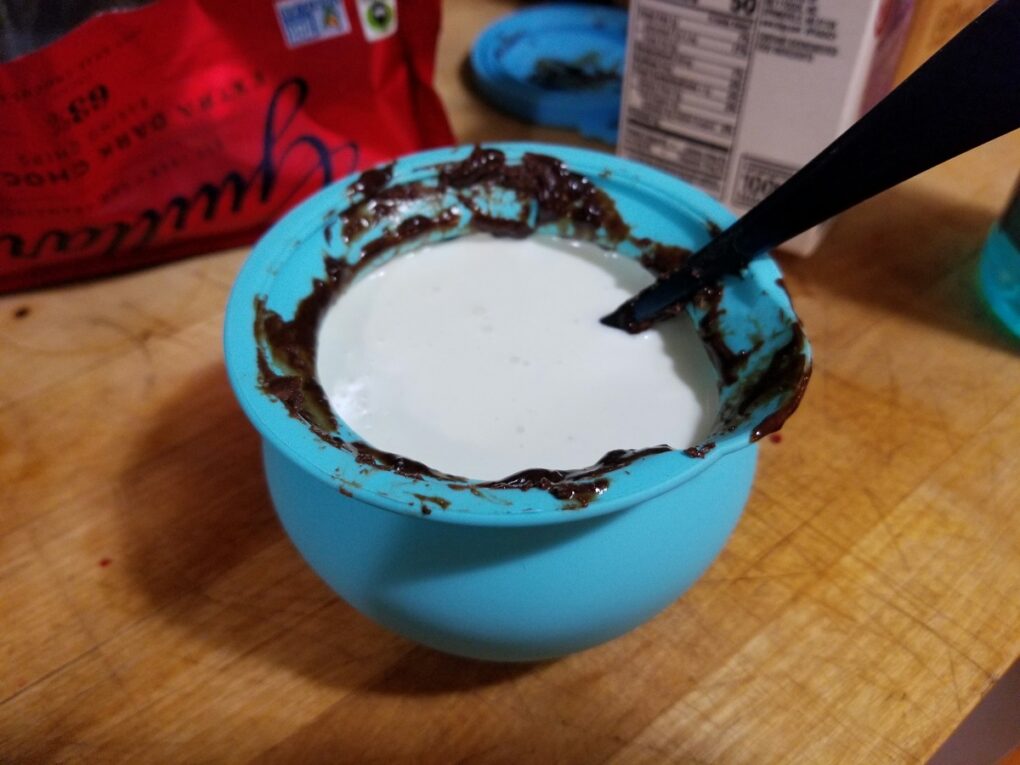
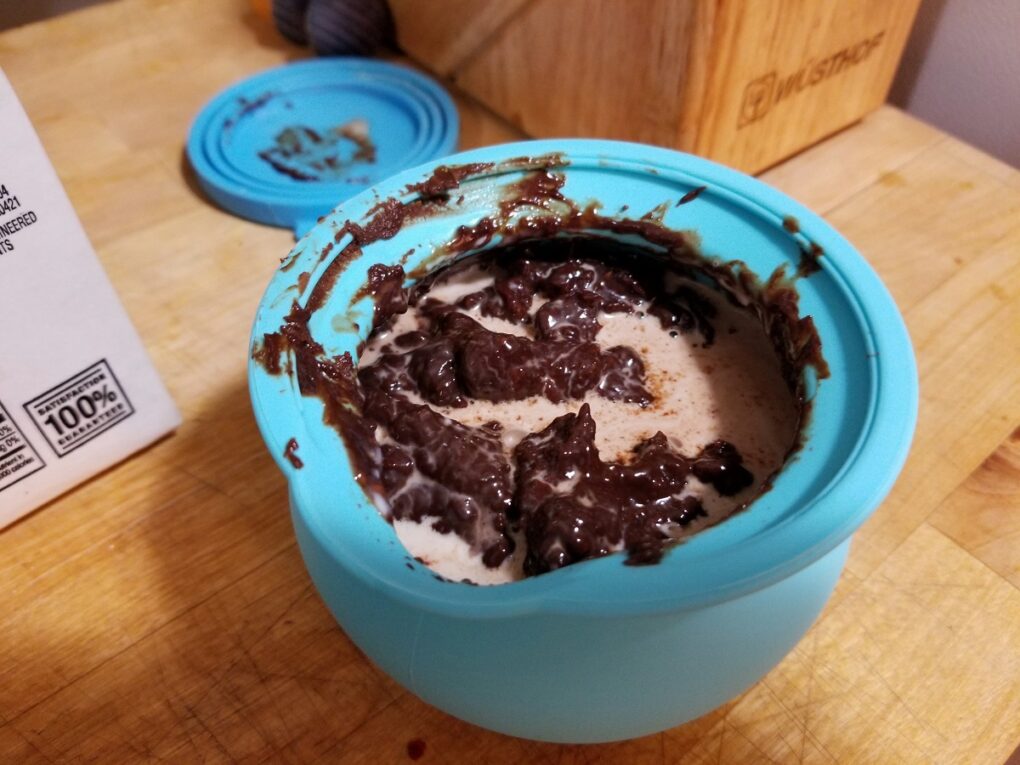
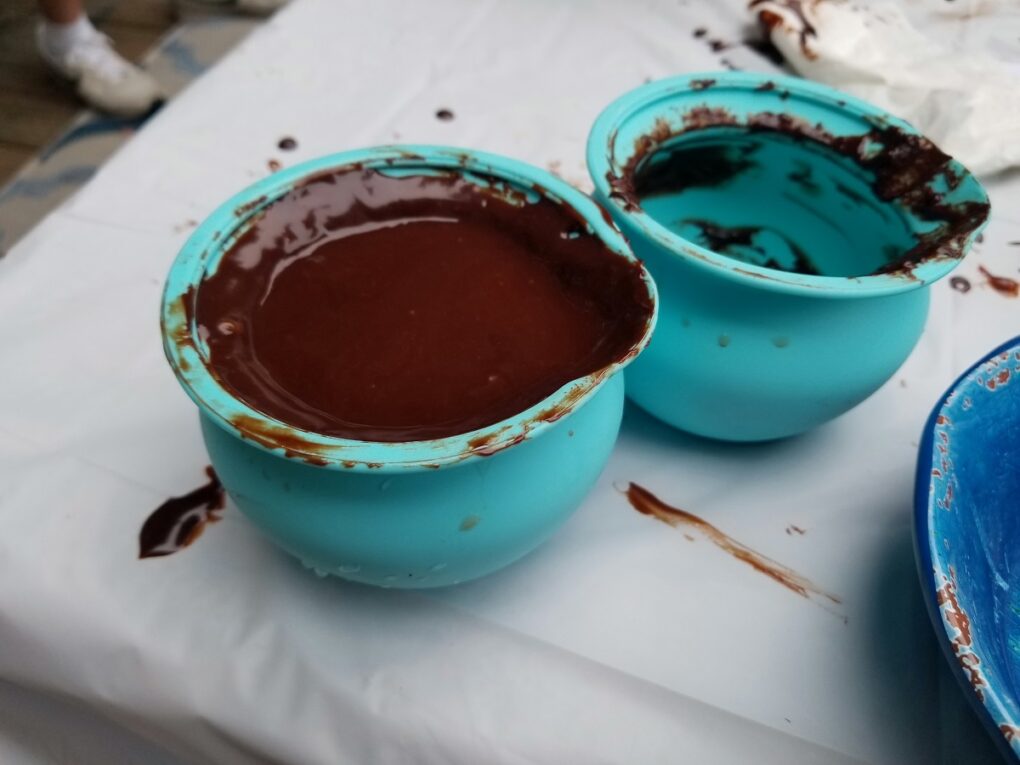
2b) STOVETOP METHOD (medium). For the stovetop double-boiler method of chocolate melting, you'll need a large pot and a large glass bowl that fits atop the pot. Heat 2-3 inches of water on high in the pot, and once boiling, switch to low heat and place the bowl atop the pot, making sure it fits well enough that no steam can escape.
Add the chocolate and cream to your bowl, and over the next 10-15 minutes, stir the mixture until well-combined & the right viscosity. Once there are no more clumps, your chocolate is ready to be used, but be careful not to get any water inside of you may separate the mixture.

2c) INSTANT POT METHOD (easy). To use an Instant Pot for chocolate fountain chocolate, you're basically turning it into a double boiler. Start by pouring 2 cups of water into the bottom of the liner, then place a glass bowl on top, large enough to create a seal above the chocolate so that no steam can escape.
Then add your chocolate and cream, and set the Instant Pot to 'Sauté' on Normal. Your cream will heat and the chocolate will slowly lose its shape over the next 12-15 minutes. Once everything has melted, stir it well to ensure no air bubbles and the proper consistency; if it needs more cream, add it before taking the chocolate off.
Turn on 'Keep Warm' until you're ready to add the chocolate to the fountain. Once all your chocolate is heated, don't let it keep heating, as if it gets above 110°F/43°C it could warp the machine.
If your chocolate looks smooth but still has a few little clumps here and there, let it sit for 30 seconds at room temperature, and then beating it well, until shiny; it's not ready until 100% smooth (air bubbles are fine).
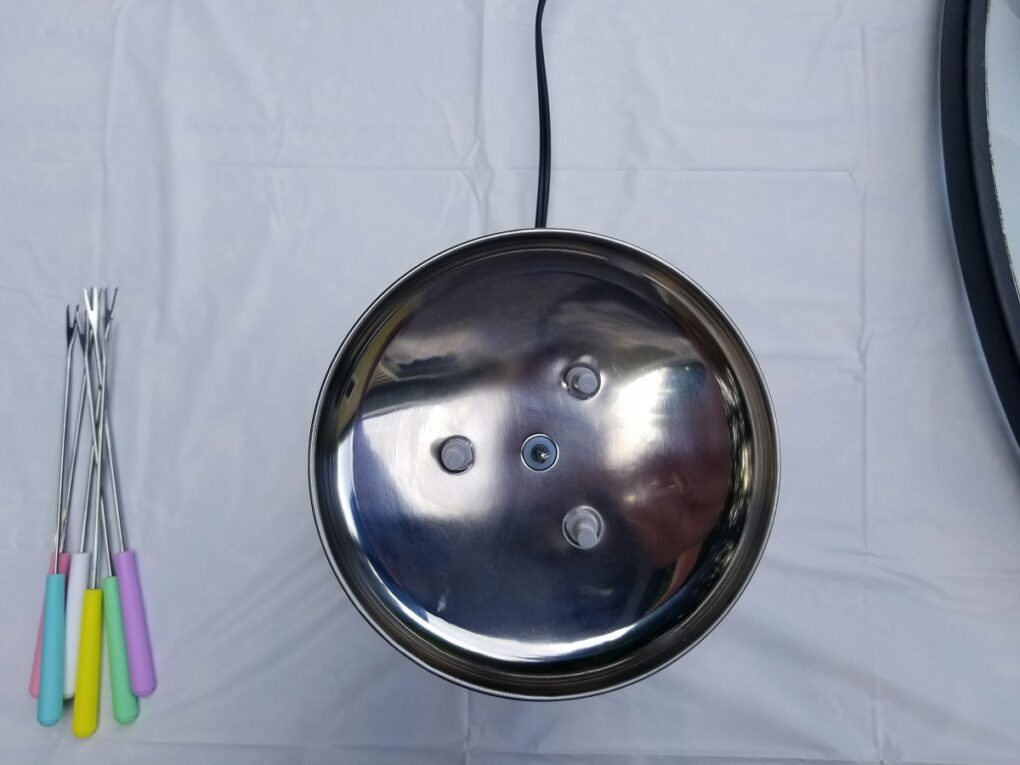
Step 3. Once your chocolate is done heating, go back to your chocolate fountain base, plug it in, and turn it on 'heat' mode. You need to wait 5 minutes before the heating element in your machine will be ready, so set a timer, and then take this moment to assemble the tower.
Stack all 3 parts of the tower, attach the auger, and then place the tower atop the heating base. This is a good time to gather your dippables into bowls.
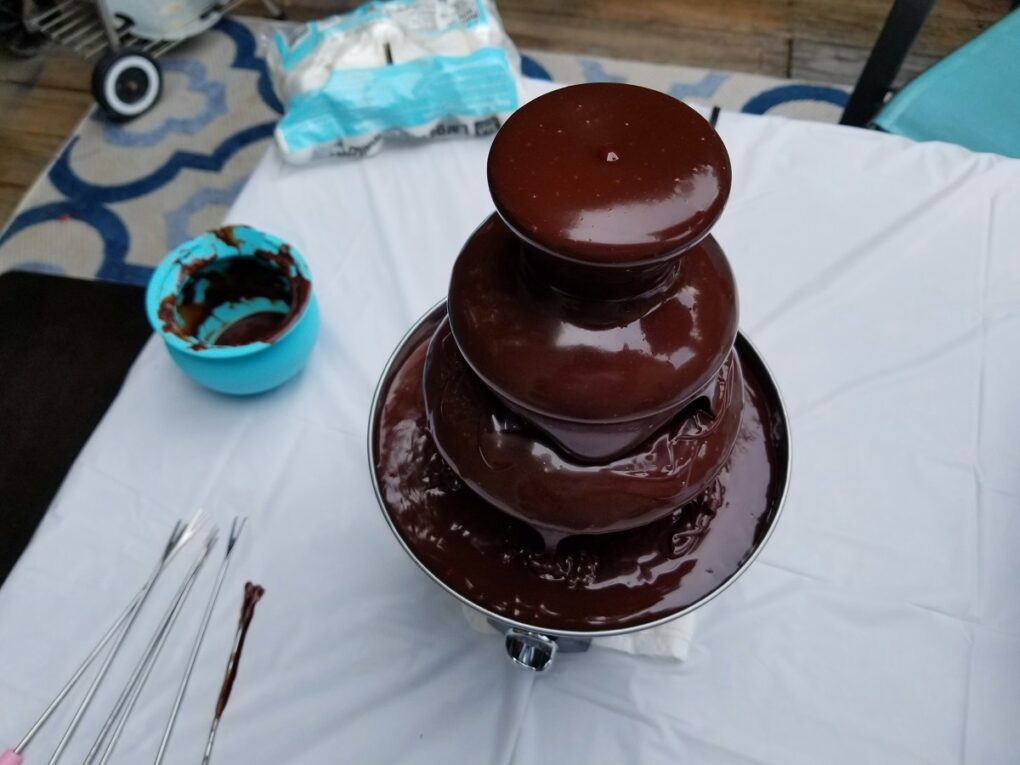
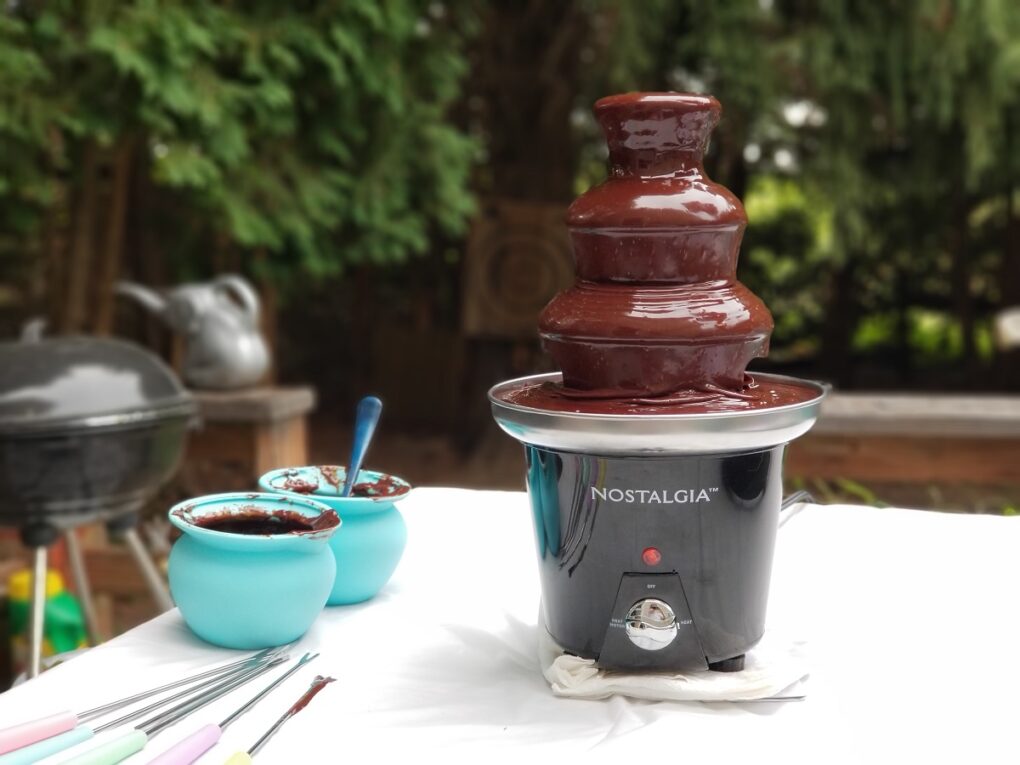
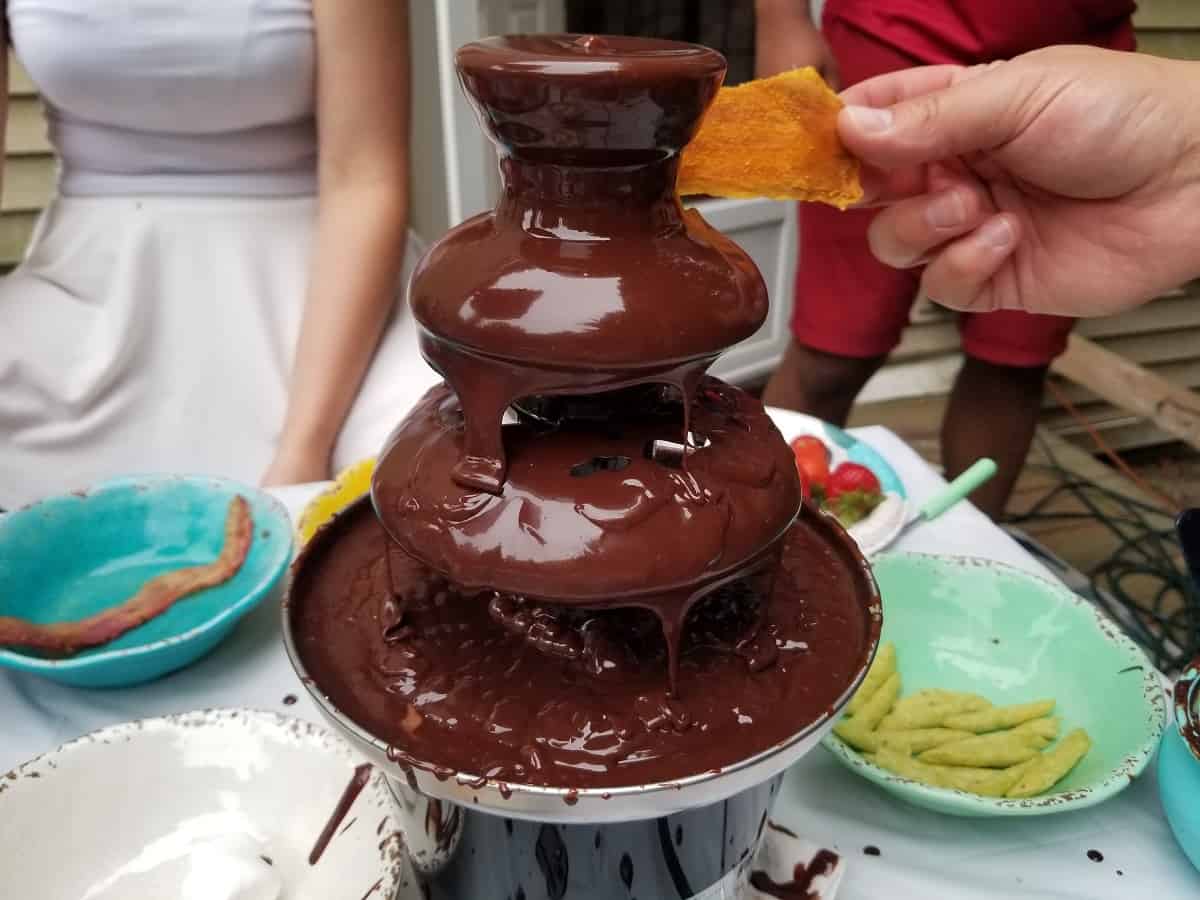
Step 4. When your timer goes off, your bowl should be warm to the touch and your chocolate fountain all assembled. Grab your melted chocolate and begin pouring it over the top, just drizzling a little over the entire machine before pouring the rest directly into the bowl. From there, the auger will lift it to the uppermost layer and it will start cascading down. Your chocolate fountain is now ready to be used!
For troubleshooting any common issues, check out the notes section. We recommend starting by dipping fruits, marshmallows, chips, and pretzels.
How to Clean a Chocolate Fountain
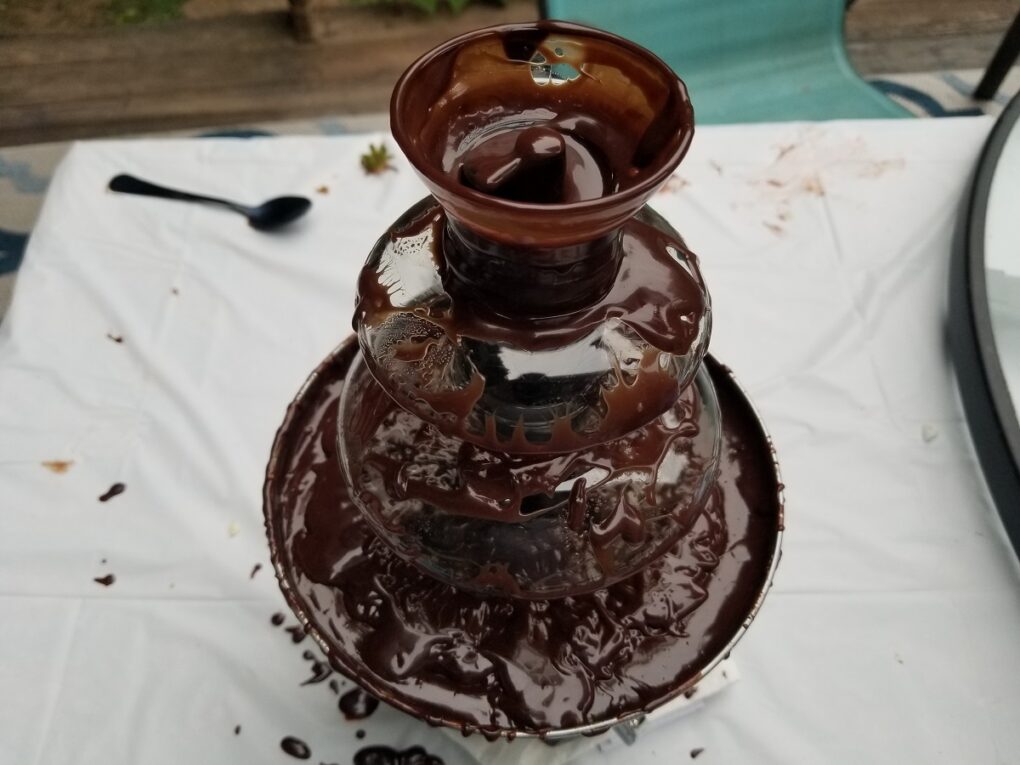
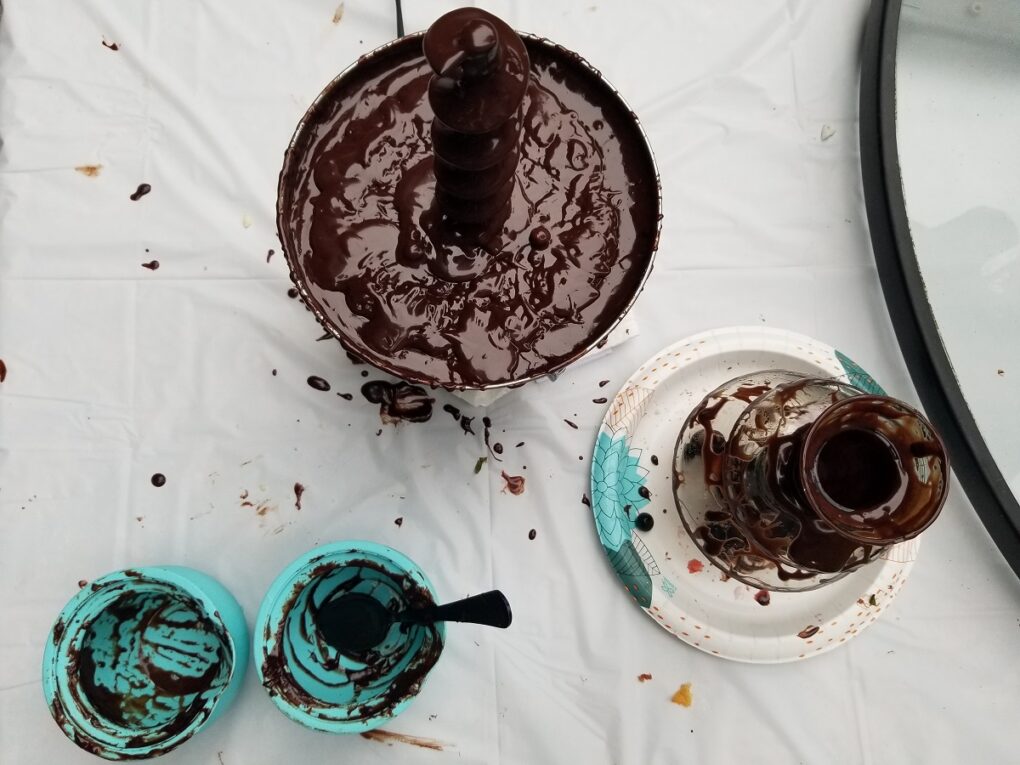
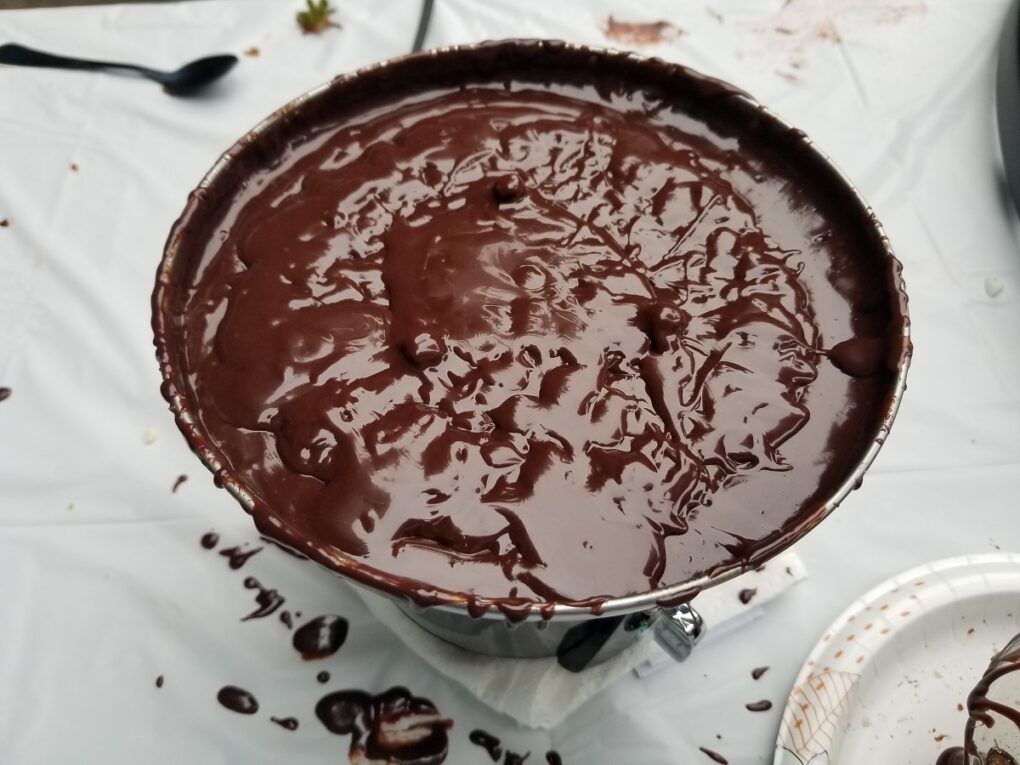
You must clean your chocolate fountain right after using it, setting aside any unused chocolate for later recipes (as long as it didn't get too many crumbs in it!). To clean a chocolate fountain, first turn off the machine and then scrape down the tower with a silicone spatula.
Remove the auger and the tower and scrape off as much chocolate as you can into the bowl. Then place both pieces on a plate while you scrape any remaining chocolate from the bowl into an air-tight container. This chocolate can be safely refrigerated for up to 2 weeks or frozen for up to 1 year.
Gently wash off any chocolate from the auger and tower with warm water, then take the tower apart and wash every piece with soap and water. Gently wash the base & bowl piece with a soapy damp cloth, but DON'T submerge it in water.
The whole process should take 10 minutes, and then it can all be dried off and easily stored for next time.
Recipe notes & tips
Use the Spoon Test. To see if chocolate is thin enough for your fountain, simply pour the chocolate out of a regular spoon, and if it's too thick then add more cream (or coconut oil) one tablespoon at a time. This is important to establish while you still have some heating time left, because adding cold cream will cause some of the chocolate to harden.
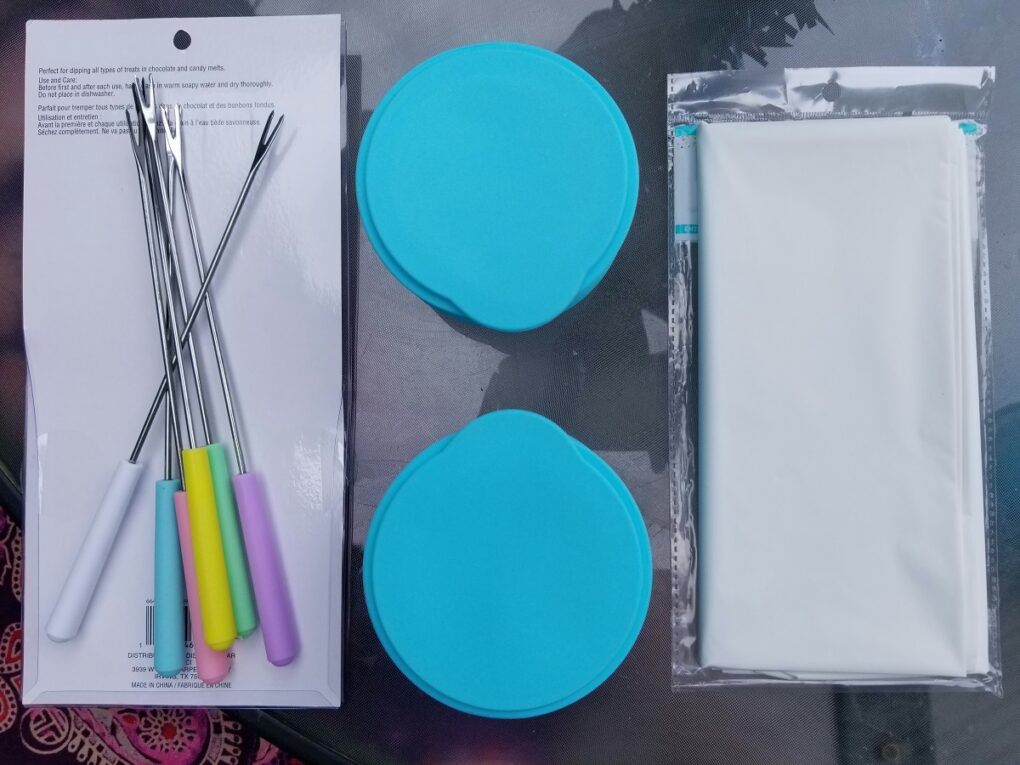
Fondue Forks. If you don't have toothpicks or fondue forks, you can also use dinner forks, kabob skewers, or very thin chopsticks. Some other chocolate fountain ideas for setup are listed in the notes below.
Vanilla Extract. Several of the home chocolate fountain recipe ideas I found mentioned adding vanilla extract, but if your chocolate is good quality, you won't need anything extra.
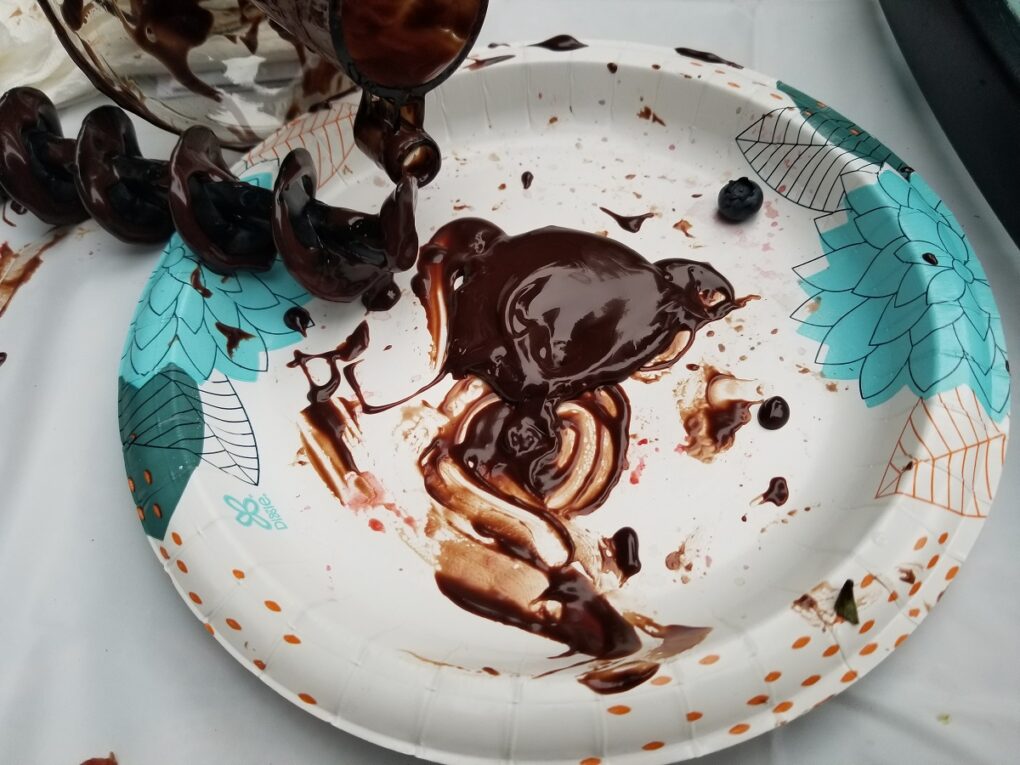
In Case of Clumping. If your chocolate starts to bead up or clump in the chocolate fountain, check to make sure no liquid has entered the fountain's reservoir or any pieces of food aren't stuck in the bowl of the base, creating a clog.
For Uneven Flow. If the chocolate flows down unevenly, make sure that your fountain is on a flat surface and there isn't anything stuck somewhere in the fountain. If it continues, you may just not have enough chocolate left for even flow.
13 Best Foods to Dip Into Chocolate Fountain
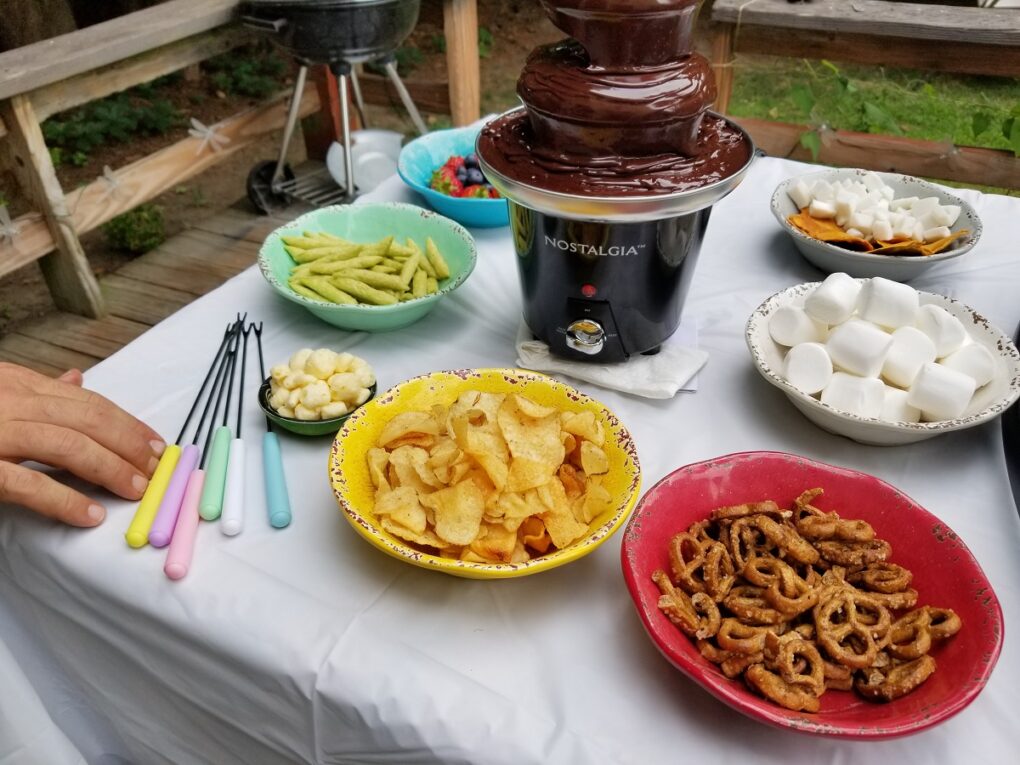
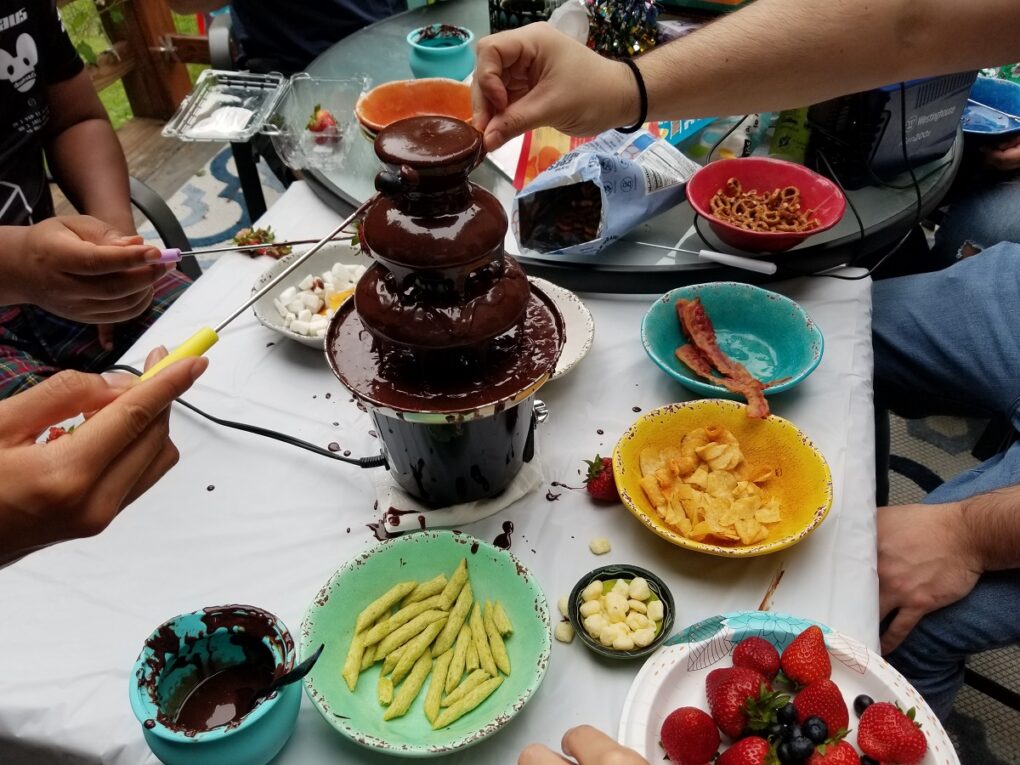
In no particular order, these are some of our recommendations for what to dip in a chocolate fountain.
- dried mango
- fresh strawberries
- chunks of fresh coconut
- cherries on the stem
- apple slices
- gummy bears (without sugar!)
- fresh churros
- oreos
- nutter butters
- marshmallows
- bacon
- macadamia nuts
- spiced pecans
Pro Tip: Don't forget to include a little trash can nearby for toothpicks if guests don't have their own fondue forks.
Chocolate Fountain FAQ
Any kind you have on hand that can be cut into or is already in small chunks, like chocolate chips, though remember that you'll need oil or cream to thin it out before adding to your machine.
I don't recommend using the meltables stuff because it's sugar with oil not real chocolate, but any plain chocolate from the grocery store would work. Just make sure you use enough cream or oil.
Yes, you can add up to ¼ cup of liquor or any number of other liquids to a chocolate fountain. The key is to make sure everything is well-blended and stays warm enough to flow steadily.
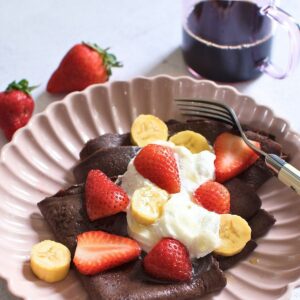
If you used cream, try this chocolate between cake layers, to make cookie sandwiches, or on pancakes for a special treat. If you used oil, try this chocolate on brownies or to make chocolate-covered strawberries.
📖 Recipe
Easy Chocolate Fountain Recipe (With Cream or Oil)
Ingredients
For 24oz. (1.5 Lbs.) Fountain:
- 20 oz. chocolate
- 1 ¼ cups heavy cream FOR OIL: ½ cup + 2 Tablespoons oil
For 36oz. (2 Lbs.) Fountain:
- 30 oz. chocolate
- 2 cups heavy cream FOR OIL: 1 cup + 2 Tablespoons oil
Instructions
- 1. Take your machine out and read the quick start guide. Most machines just need you to wipe down the three main parts: the tower, the auger, and the base (which contains the bowl).
- 2. Before preheating the fountain, you’ll want to heat the chocolate. Measure out 1 ¼ cups heavy cream per 20oz. of chocolate, preferably a high-quality dark like Guittard or Valrhona.
- 3. Heat the chocolate (see 3 methods below).
Microwave Method
- Put chocolate and cream in a silicone or glass bowl, then microwave on high for 1 minute. Remove from microwave and stir gently, then put it back in on high for 20 seconds, stirring well afterwards. Repeat this process 7-8 more times. If the chocolate seems to be heating but not melting, let it sit in the microwave for 30 seconds before taking it out and stirring again, then proceed. This whole process should take about 5 minutes.
Stovetop Method
- Heat 2-3 inches of water in a large pot, and once boiling, turn heat to low and place a large glass bowl atop the pot. Make sure it fits well enough that no steam can escape. Add the chocolate and cream to the bowl, and over the next 10-15 minutes, the two will slowly melt; stir the mixture until well-combined, with no more lumps of chocolate.
Instant Pot Method
- Pour 2 cups of water into the bottom of the Instant Pot liner, then place a glass bowl on top, large enough to create a seal over the water. Then add your chocolate and cream, and set the Pot to ‘Sauté’ on Normal. Over the next 12-15 minutes, everything will melt; regularly stir the mixture well to ensure no air bubbles and the proper consistency. Turn on ‘Keep Warm’ until you’re ready to add it to the fountain.
- 4. Once your chocolate is done heating, plug in your chocolate fountain base and turn it on ‘heat’ mode. While you wait the 5 minutes for your machine to heat, assemble the tiered tower and attach the auger to your the base. Then place the tower over the auger, and your fountain is all set.
- 5. Your fountain is all heated when the bowl is warm to the touch. Slowly pour about half a cup of chocolate over the top, and then pour the rest directly into the base. From there the auger will lift it to top and it will cascade down, and your chocolate fountain is all ready!
- For troubleshooting any issues, check out the notes section.




Cindy
What kind of oil is best?
Max
Any neutral oil - I always use refined coconut oil.
NOR
Can I prepare this recipe beforehand? and on the date I can just pour it to the machine? how can I store it? especially white chocolate
Max
You could do that and store it in the fridge, but you'd still need to reheat it before pouring it into the machine, since the machine will actually keep the chocolate warmer than room temperature to keep it flowing, and as such it needs to be already at that temperature when it's added to the machine in order to avoid clumping.
NOR
Thank you for your reply. May God bless you and your family.
Cheryl Weisheit
Hi, I'm looking for suggestions on what size fountain to use for my daughter's graduation. We will probably have 50-100 people, but over 2-3 hours time. I was trying to decide if I need a 1,5 or 4 lb fountain. It looks like you used the Nostalgia 1,5 lb. About how many people did it serve? How often did you have to refill it?
Max
Sure! We had about 15-20 people over the same amount of time, so I'd definitely get the 4lb. fountain. Make sure to have at least 50% more than the amount of chocolate you need to fill the fountain, as well, so you can refill it to continue serving. We only needed to refill once, but you'll probably need to add to it 2 or 3 times.
Don
Thank you for the recipe!
Max
You're very welcome, Don!
Amy
Where are your notes about using white chocolate?
Max
Apologies! They're in my original notes, but somehow got deleted over the years; I'll add them back in now.
For your reference, white chocolate tends to have a much lower fat percentage than other types of chocolate, so for every cup of white chocolate you use (~6oz by weight), you'll want to add up to 2 extra tablespoons of oil or up to 4 extra tablespoons of cream. Start with the original recipe, however, and wait until the chocolate is fully melted before judgeing its consistency, as the cocoa butter percentage in white chocolates will vary widely. If you decide you need to add more oil or cream, gently microwave the oil or cream on half power until warm; you don't want to add anything in at room temp. Then slowly stir it in one tablespoon at a time, using a high-powered milk frother or other hand-held mixer to make sure it's full incorporated. Then add more unitl it reaches consistency, judged by drizzling it from a spoon.
None of this applies if you choose to use Wilton's brand meltables, as they're manufactured for fountain consistency.
Jordan
Super easy
Jess
My family loved this in our little chocolate fountain!
no
no
Karrie
My fountain required 4 lbs of chocolate so I used half milk chocolate and half dark (same brand you used) I heated 3 bags same type at a time in the microwave and I had to add a lot more heavy cream in order to get it thin enough for the fountain. The dark chocolate required more than the milk chocolate did. The taste was good but my fountain kept flowing uneven, I tried making sure it wasn’t clogged and checked level many time but finally gave up and dumped the chocolate in a crockpot and it worked great.
Max
It sounds then like you weren't getting the chocolate hot enough in the microwave, but I had the same experience the first time I used my fountain, that it required about twice as much cream as all the oil recipes I found out there. That's because cream has ~1/3 the fat of pure oil. The dark chocolate needs more oil or cream than the milk chocolate, though, because milk chocolate has a lot of added cocoa butter already, to make it smoother.
If you do use it again and go for the cream recipe, one other way to get it going in the microwave is to heat ONLY the cream until very hot, and then add the chocolate chips and let them sit for a few minutes before mixing them and then microwaving everything together as outline in the recipe. That could help heat it as well as your crockpot, though I'm glad you found a quick way to heat in the end!
Tim
great
LouMamou
This is a very thorough and detailed explanation of how to successfully set up and enjoy a chocolate fountain, with ideas for dips. I also like the option to make it non-dairy by using coconut oil or a neutral oil like sunflower. Thank you!