


Learn from 10+ years of experience in How to Melt Chocolate for dipping, drizzling and baking, with no clumping or burning chocolate! This article covers the many different methods to melt chocolate step-by-step, allowing you to choose the approach that works best for your kitchen setup and skill level.
For more expert tutorials, check out my guides to storing chocolate and how to make boxed brownies better.

Jump to:
- Ingredients
- How to Melt Different Chocolate Types
- What to know before melting chocolate
- How to melt chocolate: step-by-step instructions
- Double Boiler Method
- Stovetop Method (Homemade Double Boiler)
- Oven Method (or Toaster Oven)
- Direct Heat Method (Stovetop)
- Microwave Method
- Instant Pot Method (Slow Cooker)
- Sandwich Bag Method
- Equipment
- How to use melted chocolate in recipes
- Storage
- Expert chocolate melting tips
- Frequently asked questions
- Related Guides
- 📖 Recipe
- 💬 Comments
Melting chocolate may seem like a daunting task, but with the right techniques, you can easily master the art no matter what you need it for & what tools you have at your disposal.
But first, it's essential to understand that melting chocolate requires a gentle touch, as it's sensitive to heat and can become grainy or lumpy if overheated. Take your time and pay close attention to the chocolate's consistency as it melts.
Ingredients
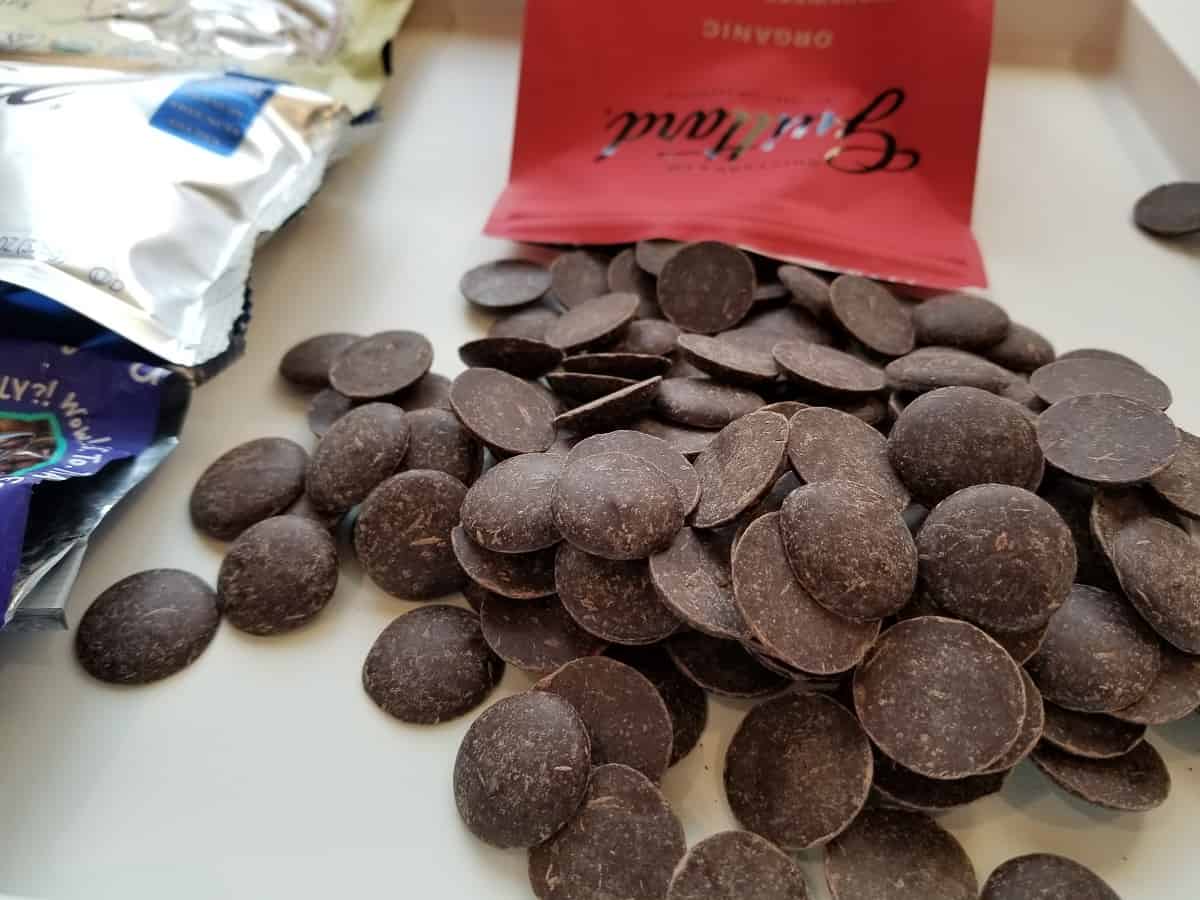
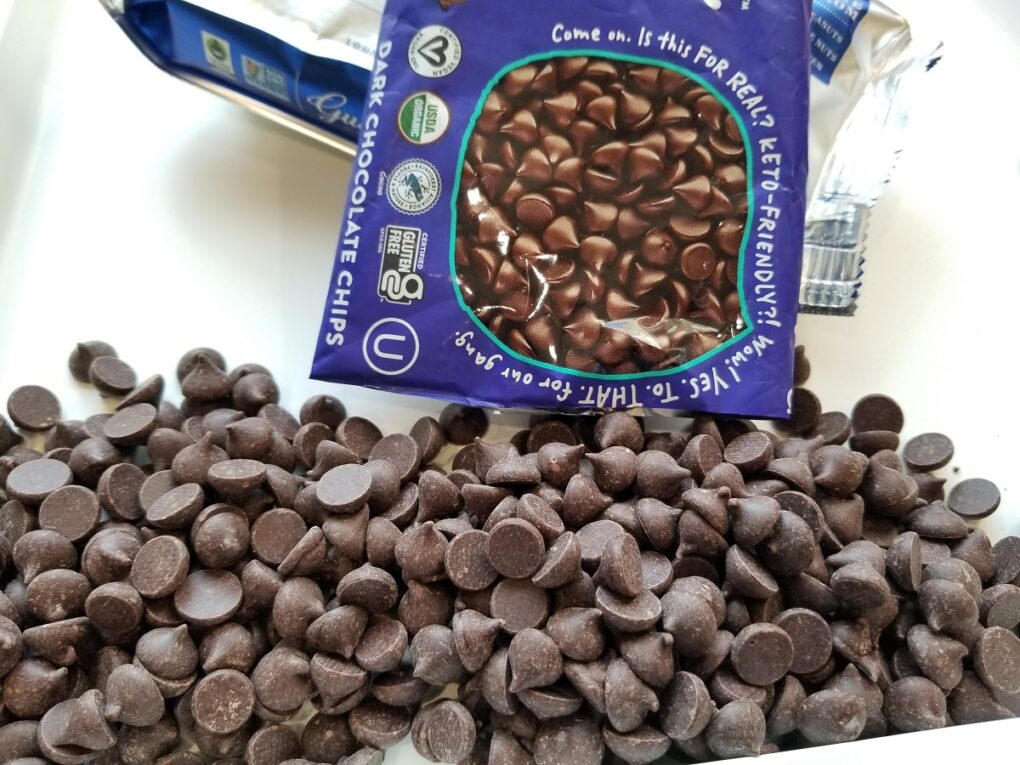
Chocolate: you can use these methods to melt chooclate of any type, from dark to milk chocolate and from white to ruby chocolate. I like using a higher-quality chocolate for recipes, like the Guittard callets shown here, but you can use whatever you have on hand.
How to Melt Different Chocolate Types
When it comes to melting chocolate, it's essential to understand the different types of chocolate and their properties. This will help you achieve the best results in your recipes.
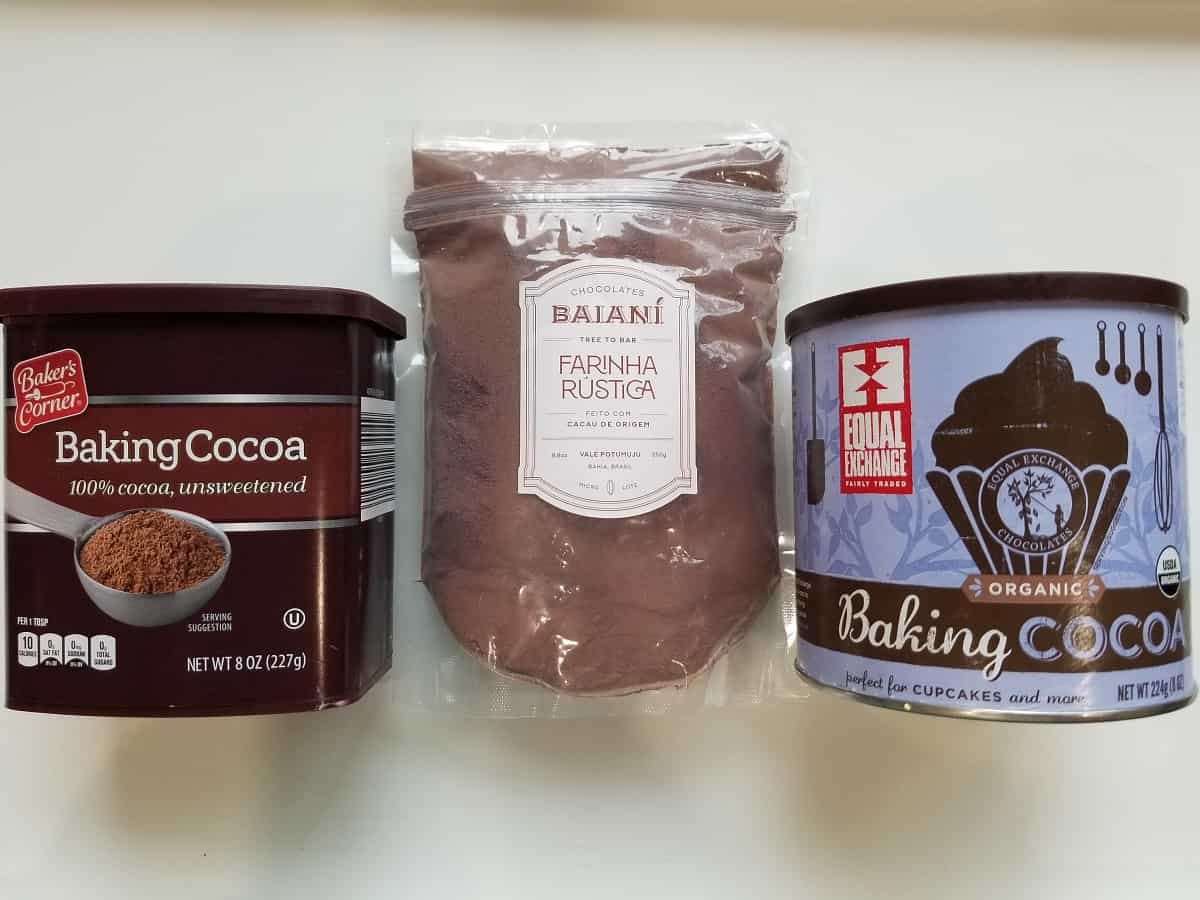
Introducing Cocoa and Cocoa Butter
Chocolate is made from cocoa beans, which are roasted and ground to create cocoa mass, which is pressed to remove most of the fat, leaving behind a low-fat cocoa powder. Cocoa butter is the natural fat extracted from cocoa beans, and it's what gives chocolate its luscious texture.
The combination of cocoa solids and cocoa butter is what gives chocolate its unique flavor and mouthfeel.
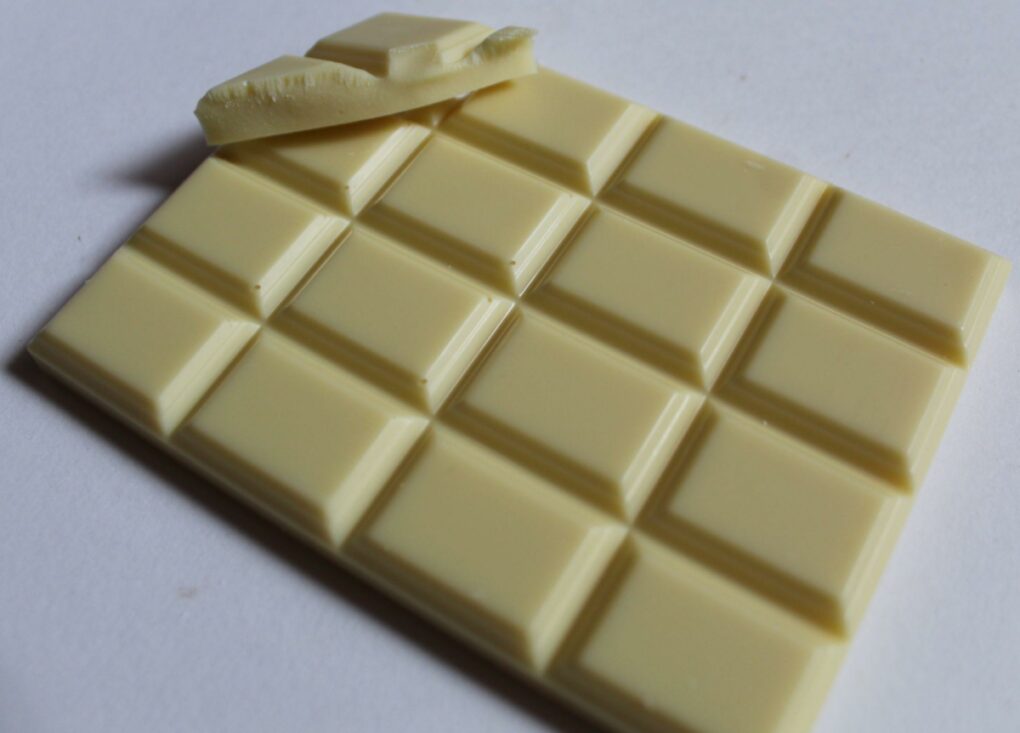
White Chocolate
White chocolate doesn't contain cocoa solids, which gives it a distinct taste and appearance. Instead, it's composed of cocoa butter, sugar, and milk solids. When melting white chocolate, be cautious because it burns easily.
You should also remember that commercial white chocolate has a lower cocoa butter content, which means it won't set as firm as other types of chocolate. Be sure you’re buying white chocolate made with cocoa butter rather than palm oil, otherwise my techniques for melting chocolate won’t be as effective!
Milk Chocolate
Milk chocolate is a popular choice for many chocolate lovers. It contains cocoa solids, unlike white chocolate, in addition to cocoa butter, sugar, and milk. It's more sensitive to heat than dark chocolate, so you should melt it on particularly low heat and watch it closely to avoid burning the milk.
Milk chocolate is perfect for making a variety of treats, from chocolate-covered strawberries to dipped pretzels.
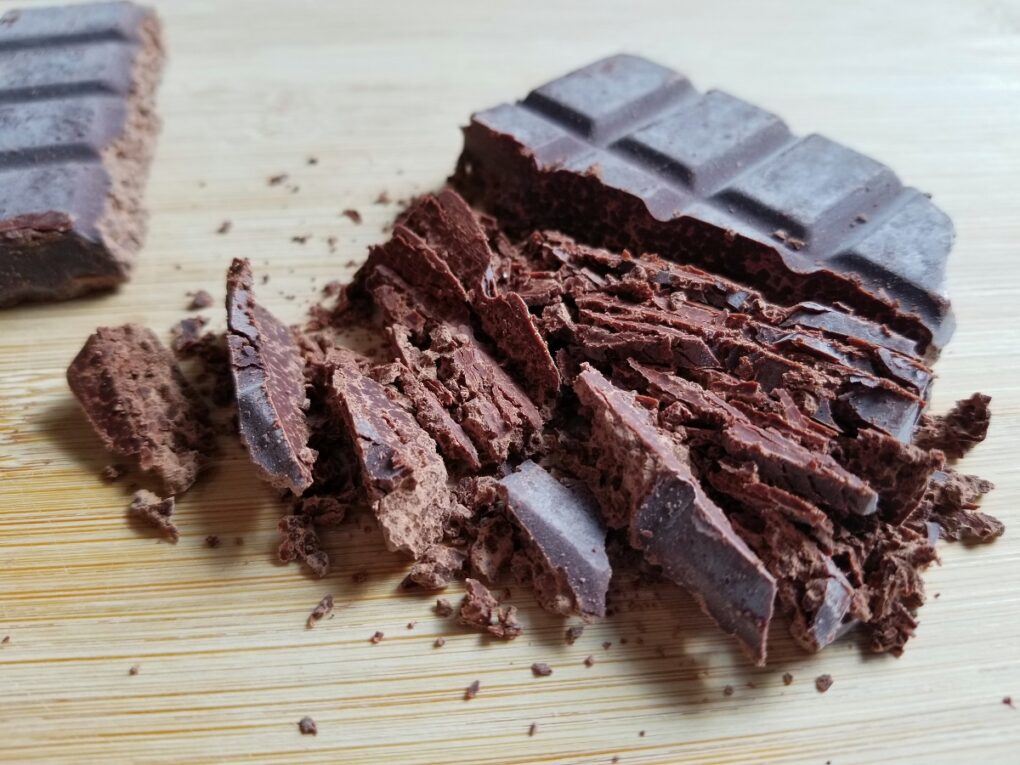
Dark Chocolate
Dark chocolate has a higher percentage of cocoa solids and cocoa butter than milk chocolate, making it a unique tasting treat. Dark chocolate comes in various intensities, depending on the cocoa content.
However it melts more easily than milk or white chocolate, and it's perfect for creating a rich, intense chocolaty flavor in your recipes.
Can I Melt Chocolate Chips?
Chocolate chips are a convenient and popular option for melting chocolate. They're designed to hold their shape during baking, so they have a lower cocoa butter content than other types of chocolate.
As a result, they can be more challenging to melt, and the consistency of the final chocolate may be thicker. You may even want to combine them with a chocolate that has a higher cocoa butter content to achieve a smoother consistency when melting.
However I have many more tips for melting chocolate chips in the guide, which covers the 3 best ways to melt chocolate chips quickly and easily.
What to know before melting chocolate
Watch for Water: above all, be mindful of moisture when melting chocolate, as even a tiny bit of water can cause chocolate to seize up, resulting in a lumpy and grainy texture. To avoid this, consider the tips below.
- Make sure your bowls and utensils are completely dry.
- Avoid using a wooden spoon, as it can retain moisture.
- Be careful when using the double boiler method, as steam can introduce moisture.
Chocolate Does Burn: scorching is another concern when melting chocolate. To prevent chocolate from scorching, always use low heat, stir the chocolate frequently to ensure it melts evenly, and consider just using a microwave at 50% power.
How to melt chocolate: step-by-step instructions
In this section, I discuss every conceivable method to melt chocolate, from using your microwave or toaster oven to just making use of hot water in an abundance of different ways.
Double Boiler Method
The double boiler technique is a popular way to melt chocolate. Here's how to do it:
- Fill the bottom pot of a double boiler with a few inches of water, ensuring the water doesn't touch the bottom of the top pot.
- Chop the chocolate and place it in the top pot.
- Heat the water to a simmer and set the top pot in place.
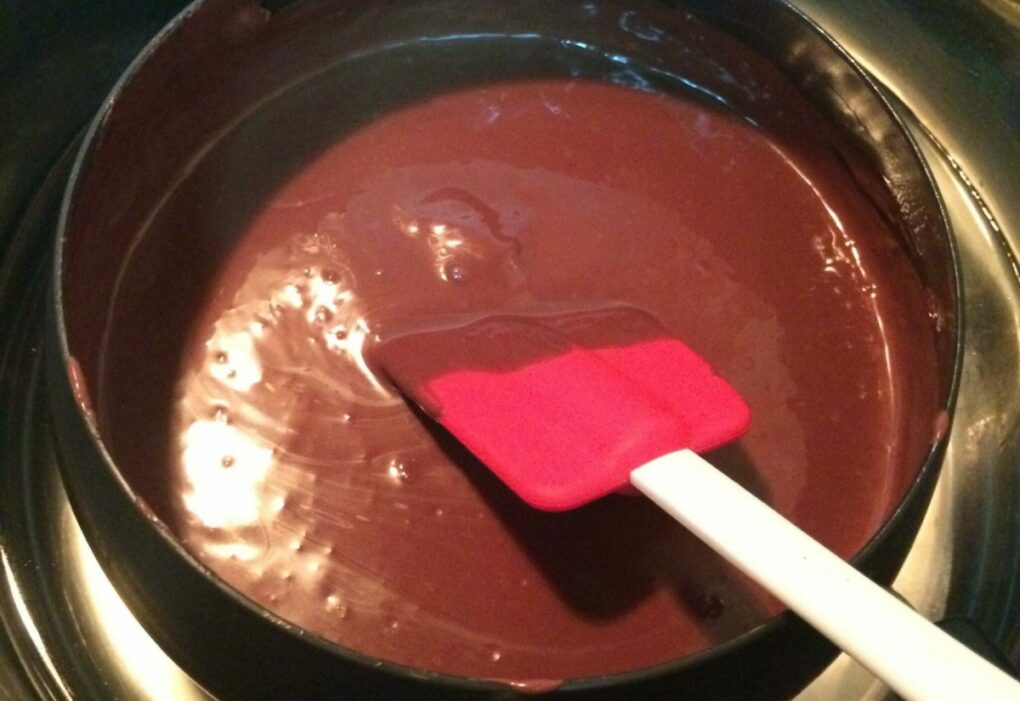
- Stir the chocolate continuously with a rubber spatula or wooden spoon until fully melted.
The double boiler method is a more controlled way to melt chocolate, making it perfect for preparing dessert recipes like chocolate pie or brownies.
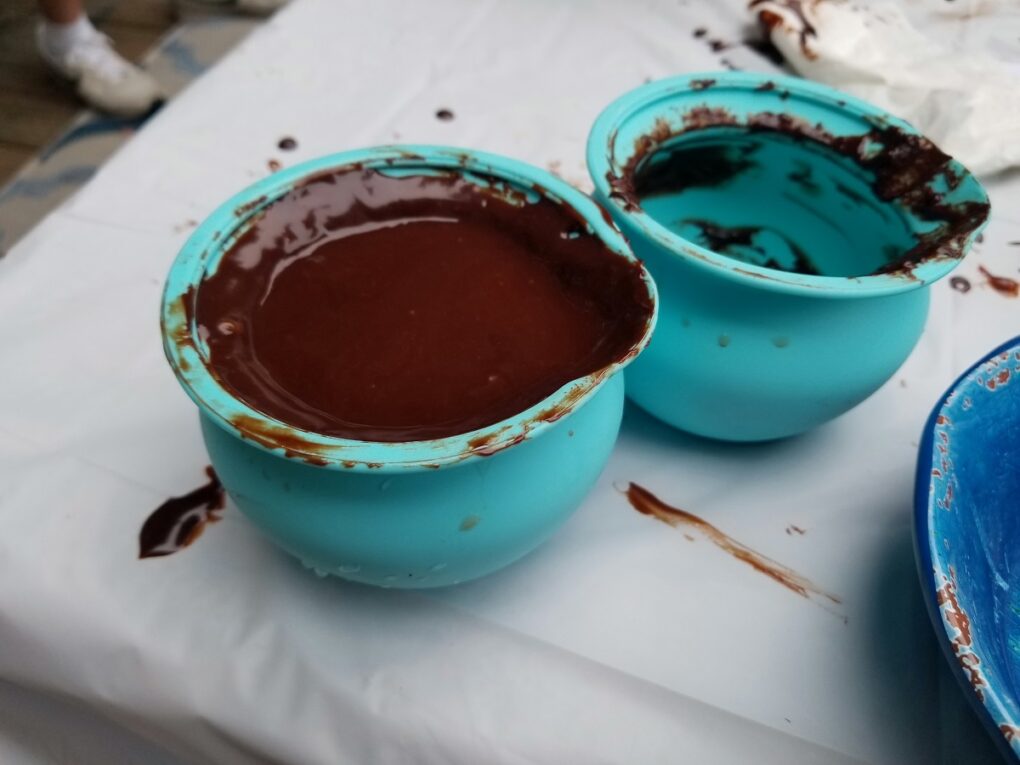
Stovetop Method (Homemade Double Boiler)
The stovetop method is similar to the double boiler technique, but uses a heat-proof bowl and a pot of simmering water. I like to think of it as the poor man’s double boiler, because how often do you need one of those? Follow these steps:
- Chop the chocolate and place it in the heat-proof bowl.
- Fill a pot with about an inch of water and bring to a simmer.
- Place the bowl on the pot, ensuring the bottom of the bowl does not touch the water.
- Stir the chocolate until melted, using the residual heat from the simmering water.
The water bath method is considered by many to be the best way to melt chocolate, due to its even and controlled heating, but it's even easier in a traditional double boiler.
Oven Method (or Toaster Oven)
Using your oven (or toaster oven or air fryer) is a great option if you need to melt a large amount of chocolate at once.
- Break the chocolate into small pieces and place it in a heat-proof dish. Make sure to use a dish that can withstand high temperatures, such as a Pyrex dish.
- Set your oven to the lowest temperature setting, which is usually around 150°F.
- While it heats up, place the dish in the oven and stir the chocolate every 2-3 minutes until it's fully melted. This process can take anywhere from 5 to 15 minutes, depending on the amount of chocolate and the temperature of your oven.
To prevent the chocolate from seizing or burning, make sure to stir it frequently and remove it from the oven as soon as it is fully melted.
Direct Heat Method (Stovetop)
The direct heat method is a quick and easy way to melt chocolate, but it requires a little more attention than the oven method.
- First, break the chocolate into small pieces and place it in a pot, ideally ceramic, though a non-stick pot would work fine.
- Place the pot over a low flame on the stove and stir the chocolate constantly until it is fully melted. This process can take anywhere from 4 to 7 minutes, depending on the amount of chocolate and the heat of your stove.
You'll need to keep a close eye on it, stirring the chocolate constantly and removing it from the heat as soon as it is fully melted to prevent burning or clumping.
Microwave Method
To melt chocolate in the microwave, follow these steps:
- Chop the chocolate into small, evenly-sized pieces.
- Place the chocolate in a microwave-safe bowl.
- Set your microwave to medium power (50%) and heat the chocolate in 30-second intervals.
- Stir the chocolate with a rubber spatula after each interval to ensure even melting.
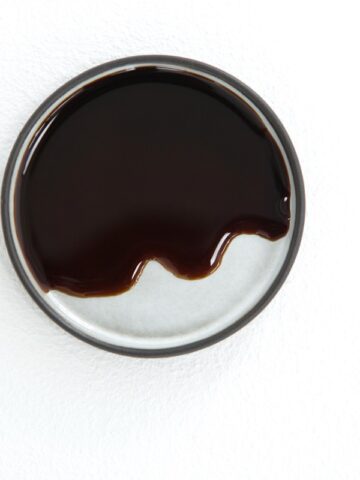
The microwave method is ideal for quick melting, and it works well when you need to drizzle chocolate over cookies, dip strawberries, or make chocolate-covered pretzels.
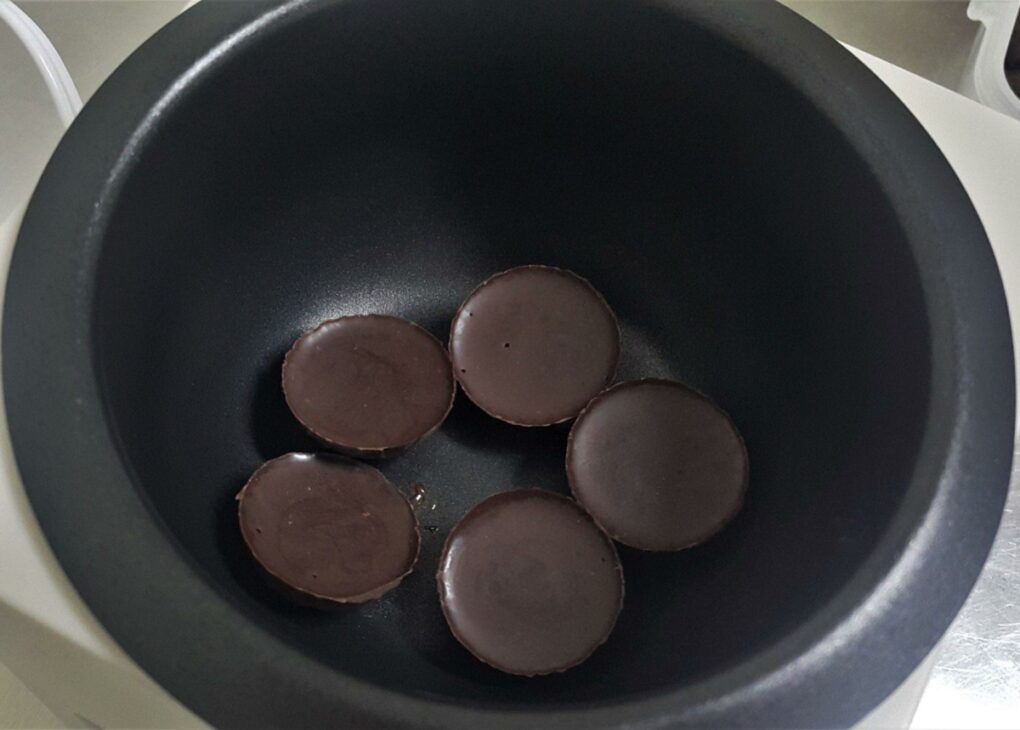
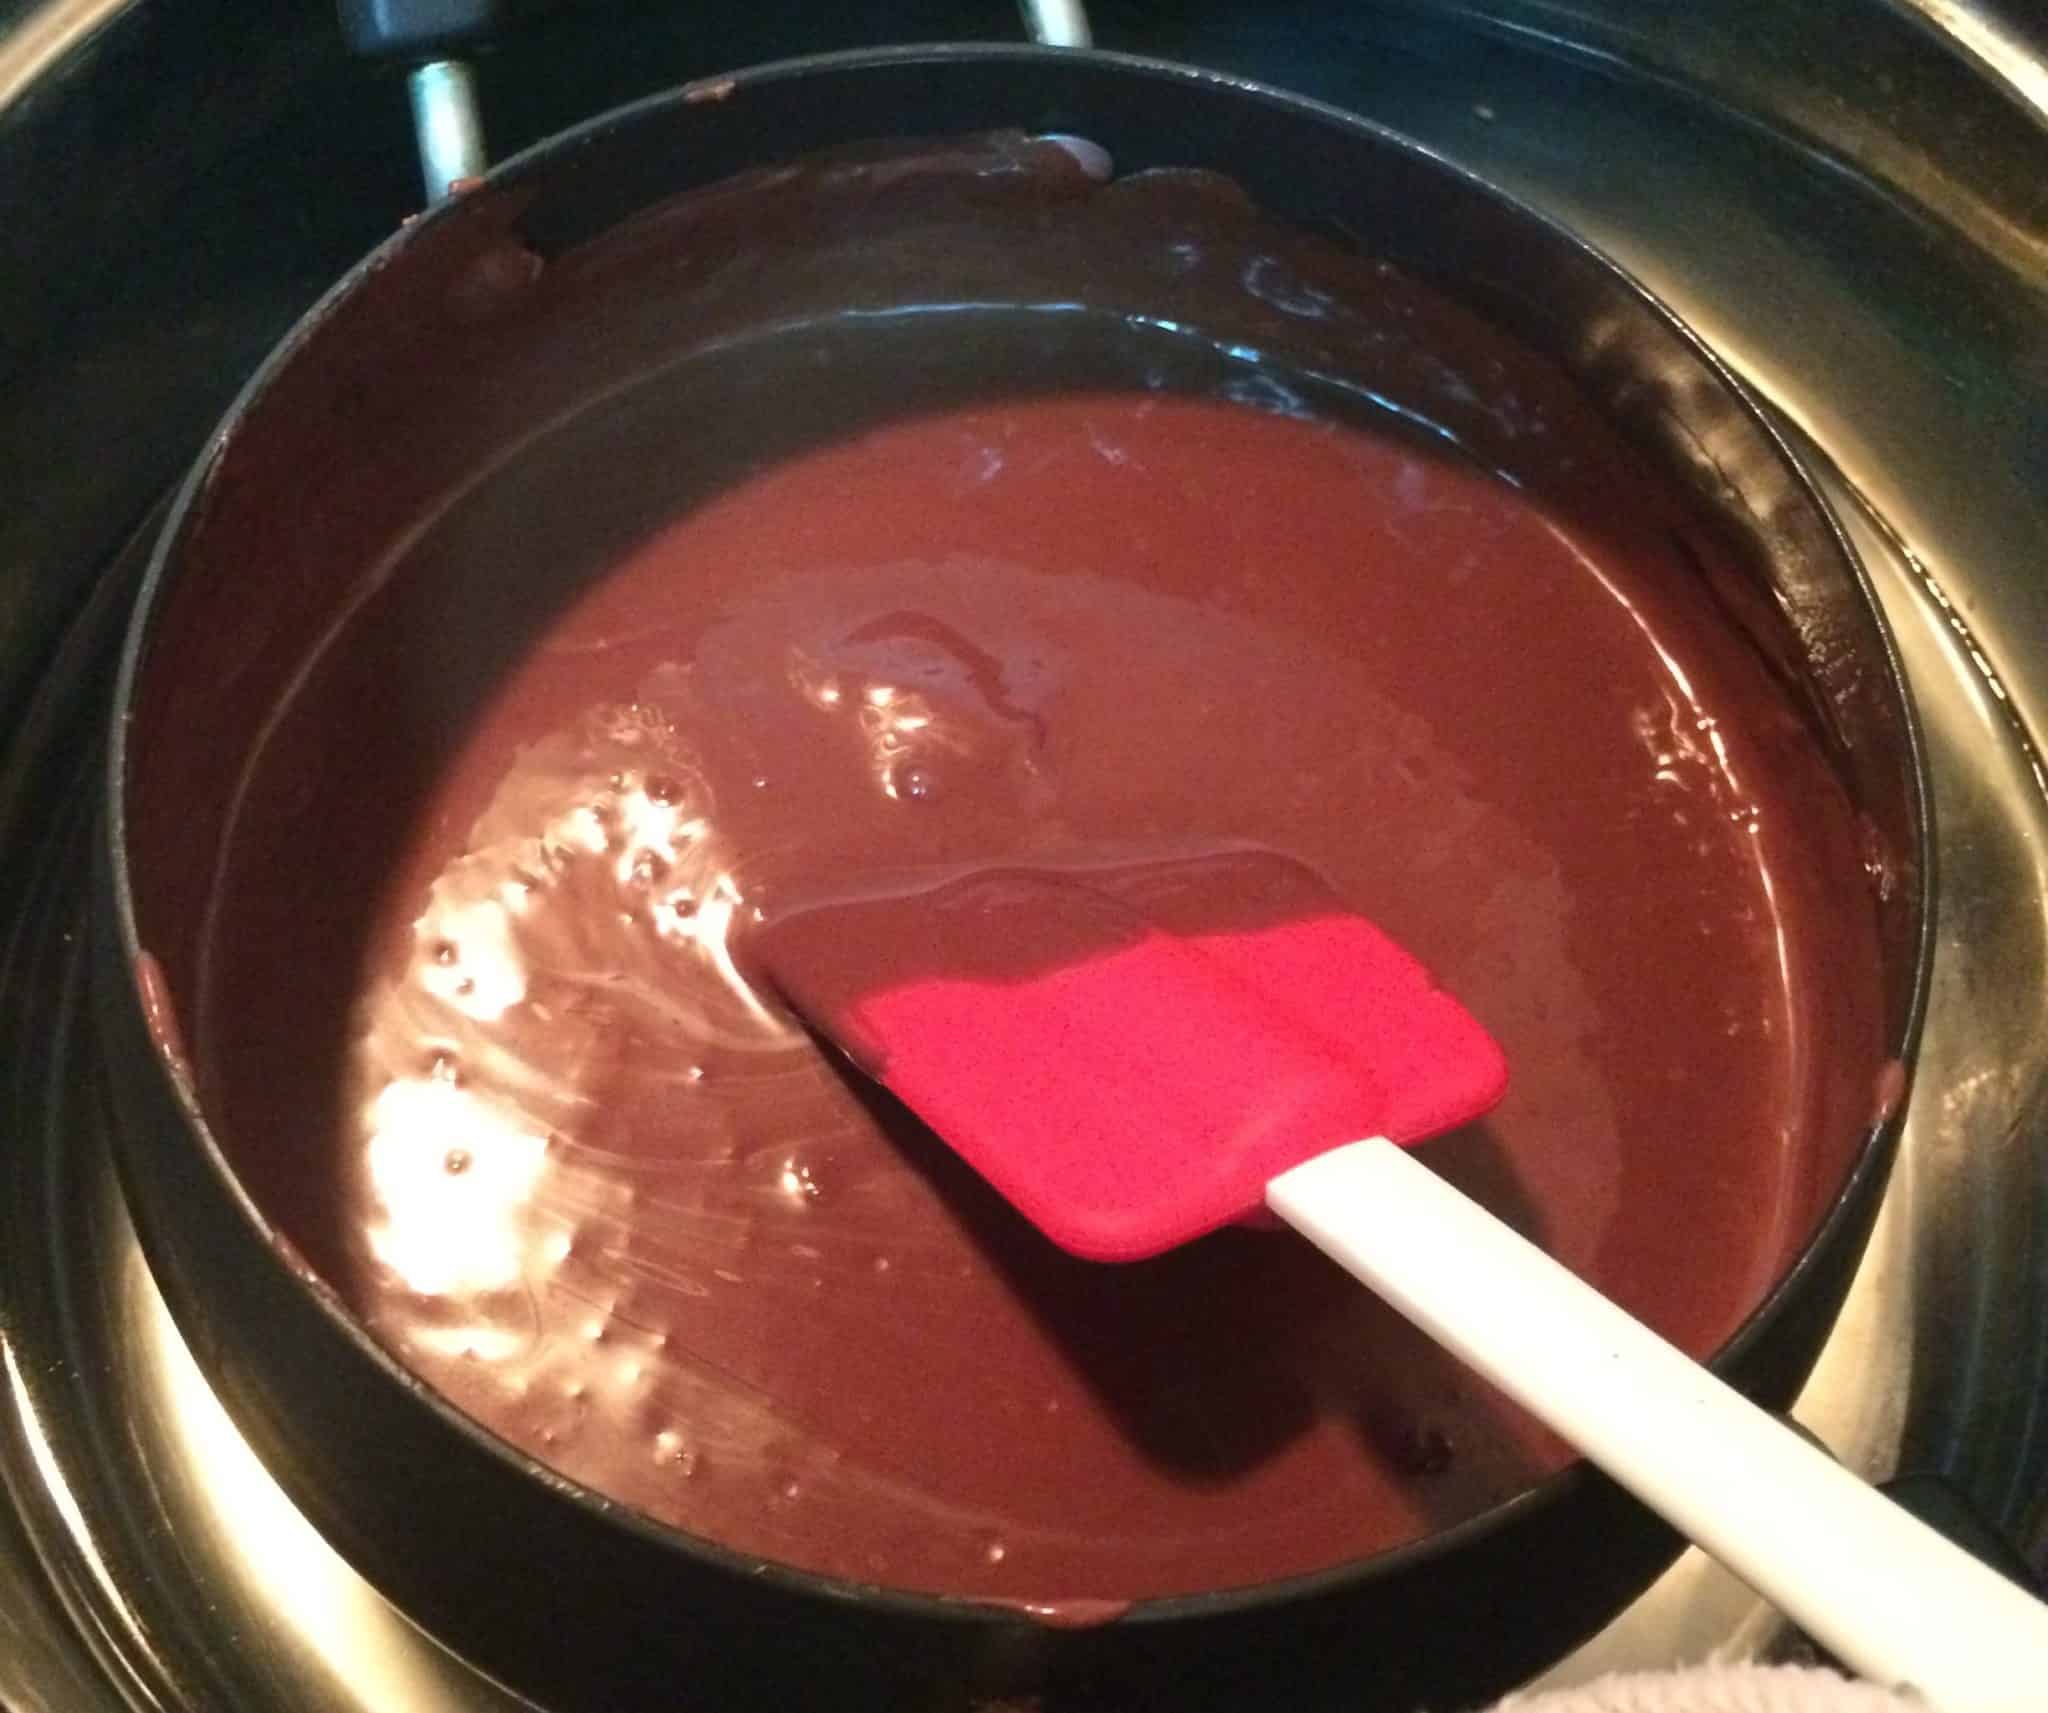
Instant Pot Method (Slow Cooker)
Using an instant pot or slow cooker can be an easy way to melt chocolate. Here's how:
- Chop the chocolate and place it in a heat-safe bowl.
- Add a trivet inside the instant pot and pour water into the pot, ensuring the water level is below the trivet.
- Set the bowl on the trivet and close the lid.
- Set the instant pot to the "keep warm" setting and stir the chocolate occasionally until melted.
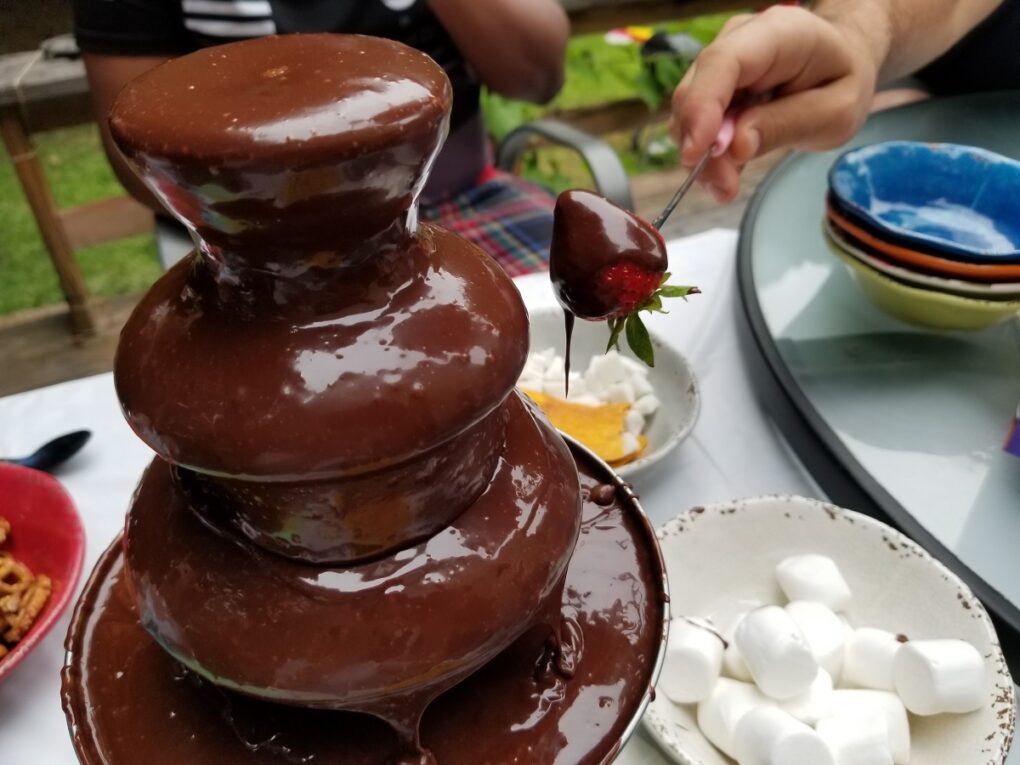
This method is great for making chocolate fondue or chocolate for a chocolate fountain because it maintains its desirable consistency for a longer time.
Sandwich Bag Method
The sandwich bag method is a handy and mess-free way to melt chocolate for drizzling over your treats:
- Finely chop the chocolate, not just breaking it into pieces, and then place it in a sandwich or resealable plastic bag.
- Submerge the bag in a bowl of hot water, ensuring the water is not too hot to avoid scorching the chocolate or even worse, melting the plastic.
- Massage the bag periodically to help the chocolate melt evenly.
- Once melted, snip off a small corner of the bag, and you now have a piping bag to drizzle the chocolate over your desserts.
The sandwich bag technique is perfect for decorating cupcakes or adding a finishing touch to chocolate-covered strawberries.
Equipment
While most people have a microwave and stovetop at home, depending on which chocolate melting method you use, you'll need access to one or more of the following pieces of equipment.
- Double Boiler
- Oven or Toaster Oven
- Instant Pot
- Baking Sheet
- Silicone Baking Mat
- Large Metal Pot
- Glass Bowl
- Silicone Spatula
- Microwave-Safe Silicone Bowls
- Strong Plastic Sandwich Bags
How to use melted chocolate in recipes
When you want to add a rich and delicious touch to your recipes, melted chocolate is the way to go. Here are some tips on how to seamlessly incorporate melted chocolate into your favorite dishes, with examples for some of the most common confections.
First, make sure you have the proper equipment ready. You'll need your device of choice (microwave, instant pot, oven, etc.), a heat-resistant glass bowl, a pot (possibly filled with a few inches of water), and a rubber spatula for stirring.
Once your chocolate is melted, these are a few ways to incorporate it into your recipe:
- Into Cake: Gently mix your melted chocolate into the cake batter, ensuring a uniform distribution before mixing it more vigorously to get an even consistency. Baking with melted chocolate will result in a perfectly moist and rich cake.
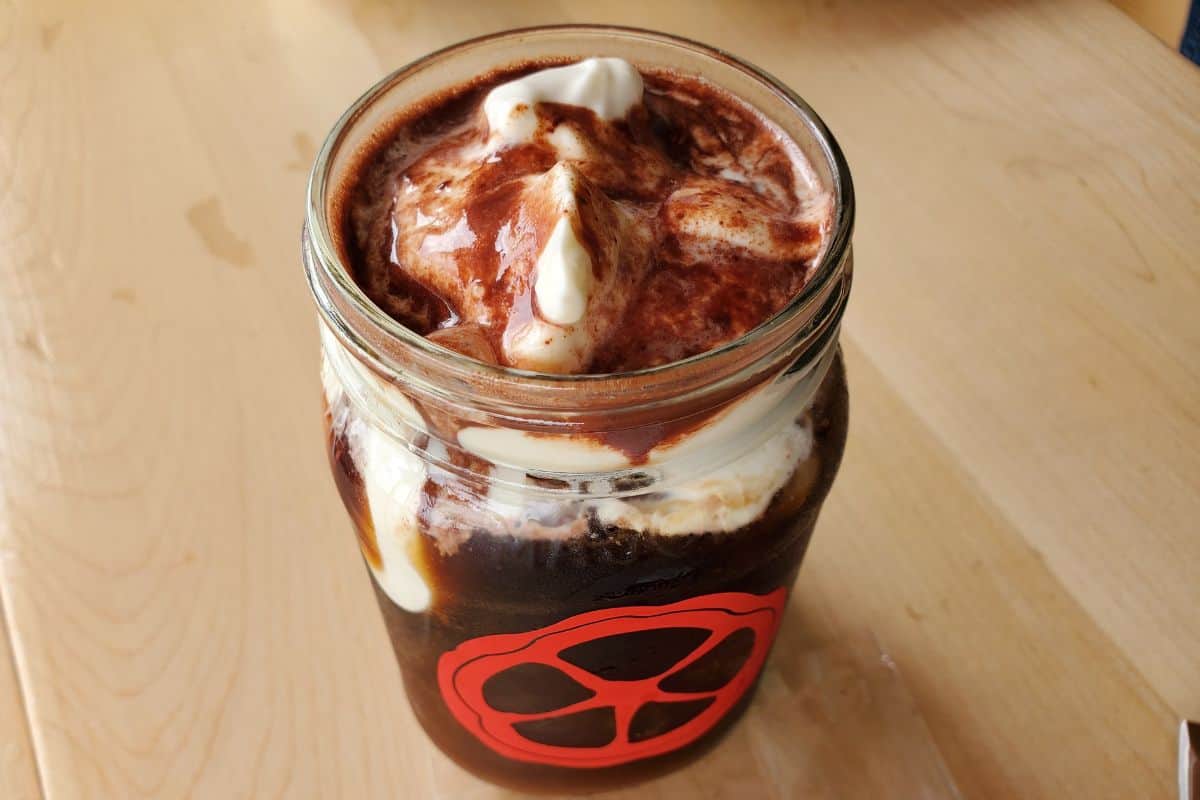
- With Milk: Feeling indulgent? Make yourself a luxurious homemade hot chocolate by stirring your melted chocolate into a pot of warm milk. Adjust the proportions according to your desired sweetness level, ideally by using different types of chocolate.
- In Frosting: Enhance your frosting by adding melted chocolate to your base mixture, such as buttercream or cream cheese frosting. This creates a beautifully smooth and velvety chocolate frosting ideal for cupcakes or layer cakes. Just make sure to 'temper' the chocolate with a bit of the frosting mixture before adding the rest, as adding melted chocolate directly to the frosting will cause it to start to harden and clump up.
Storage
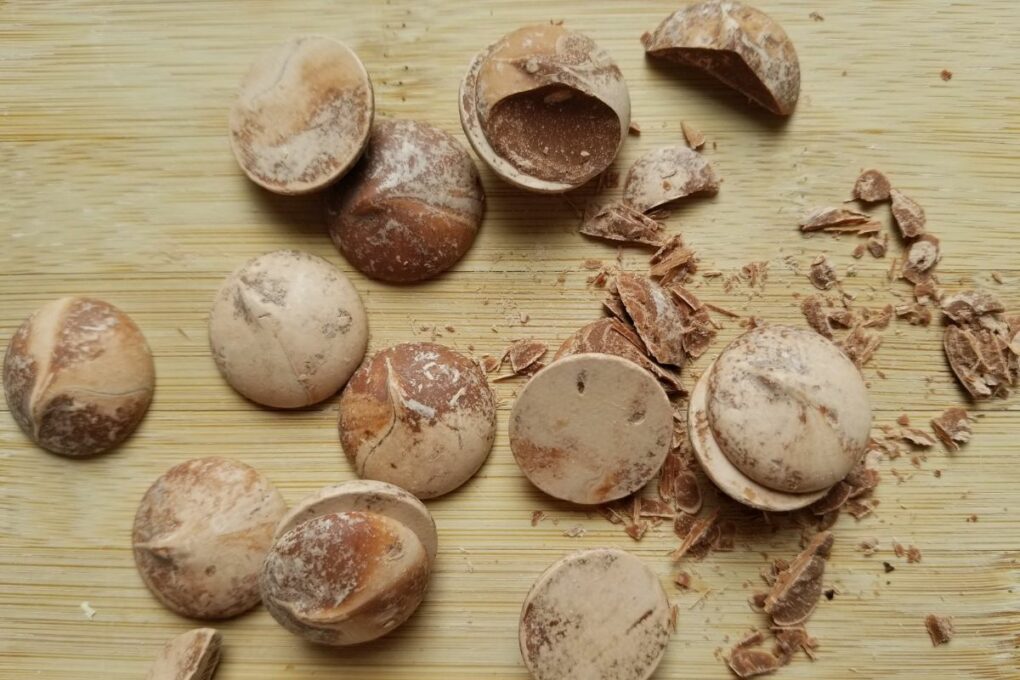
Unfortunately, chocolate will only stay melted for as long as it's kept at the right temperature (80-85°F or 26-28°C). After being melted, it will also most likely be out of temper, meaning that it will develop a light grey or white coating, but will still be perfectly safe to eat.
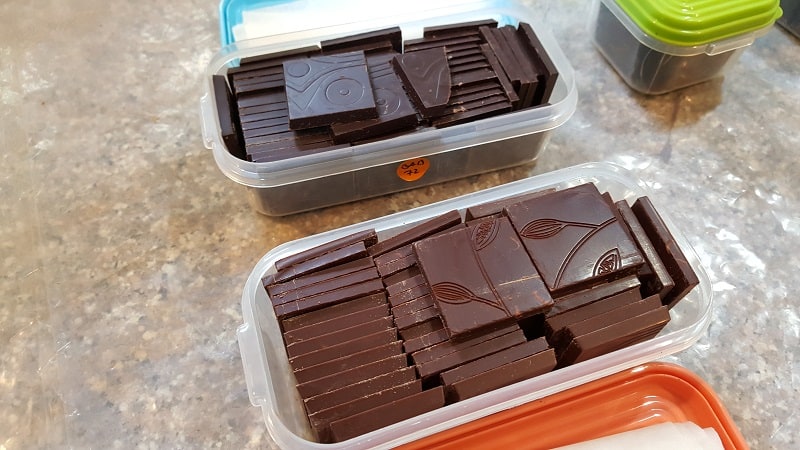
But if you want to keep the rest of your melted chocolate once you're done with it, the key to long-term chocolate storage boils down to just two things: heat & water. While chocolate can't go bad, for the most part, it can taste markedly less good if stored inproperly.
First, scrape everything into an air-tight container and put on the lid. Don't store leftover chocolate in the fridge, but rather store chocolate at ambient temperatures between 58-70°F (15-21°C) with a humidity level of 70% or less.
Expert chocolate melting tips
Keep it Dry: when working with melted chocolate, always be cautious about adding water to your mixture. Any contact between the chocolate and even a tiny drop of water can cause it to seize and become grainy, so always make sure your equipment is dry before starting.
Use Residual Heat: the heat that remains after removing the heat source can also play a role in melting chocolate and keeping it melted. To make use of residual heat, consider these tips.
- Remove chocolate from heat just before it's fully melted.
- Continue stirring until it's completely smooth and melted.
You May Need to Temper: once your chocolate melts, if you want to use it to dip or cover anything, you may need to temper it to achieve a glossy sheen and smooth texture in your final product.
Tempering chocolate involves a specific process of heating and cooling, which can be quite tricky. However, it's crucial for recipes that call for a shiny finish or require the chocolate to set at room temperature.
If you'd like to learn how to temper chocolate, check out our guide to tempering chocolate at home.
Frequently asked questions
The best ways to melt chocolate are either in the microwave or on the stovetop, as these methods will get you the most even melt the most quickly.
The stovetop is a better way to melt chocolate than in the microwave because it ensures a more even melt, though it requires more cleanup and more attention.
You can add milk when melting chocolate, but it's not necessary if you're using a high-quality chocolate and are heating it evenly. Adding milk can also make it harder to use melted chocolate in recipes.
The key to keeping melted chocolate liquid is a consistent heat source, applied evenly. One good example is a chocolate fondue setup, which generally uses a tea light to keep the chocolate warm, and people regularly dip things in the chocolate to keep the heat evenly on the melted chocolate.
To make melted chocolate thinner, you need to add a liquid that's warm and that remains thin at room temperature. The best options are to warm and then very slowly add either cream or a neutral oil, such as refined coconut oil.
If your melted chocolate is too thick, it either needs more heat to melt fully, or it may have even burned in parts and thickened up. To make chocolate less thick, you can add warm cream or a neutral oil one tablespoon at a time to thin it out.
Related Guides
If you found my tips for the best way to melt chocolate helpful, I'd really appreciate a comment and a 5-star review!
📖 Recipe
How to Melt Chocolate (7 Ways)
Ingredients
- chocolate
Instructions
Double Boiler Method
- Fill the bottom pot of a double boiler with a few inches of water, ensuring the water doesn't touch the bottom of the top pot.
- Chop the chocolate and place it in the top pot.
- Heat the water to a simmer and set the top pot in place.
- Stir the chocolate continuously with a rubber spatula or wooden spoon until fully melted.
- The double boiler method is a more controlled way to melt chocolate, making it perfect for preparing dessert recipes like chocolate pie or brownies.
Stovetop Method (Homemade Double Boiler)
- Chop the chocolate and place it in the heat-proof bowl.
- Fill a pot with about an inch of water and bring to a simmer.
- Place the bowl on the pot, ensuring the bottom of the bowl does not touch the water.
- Stir the chocolate until melted, using the residual heat from the simmering water.
- The water bath method is considered by many to be the best way to melt chocolate, due to its even and controlled heating, but it's even easier in a traditional double boiler.
Oven Method (or Toaster Oven)
- Break the chocolate into small pieces and place it in a heat-proof dish.
- Make sure to use a dish that can withstand high temperatures, such as a Pyrex dish.
- Set your oven to the lowest temperature setting, which is usually around 150°F.
- While it heats up, place the dish in the oven and stir the chocolate every 2-3 minutes until it's fully melted. This process can take anywhere from 5 to 15 minutes, depending on the amount of chocolate and the temperature of your oven.
- To prevent the chocolate from seizing or burning, make sure to stir it frequently and remove it from the oven as soon as it is fully melted.
Direct Heat Method (Stovetop)
- First, break the chocolate into small pieces and place it in a pot, ideally ceramic, though a non-stick pot would work fine.
- Place the pot over a low flame on the stove and stir the chocolate constantly until it is fully melted. This process can take anywhere from 4 to 7 minutes, depending on the amount of chocolate and the heat of your stove.
- You'll need to keep a close eye on it, stirring the chocolate constantly and removing it from the heat as soon as it is fully melted to prevent burning or clumping.
Microwave Method
- Chop the chocolate into small, evenly-sized pieces.
- Place the chocolate in a microwave-safe bowl.
- Set your microwave to medium power (50%) and heat the chocolate in 30-second intervals.
- Stir the chocolate with a rubber spatula after each interval to ensure even melting.
- The microwave method is ideal for quick melting, and it works well when you need to drizzle chocolate over cookies, dip strawberries, or make chocolate-covered pretzels.
Instant Pot Method (Slow Cooker)
- Chop the chocolate and place it in a heat-safe bowl.
- Add a trivet inside the instant pot and pour water into the pot, ensuring the water level is below the trivet.
- Set the bowl on the trivet and close the lid.
- Set the instant pot to the "keep warm" setting and stir the chocolate occasionally until melted.
- This method is great for making chocolate fondue or chocolate for a chocolate fountain because it maintains its desirable consistency for a longer time.
Sandwich Bag Method
- Finely chop the chocolate, not just breaking it into pieces, and then place it in a sandwich or resealable plastic bag.
- Submerge the bag in a bowl of hot water, ensuring the water is not too hot to avoid scorching the chocolate or even worse, melting the plastic.
- Massage the bag periodically to help the chocolate melt evenly.
- Once melted, snip off a small corner of the bag, and you now have a piping bag to drizzle the chocolate over your desserts.
- The sandwich bag technique is perfect for decorating cupcakes or adding a finishing touch to chocolate-covered strawberries.


Comments
No Comments