Pulling information from a wide variety of home chocolate makers who have posted online, as well as little tidbits from the professionals I have worked with and read about, I have calculated my own recipe for a dark goat's milk chocolate. If you are also a home chocolate hobbyist who wants to follow along, add all of these ingredients to your refiner as I talk about each one & what makes it special. You may have to wait a few short hours between steps.
Don't forget to warm up your nibs!
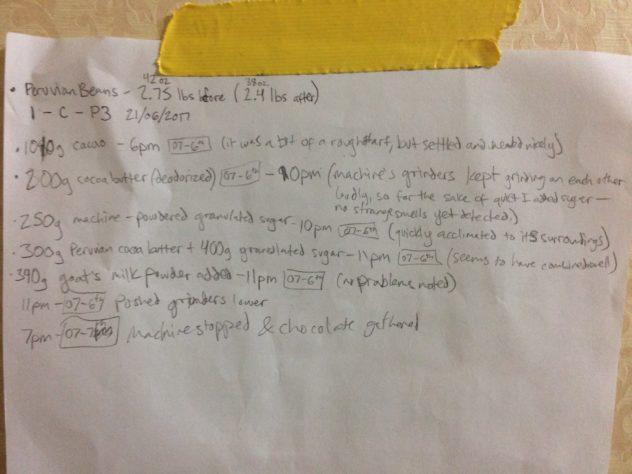
Dame Which Cacao?
(1010g, cleaned & roasted Peruvian nibs)
A couple of years ago I did a two-month stint at a chocolate shop in southern Peru. Before I left, I bought a few kilos of their newly-arrived cacao, sourced from the Cuzco area. Let's just call these beans "aged," as the flavor was not negatively affected by the passing years; in fact, within the industry it is standard practice to consciously age finished chocolate, so why not well-stored beans?
To prepare for this experiment I cleaned, roasted, and winnowed the remainder of the beans I have from this time, while researching fat ratios and trying to Benjamin Button a chocolate recipe. All sources seem to be in agreement that, depending on how you plan to use your final product, 35-45% fat is the ideal for a milk chocolate. So adding up the fat in the three ingredients I knew everything about (sugar, cocoa butter, and milk powder), I took a leap and assumed my cacao to be on the lower end of the fat content spectrum, making them a little less than half fat by weight.
My then-theoretical chocolate's ratio of ~1080g/2500g is ~43% fat, keeping it within that sweet spot, as well as allowing for a little deviation of cocoa butter percentage within my cacao. Since I continue to grow and learn from my mistakes, I kept the amount of milk powder I used much lower and raised the cacao percentage from my previous milk chocolate experiments, as last time I attempted a goat's milk chocolate, over a year ago, the final product was a little grainy and very strongly goat's milk-y even at 50% cacao.
Keeping in mind the beans' light fruity cocoa flavor and their age, I aimed for a mellow final product whose use of goat's milk brought a about a spiciness and natural sweetness, as well as a cheesecake creaminess like one catches at the end of Manoa's 69% Goat Milk bar. The origin of their beans is unfortunately not published. My beans are public information, however, as recorded below.

Conche time: 25 hours (cocoa butter added concurrently with beans; milk powder & sugar added 4 hours in, before the machine ran all night & day)
Bean Quality: 6.5/10
Bean Origin: Cusco region, Peru
Bean Vintage: late 2015
Bean Size: medium
Bean Aroma: fruity, cocoa
Beans' Post-Roast Taste: strong cacao, light fruits, bitter (I wish I could show you my boyfriend's face when he tasted them; it was like a baby trying lemon for the first time)
Beans' Post-Roast Color: very dark brown (no scorch marks)
These Cocoa Butters, in Unholy Matrimony
(500g, melted, of a blend of types & origins)
During the same shopping spree at my internship in Peru, I acquired several jars of their house-pressed cocoa butter. Most cocoa beans contain about half fat, give or take 5%, all of it in the form of such cocoa butter. Adding extra cocoa butter can smooth out the texture of the chocolate and help it melt faster in the mouth, as well as lessen the impact of the liquid chocolate upon the refining machine, especially important for micro-batch chocolate makers.
For this chocolate, 60% of the added cocoa butter was the organic Peruvian origin butter, and the other 40% was a deodorized cocoa butter of unknown origin, which I bought after seeing it advertised as "food grade" and "for home chocolate makers". I made the mistake of buying the deodorized cocoa butter ("deodorized" meaning that the chocolatey scent was removed, often done using heat), which I will slowly use up in small quantities in conjunction with the rest of my Peruvian cocoa butter until I can find a reliable source online which ships here.
Beyond just deodorized and unrefined, there is fully refined butter in which the product has been bleached of color, usually using clay, which then often lending its scent and flavor to the product (hence its use almost exclusively in the cosmetic industry). Although a merely deodorized cocoa butter is fine for chocolate making, this one smelled just a little too strange; I personally love the chocolate scent of unrefined cocoa butter. I simply prefer a butter which has not been changed in any way since it was pressed from the beans, and will choose to spring for organic raw cocoa butter in the future.
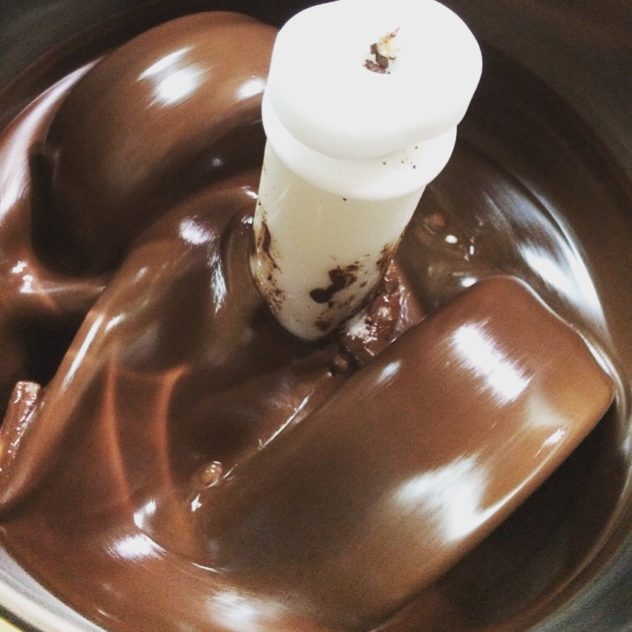
Goat's Milk Powder & Others Like It
(340g, which is an entire huge purple can)
I have previously written about which milk powders are good for what types of beans or the use you have in mind for your chocolate. In this case, I knew that I wanted to make a higher percentage chocolate with lots of sweetness to appeal to my students and co-workers (Koreans seem to be huge fans of sweets), and I didn't want it to taste too "strange." But I had to make a lot of chocolate, and I didn't have very much buttermilk or nonfat milk powder in my fridge. So goat's milk it was!
nowing the powder's fat percentage (25%) as well as exactly how little milk powder I had at my disposal, I calculated my recipe using just 20% milk powder, which contributed 80g of fat to the ratio. Any more than that can negatively affect flavor and texture, and post-experimentation I can say confidently that I'll continue to lower my percentage of milk powder (especially when playing with goat's milk and higher cacao percentages, since such strong flavors can start to work against each other at a certain point). I have even seen bars made with as little as 6-7% milk powder!
Sweet, Sweet Sugar
(650g of the saccharine powder)
In the interest of streamlining production and keeping the focus on the sweetness of the chocolate, this time I decided to forego more interesting types of sugar in favor of refined cane sugar. It's cheap, easy to find in rural Korea, and it wouldn't noticeably change the taste of the final product and therefore lose the interest of my students. I always add sugar last, because it stops the sloshing sound my machine makes when the fat ratio is thrown off, and adding it closer to the beginning gives it plenty of time to grind down into undetectably small particles. In this case, I added it in two rounds, about an hour apart, the second round being in conjunction with the rest of the cocoa butter and all of the goat's milk.

I Put it all Together— What Now?
(2500g AKA ~5.5 lbs of fresh chocolate)
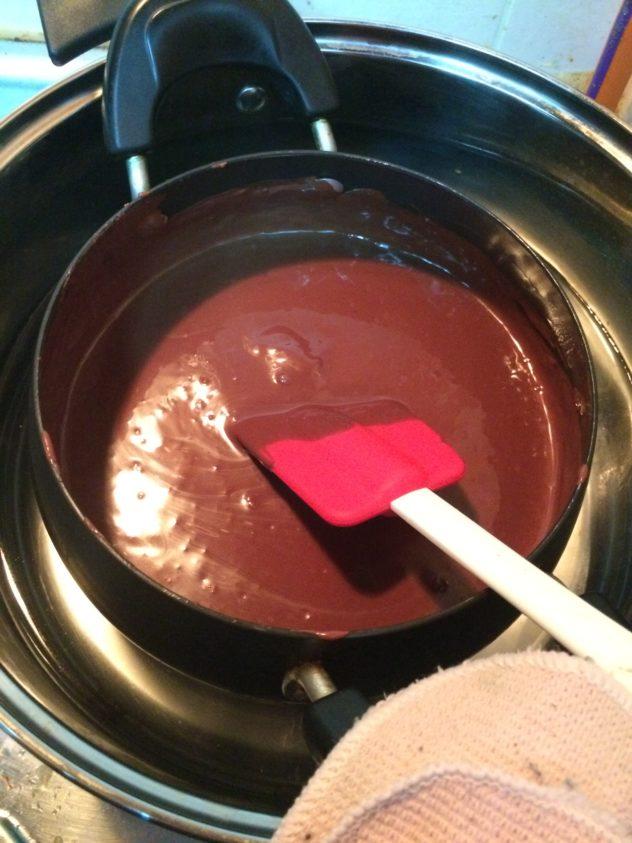
First of all, I made dozens of untempered chocolates & chocolate-covered marshmallows for my students and friends, fresh out of the machine, using molds I picked up at the local craft store. At English Class Market Summer '17 I made my first sales— the robot chocolates were an especially big hit! Though because I didn't temper it, they started blooming as soon as I took them out of the fridge. I grimaced. The kids didn't notice. I had well over five pounds of chocolate to play around with, so really I was just reducing my necessary storage space.
Since milk chocolate behaves differently from dark chocolate when cooking, I stuck with those pure chocolate creations, though I plan to make brownies and fudge with future dark chocolate experiments. This is to test the chocolate's integrity, and make sure that it is correctly finding its final form, of course. Right after finishing this inaugural batch, I set aside about a quarter to be aged for an indefinite period of time. Shortly thereafter, I began sorting beans in preparation for my next chocolate, this time a smaller batch of Vietnamese dark chocolate.
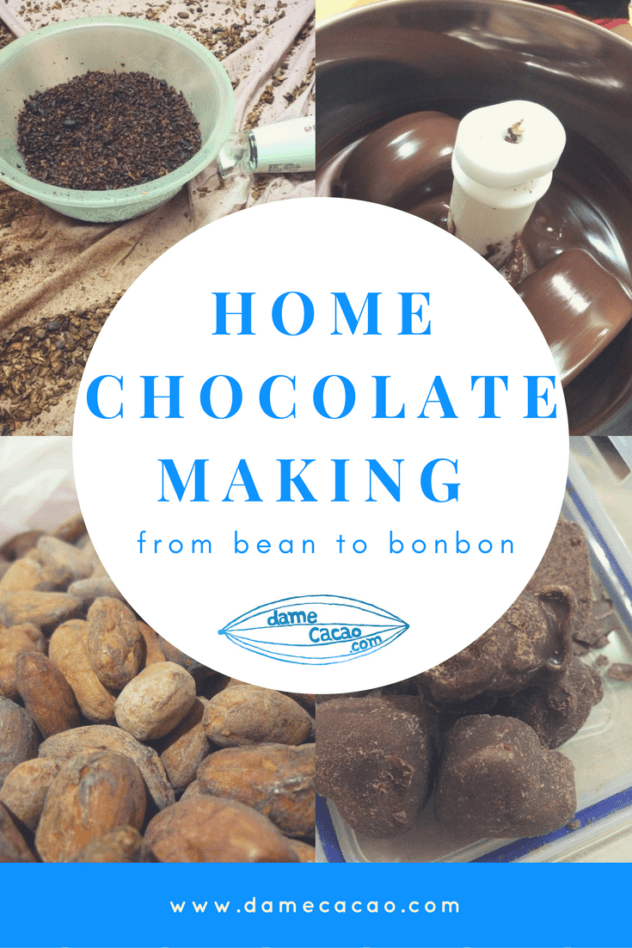
If you like this how-to, please pin it so that others can find it, too!
Have you ever made chocolate at home?


Comments
No Comments