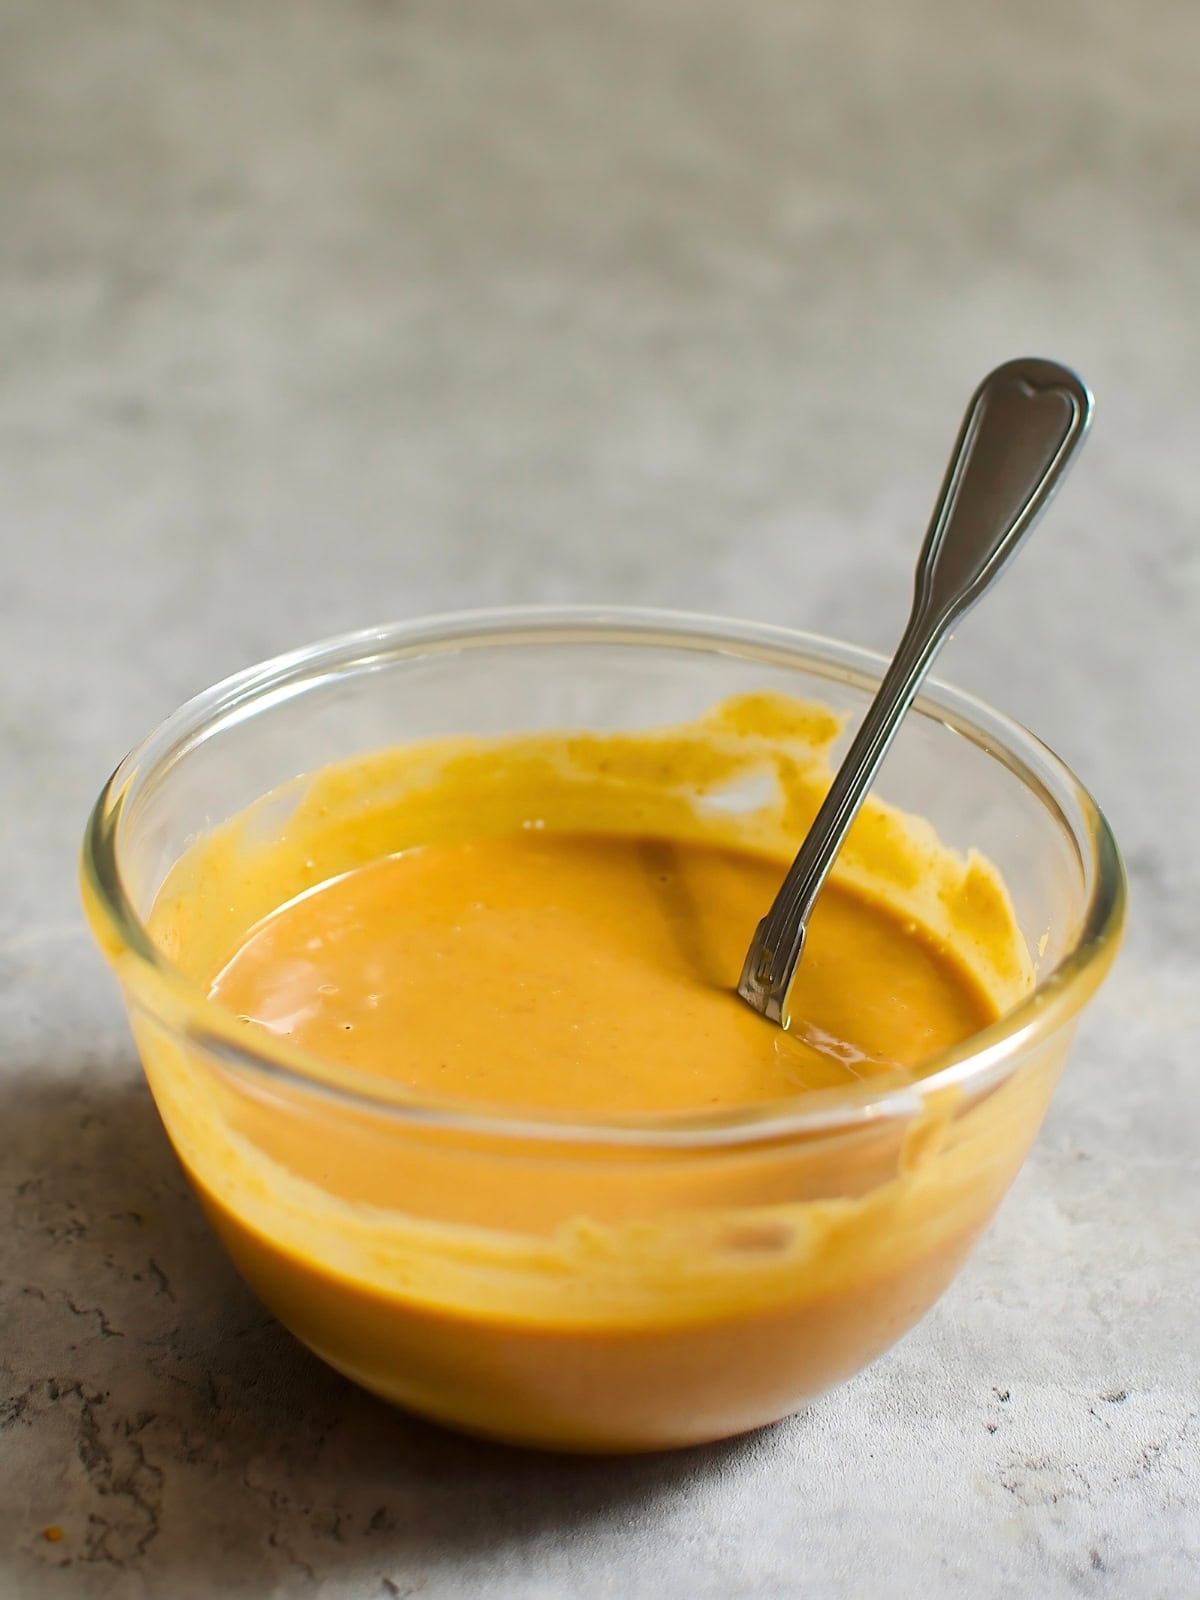
This Blonde Chocolate recipe creates a delightful twist on the classic sweet treat, transforming its flavor profile into something truly extraordinary. By slow roasting white chocolate, you can develop deep, rich caramel notes that add a luxurious touch to any dessert recipe or dessert board - and you only need one ingredient!
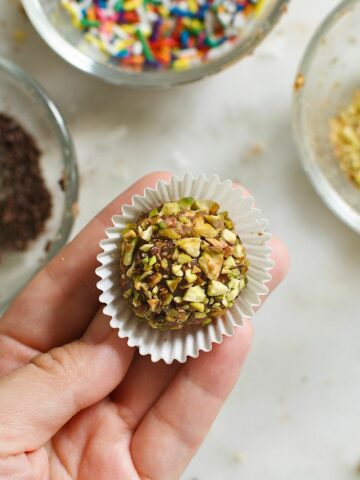
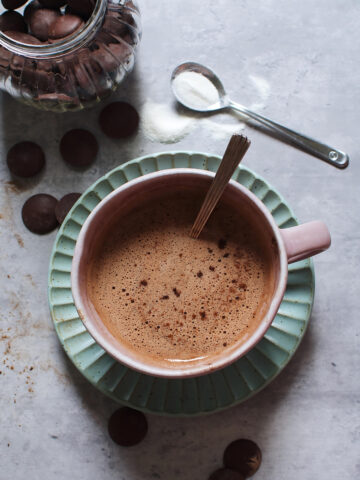
If you enjoy easy chocolate recipes, also check out my 2-ingredient chocolate truffles and simple cacao tea.
Jump to:
⭐ Why This Recipe is Great
Couldn't Be Easier: this one-ingredient chocolate recipe is incredibly hands-off - blonde chocolate is basically a cooked white chocolate which takes advantage of the Maillard reaction to lend a caramel-like flavor to the final chocolate.
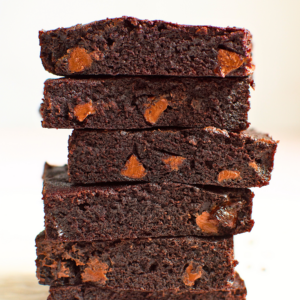
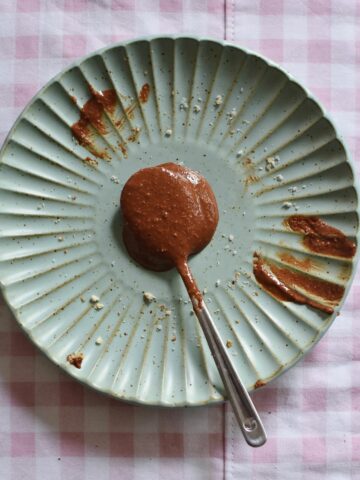
Upgrade Baked Goods & Dessert Boards: whether you add chunks, a smear, or a drizzle, this upgraded white chocolate is an ideal addition to add a toasted cookie, graham cracker flavor to brownies, cookies, and even homemade frostings.
This chocolate's versatility extends beyond sweets; it can also be paired with savory ingredients like nuts and aged cheeses.
Batching-Friendly: this is a very easy recipe to make in a large batch and make up to a month ahead to keep in the fridge or pantry for snacking or using in baking recipes.

🎓 What Is Blonde Chocolate?
Blonde chocolate is essentially caramelised white chocolate, originally pioneered by French chocolate producer Valrhona Chocolate in 2004. The flavor of blonde chocolate is best described as creamy with hints of butterscotch, toffee, and shortbread, making it a versatile ingredient in both baking and confectionery.
Blond® chocolate, as it's been trademarked, uses heat to manipulate the existing chocolate ingredients to develop a new caramelized flavor profile. In this case, the baking process changes the flavor of the milk powder, with Valrhona arguing in the court of public opinion that this change warrants the declaration of a new type of chocolate.
Blonde chocolate is made by slowly roasting white chocolate at a low temperature until it develops a rich, golden color and a deep, caramel-like taste. This process caramelizes both the milk and the sugars in the white chocolate, resulting in a product that combines the creamy sweetness of white chocolate with the complex, toasted notes of caramel.
🍫 Ingredients
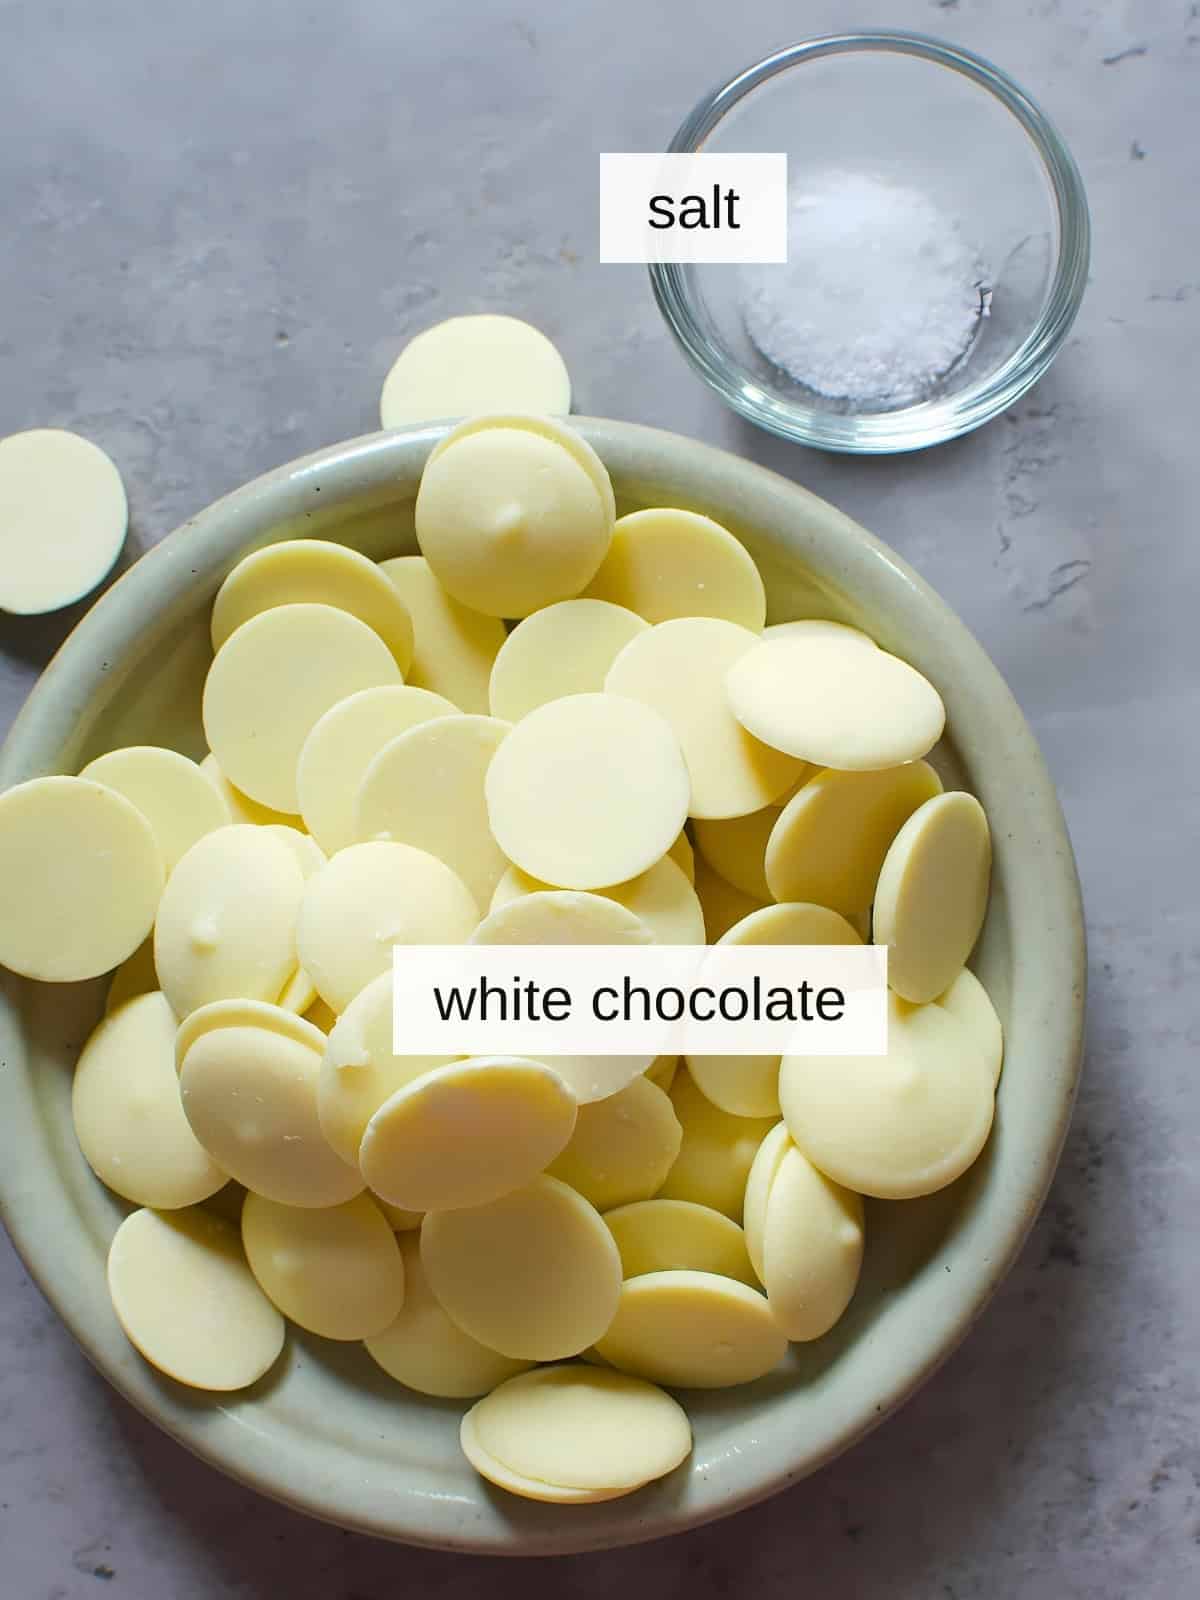
White Chocolate: this is the base for your caramel white chocolate, so choose the high-percentage white chocolate (at least 30% cocoa butter). If you're located in the US, I recommend checking out Bar & Cocoa to buy high quality white chocolate.
But if you're international, check out this guide to find a craft chocolate retail shop in your country. Once you've gotten your hands on some nice white chocolate, the next most important ingredient is patience.
Salt: although optional, this enhances the sweetness in the final batch of caramel chocolate.
See recipe card for exact ingredients and measurements.
🔪 How to Make Blonde Chocolate: Step-by-Step
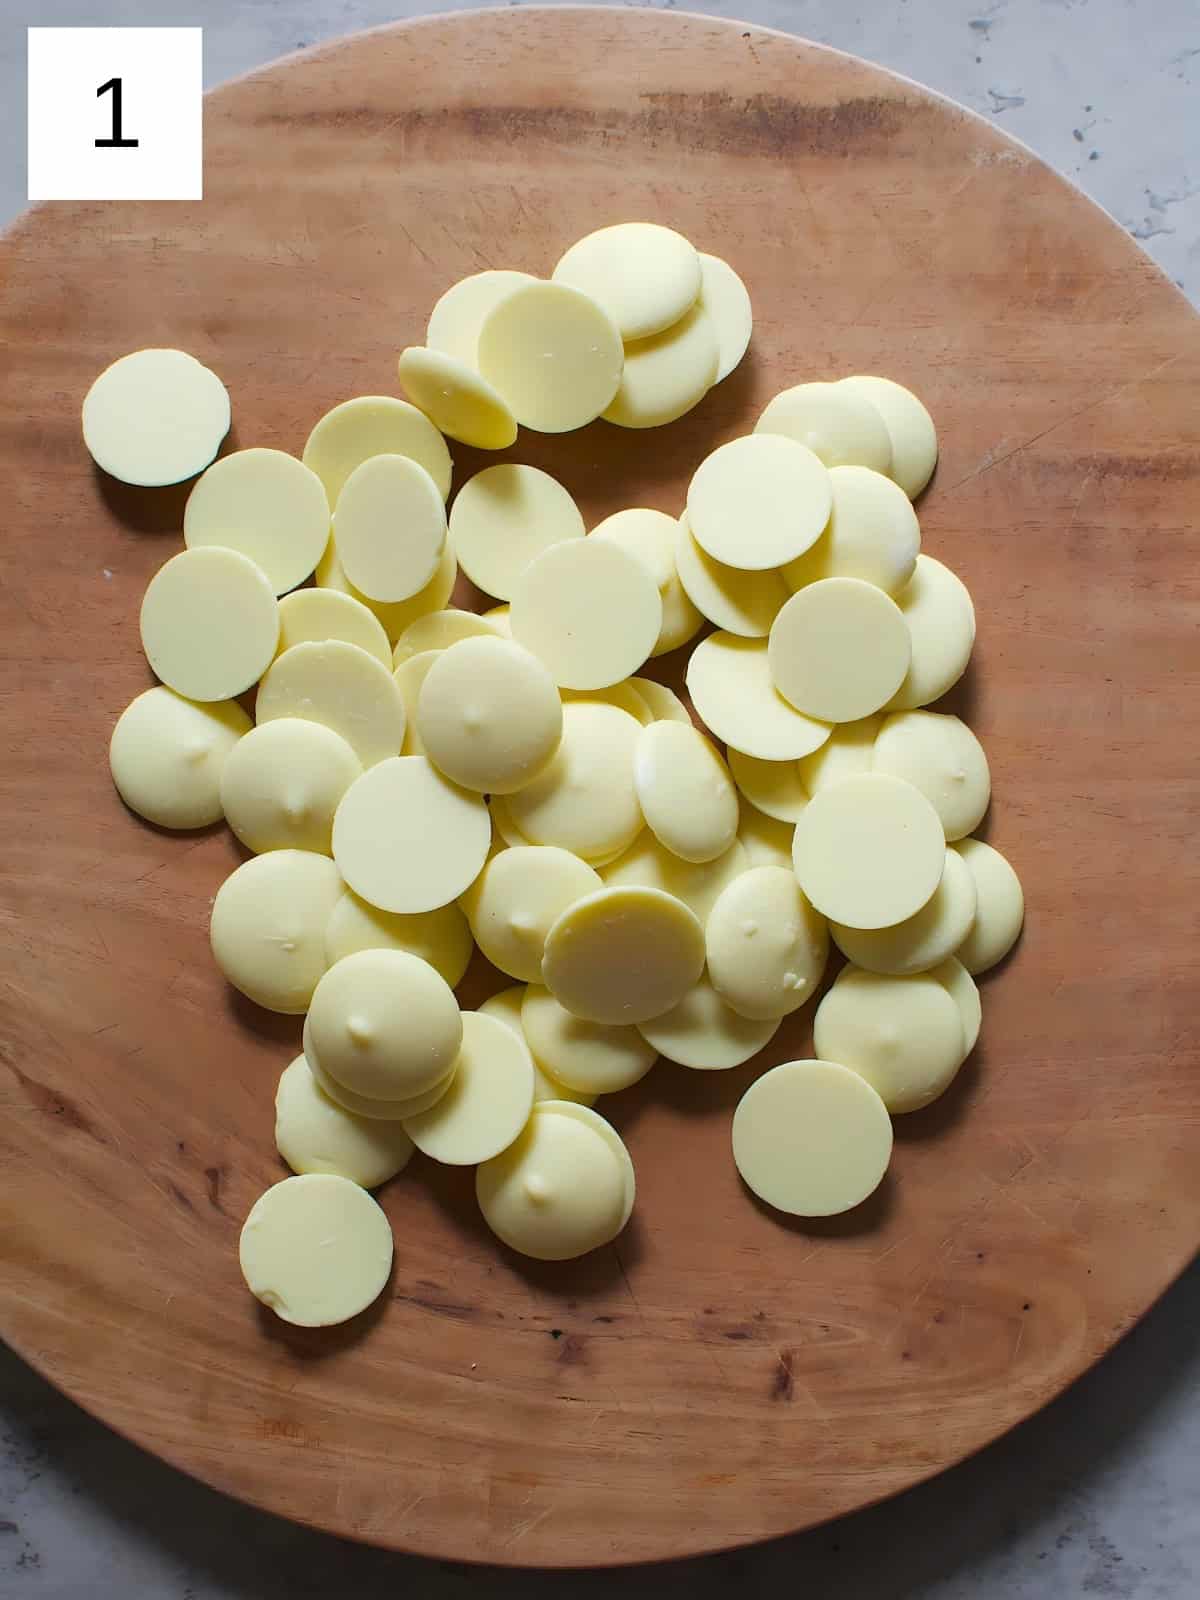
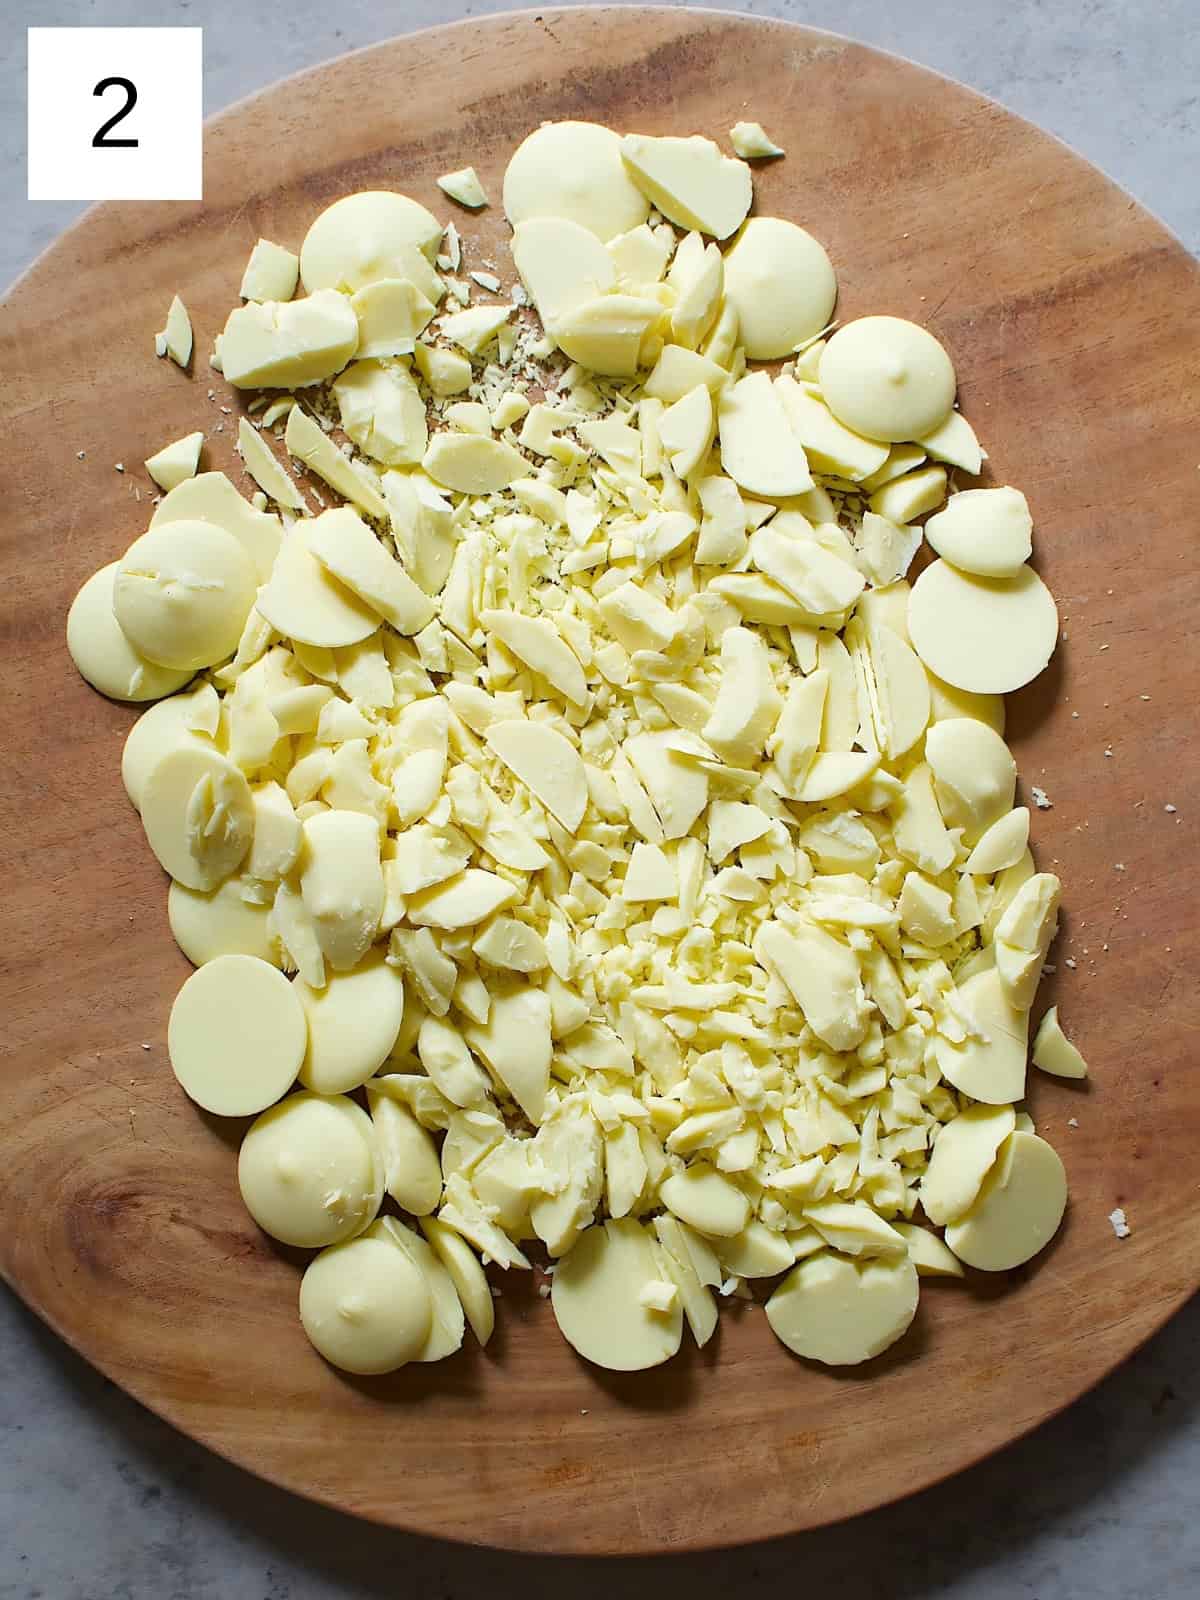
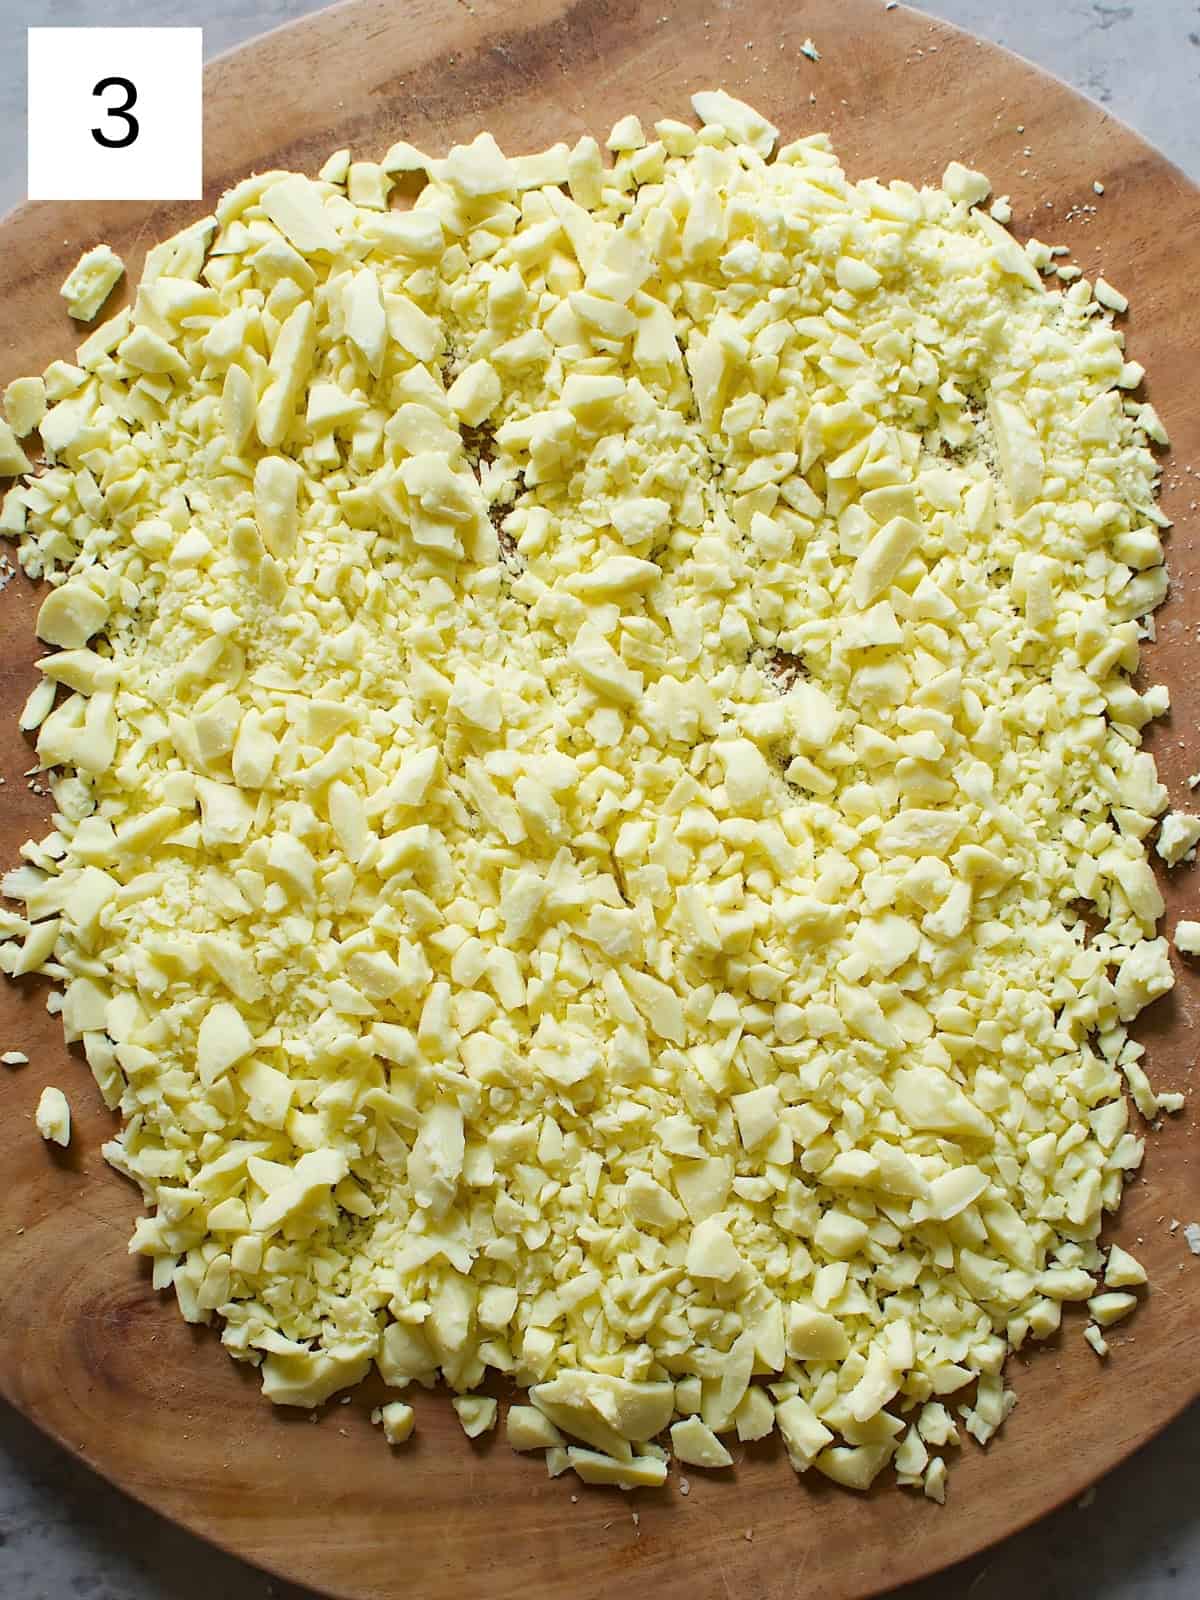
Step 1) Preheat the oven to 250°F (120°C). Chop up pieces of white chocolate until they look splintered (images 1-3). You want the surface area of the chocolate slivers to be as small as possible so that each one is evenly exposed to the heat.
Pro Tip
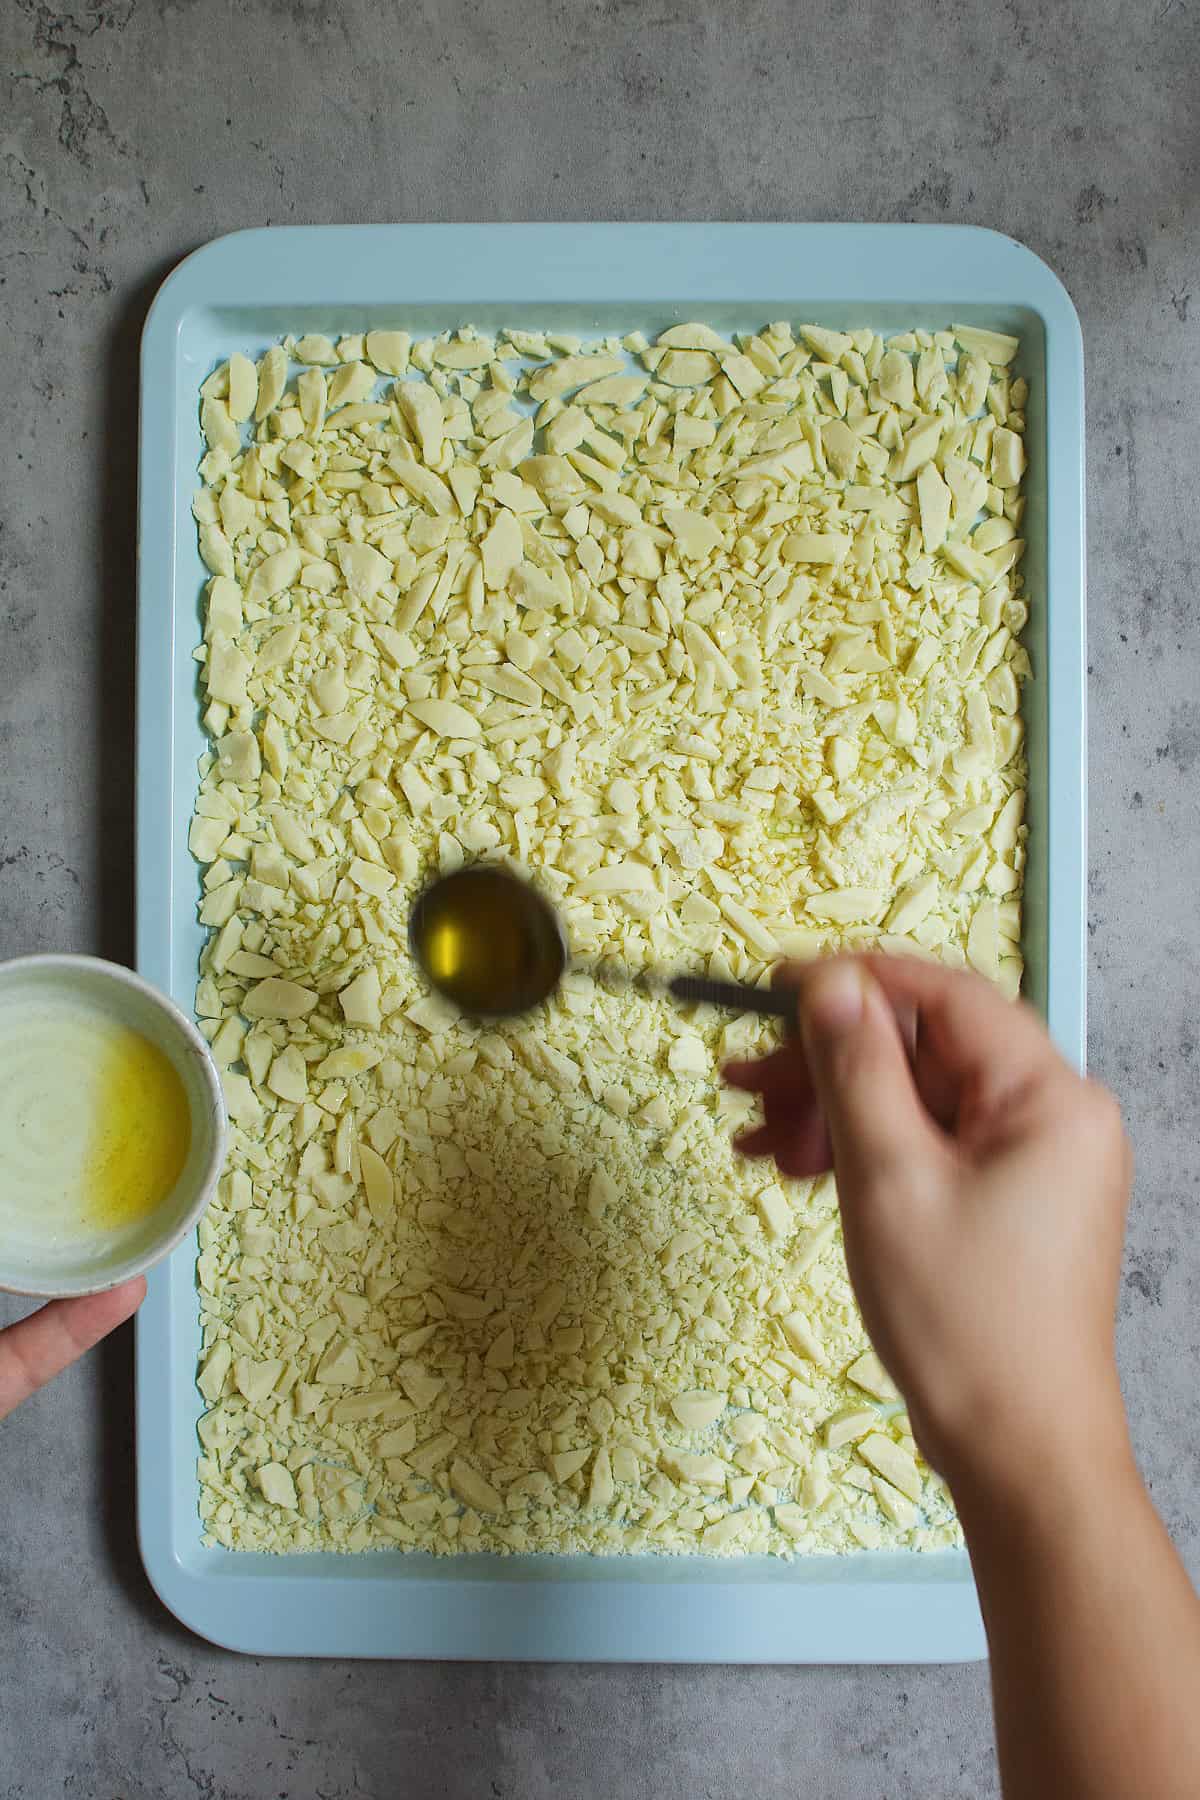
To ensure a smoother texture, if you're using a white chocolate with a lower cocoa butter content, add 1-2 tablespoons of vegetable oil or melted cocoa butter to the chopped chocolates at the very beginning, right before you first pop them into the oven.
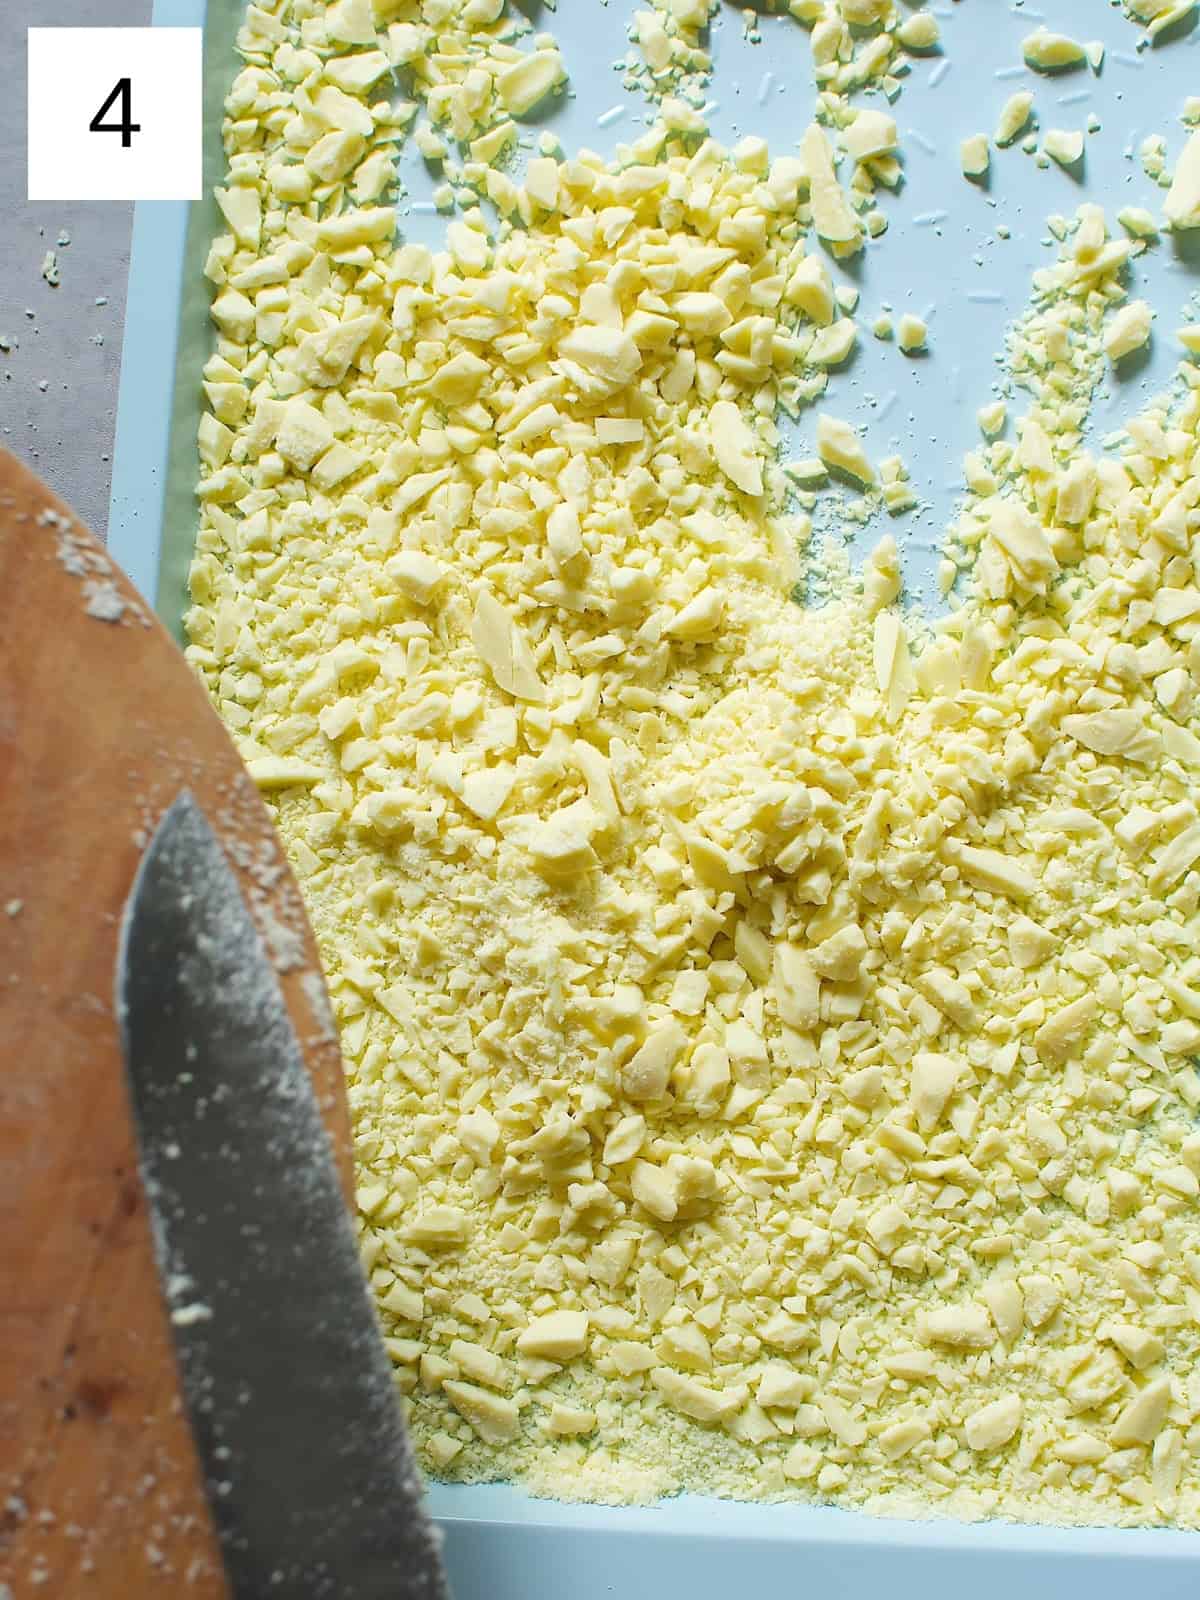
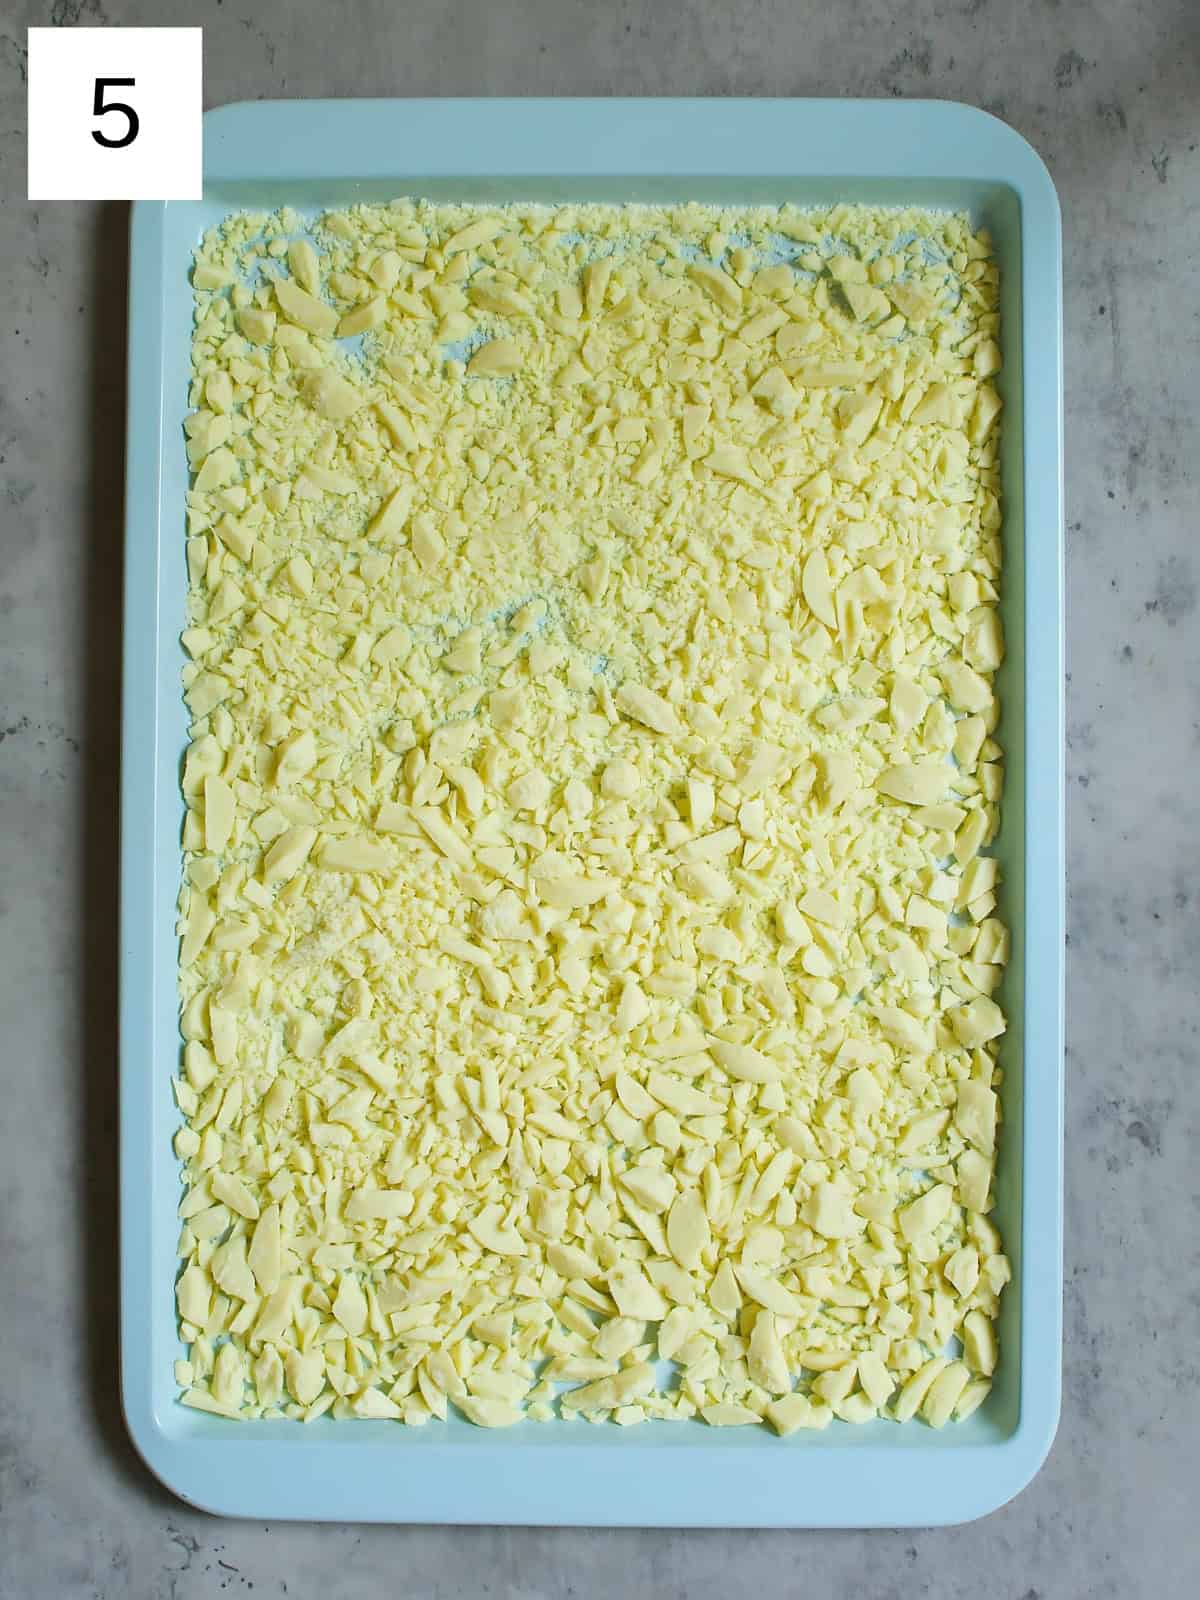
Step 2) Scrape your chopped chocolate on a baking sheet (image 4). Spread out the chocolates in a single layer to ensure even browning (image 5).
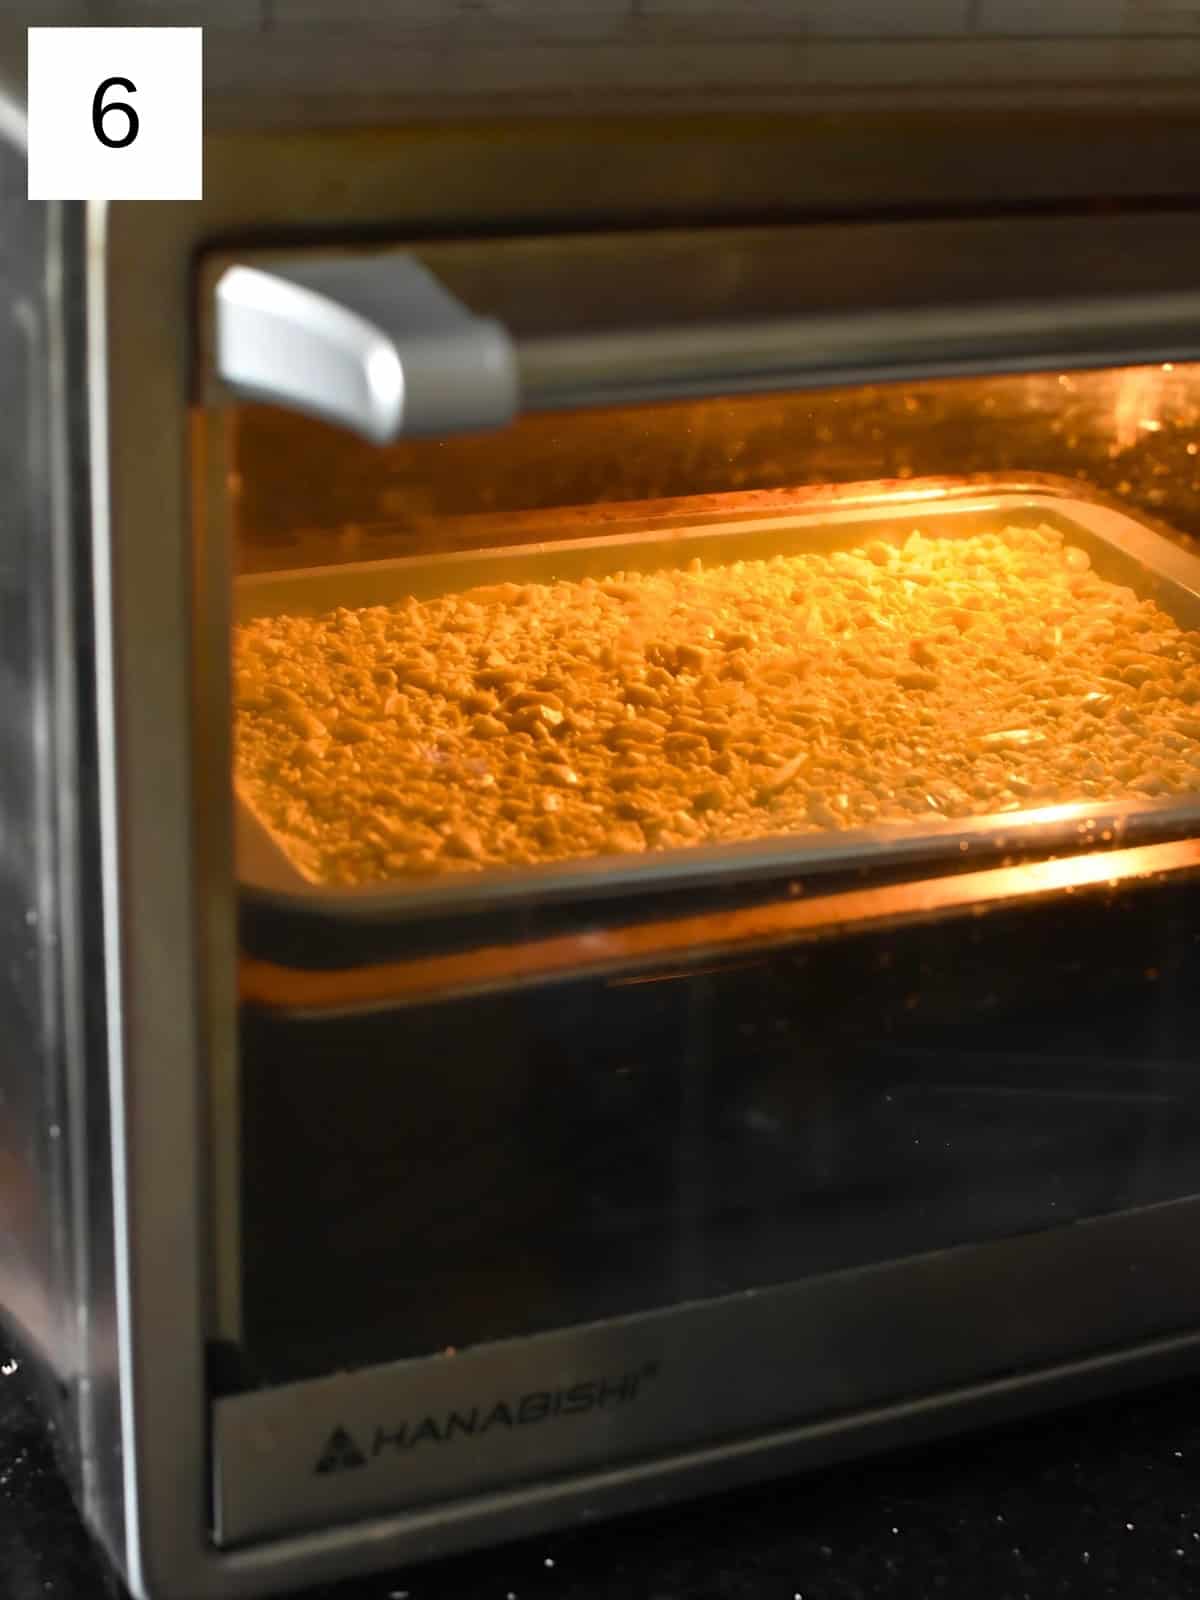
Step 3) Put the chocolate-covered tray in the oven and set the timer for 10 minutes (image 6). When the timer goes off, take out the baking sheet and use your spatula to stir and move the melted chocolate before returning it to the oven for another 10 minutes.
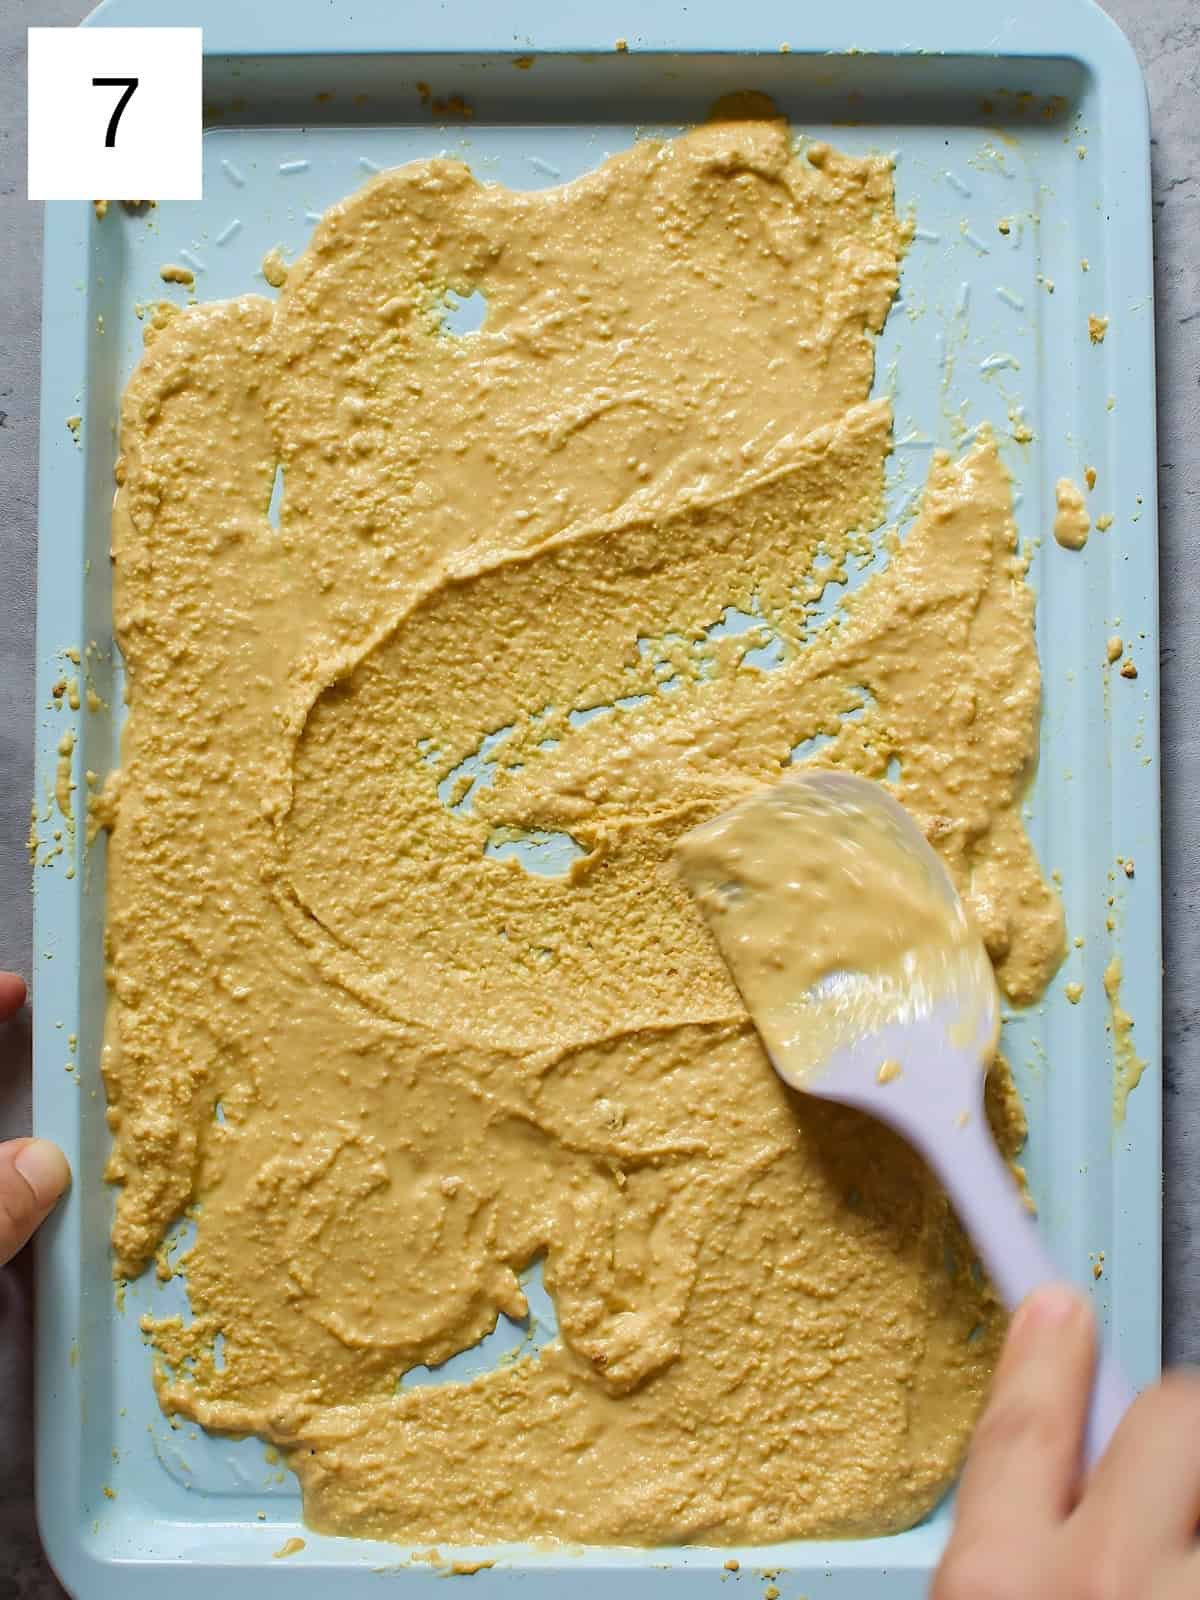
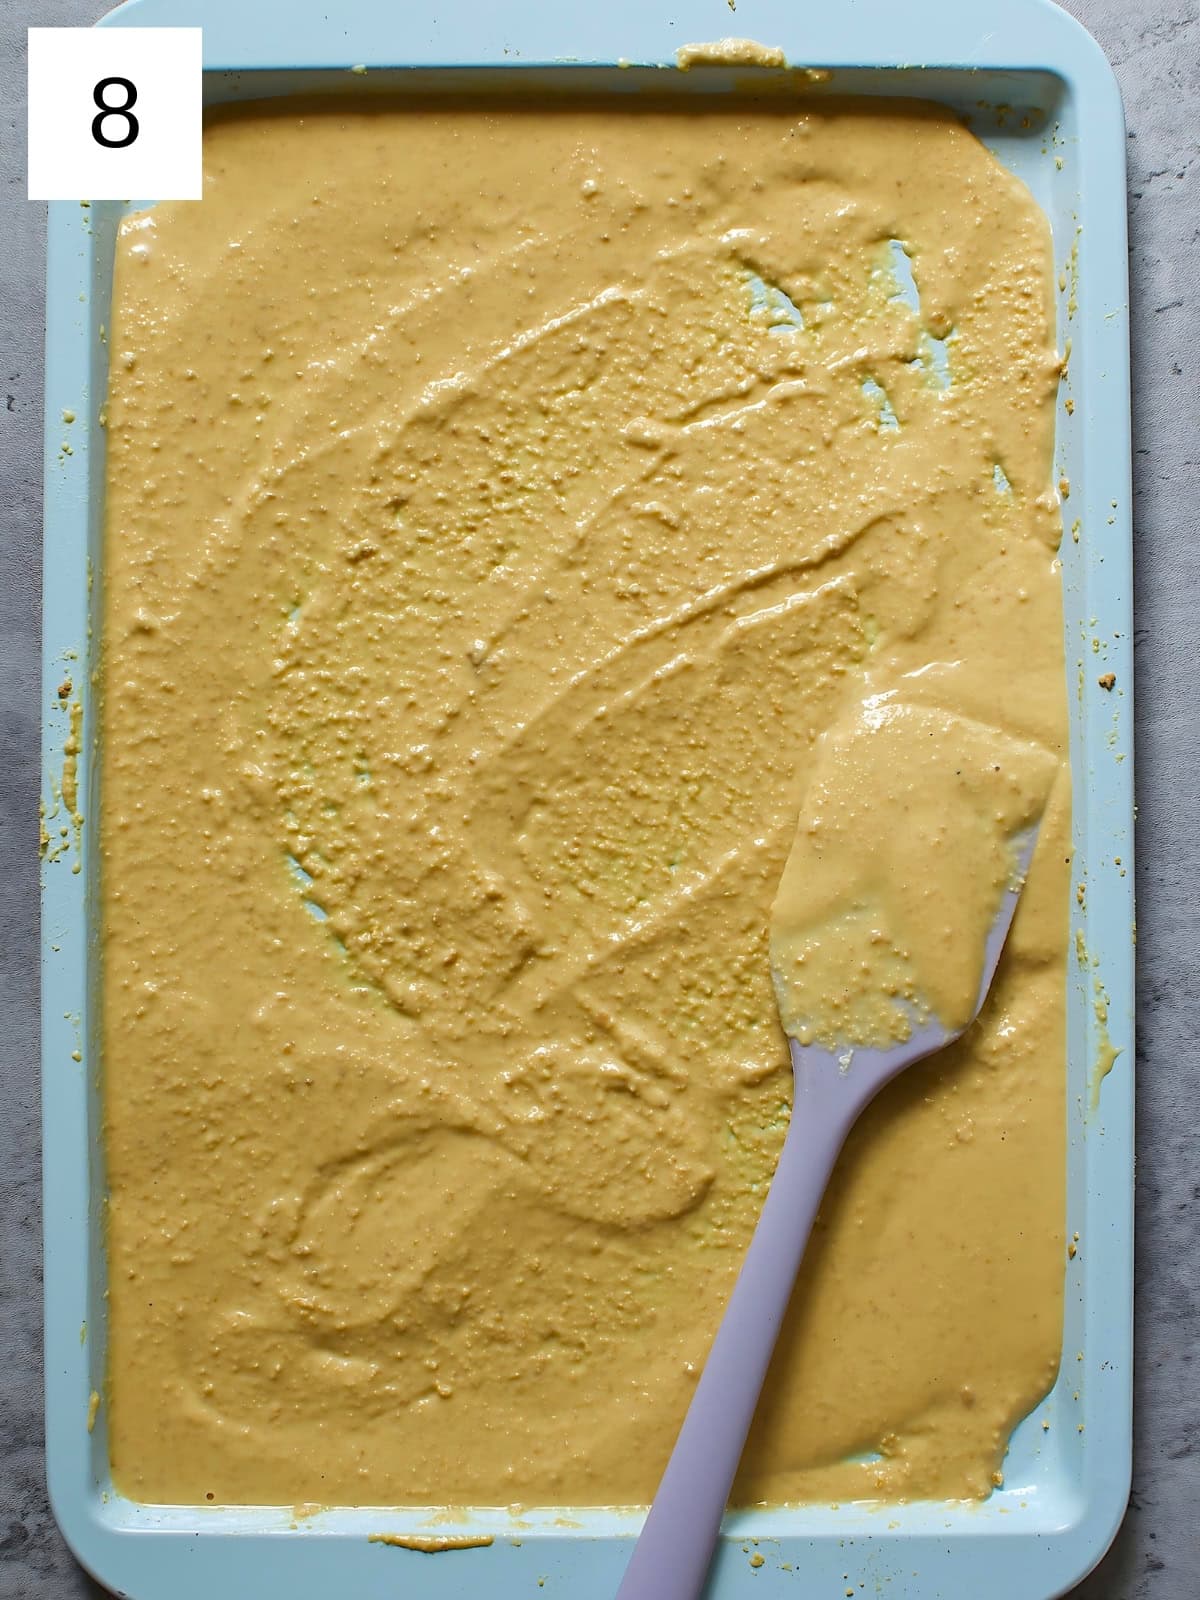
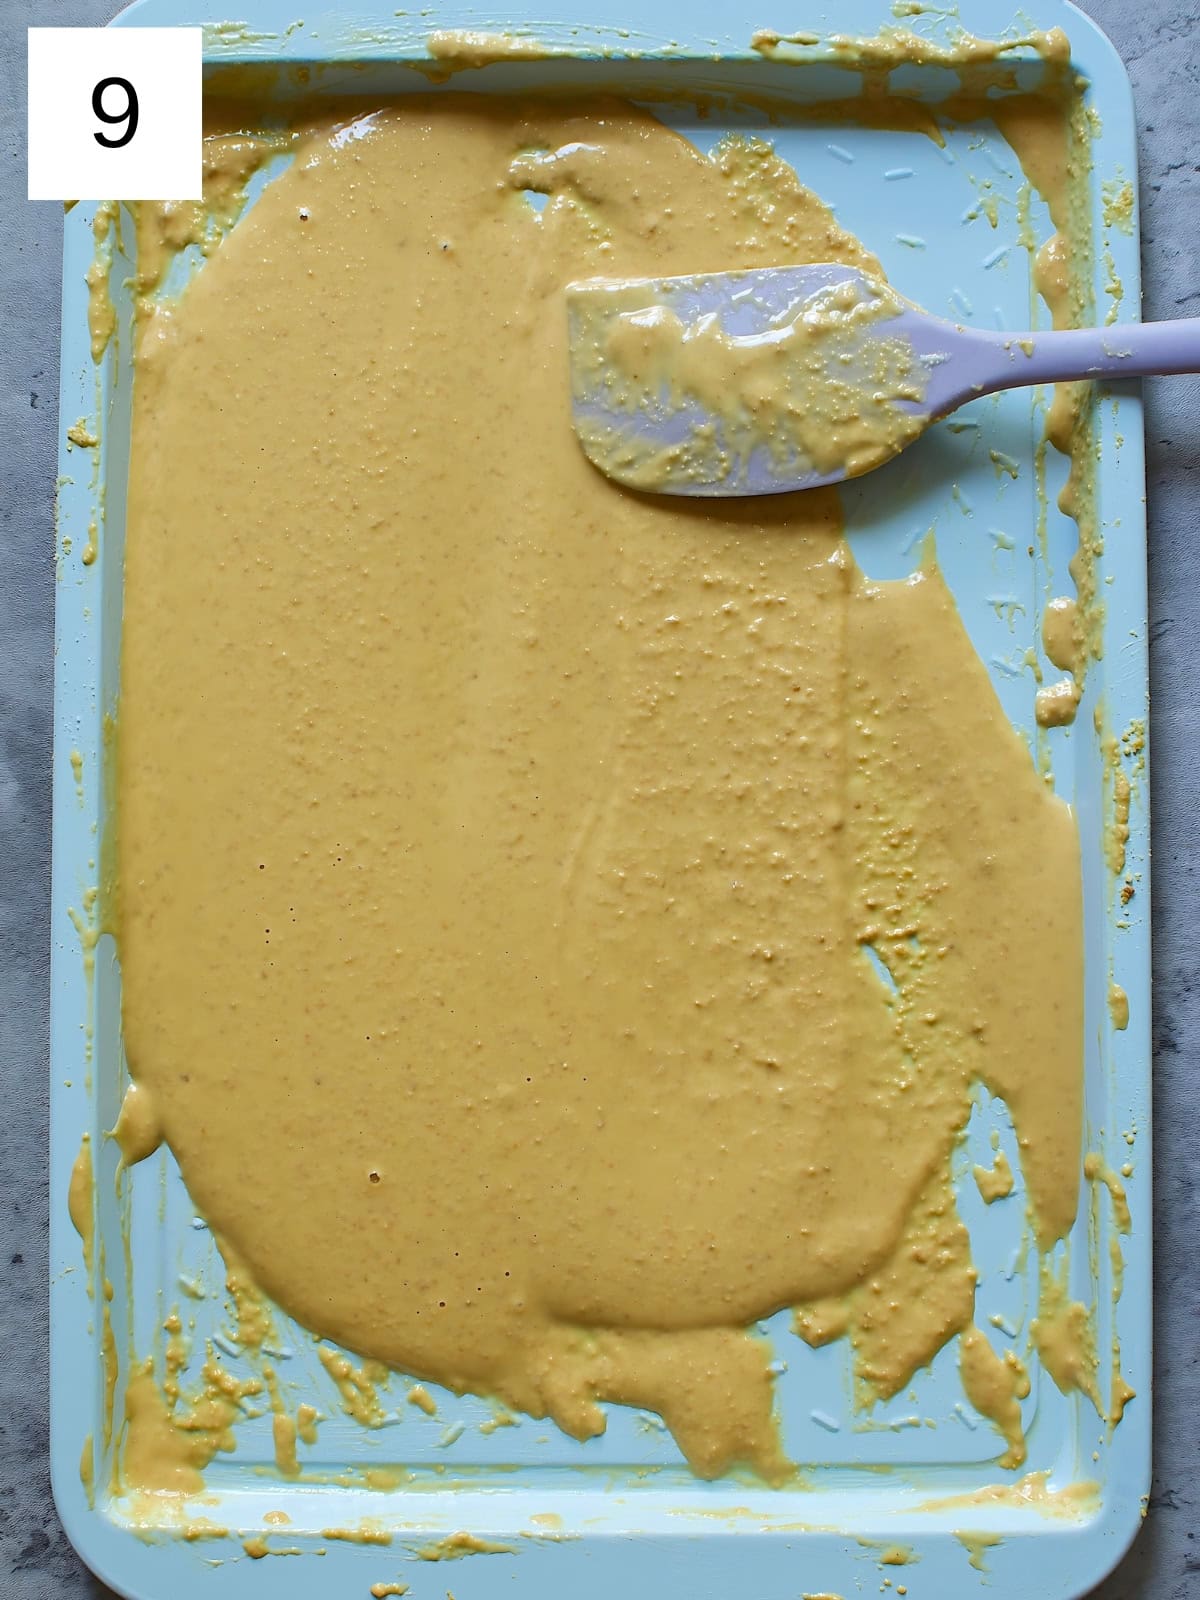
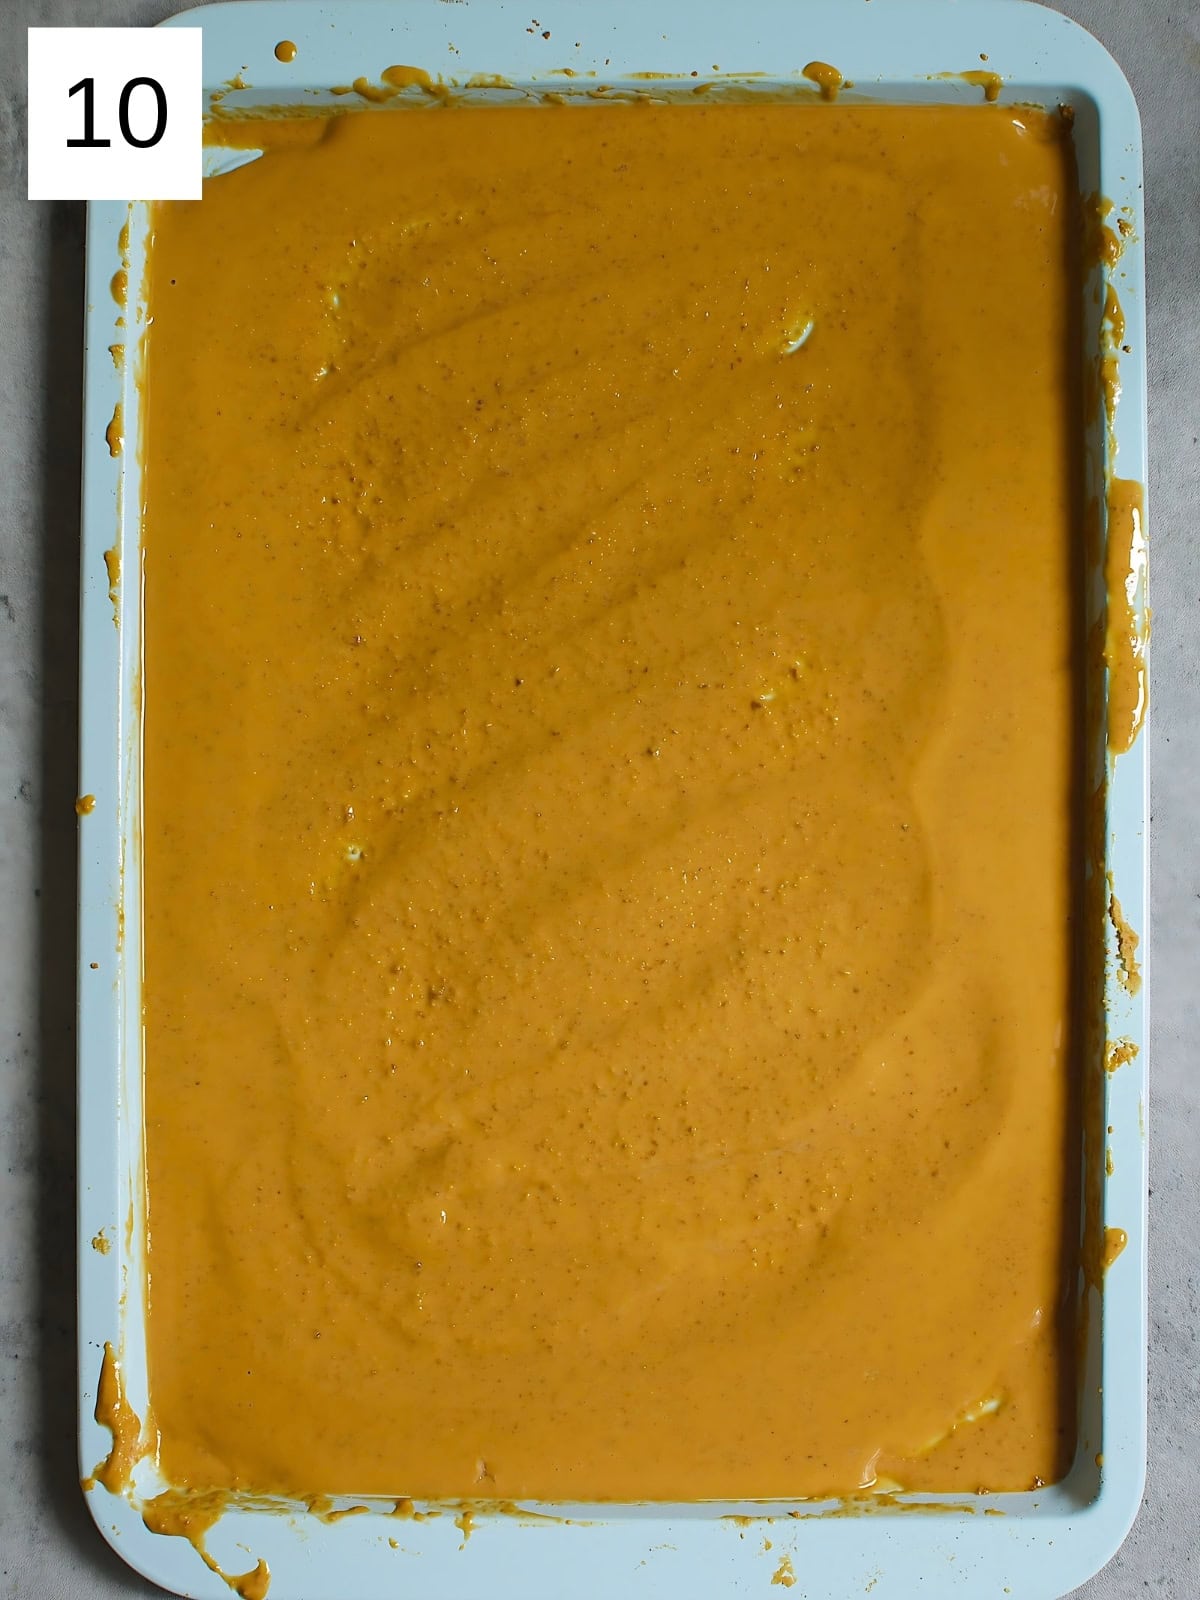
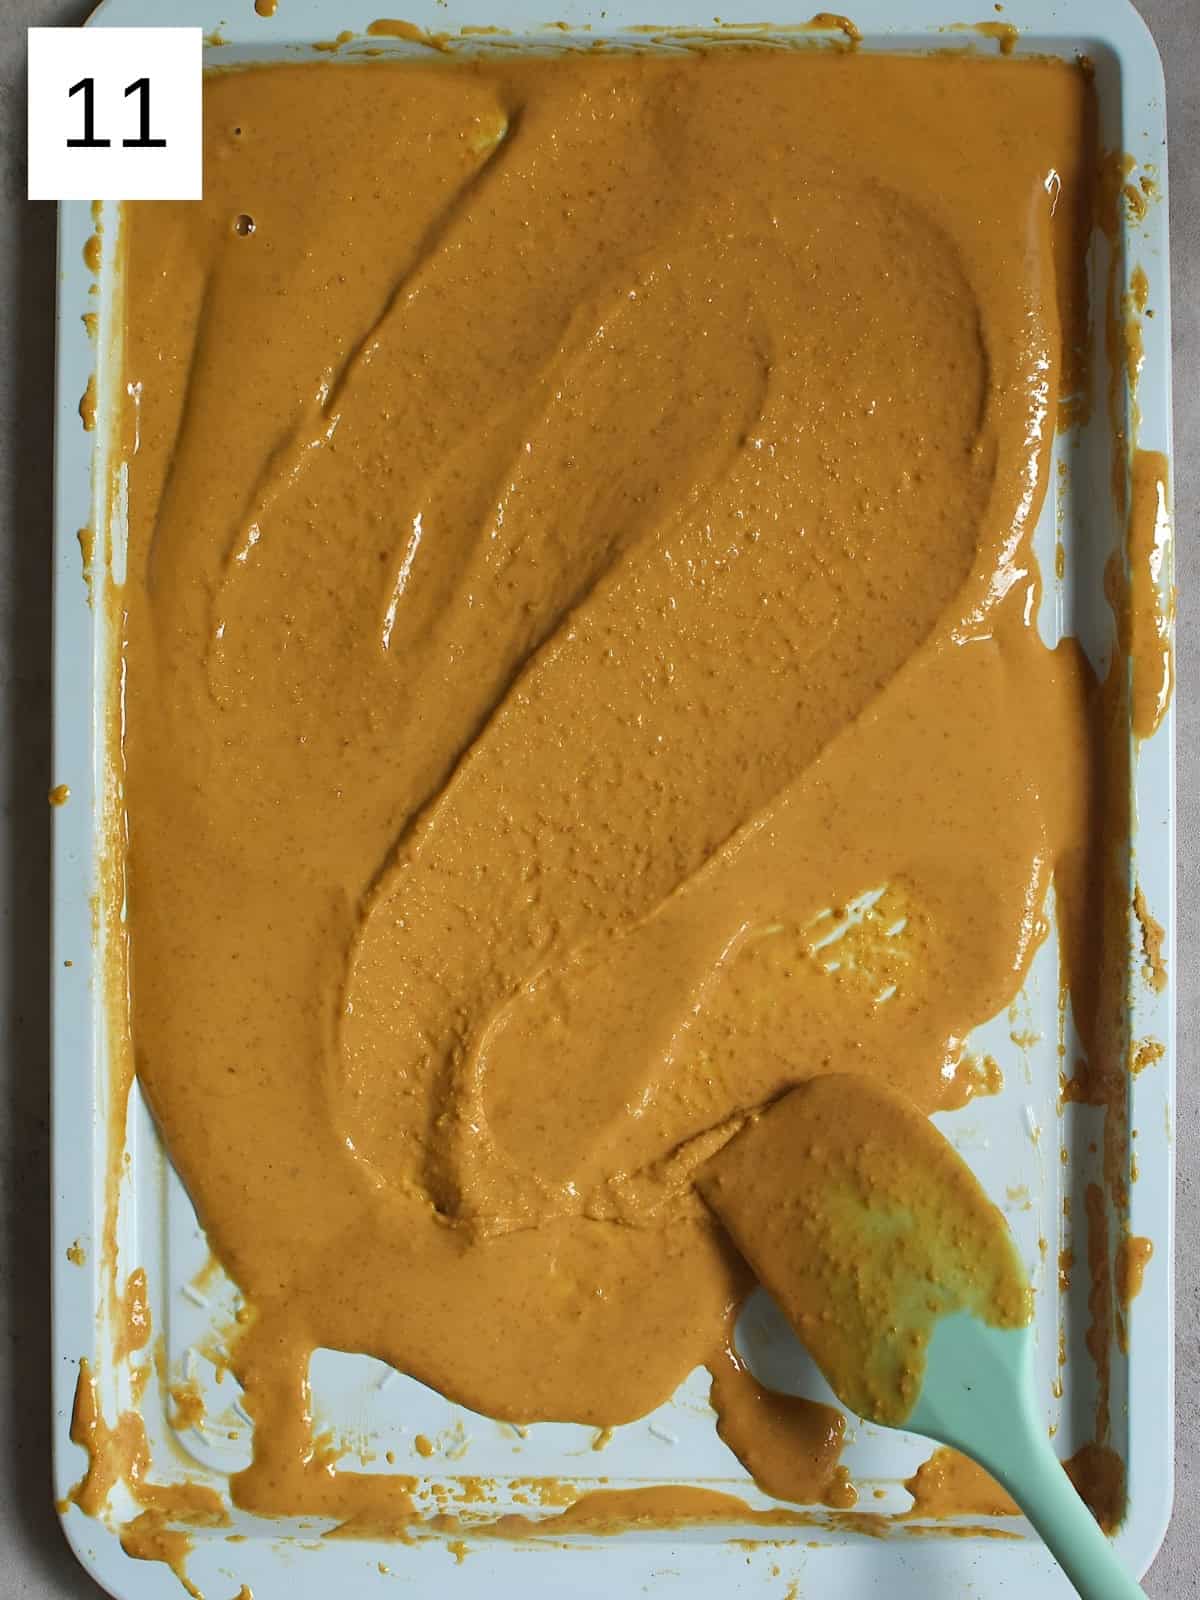
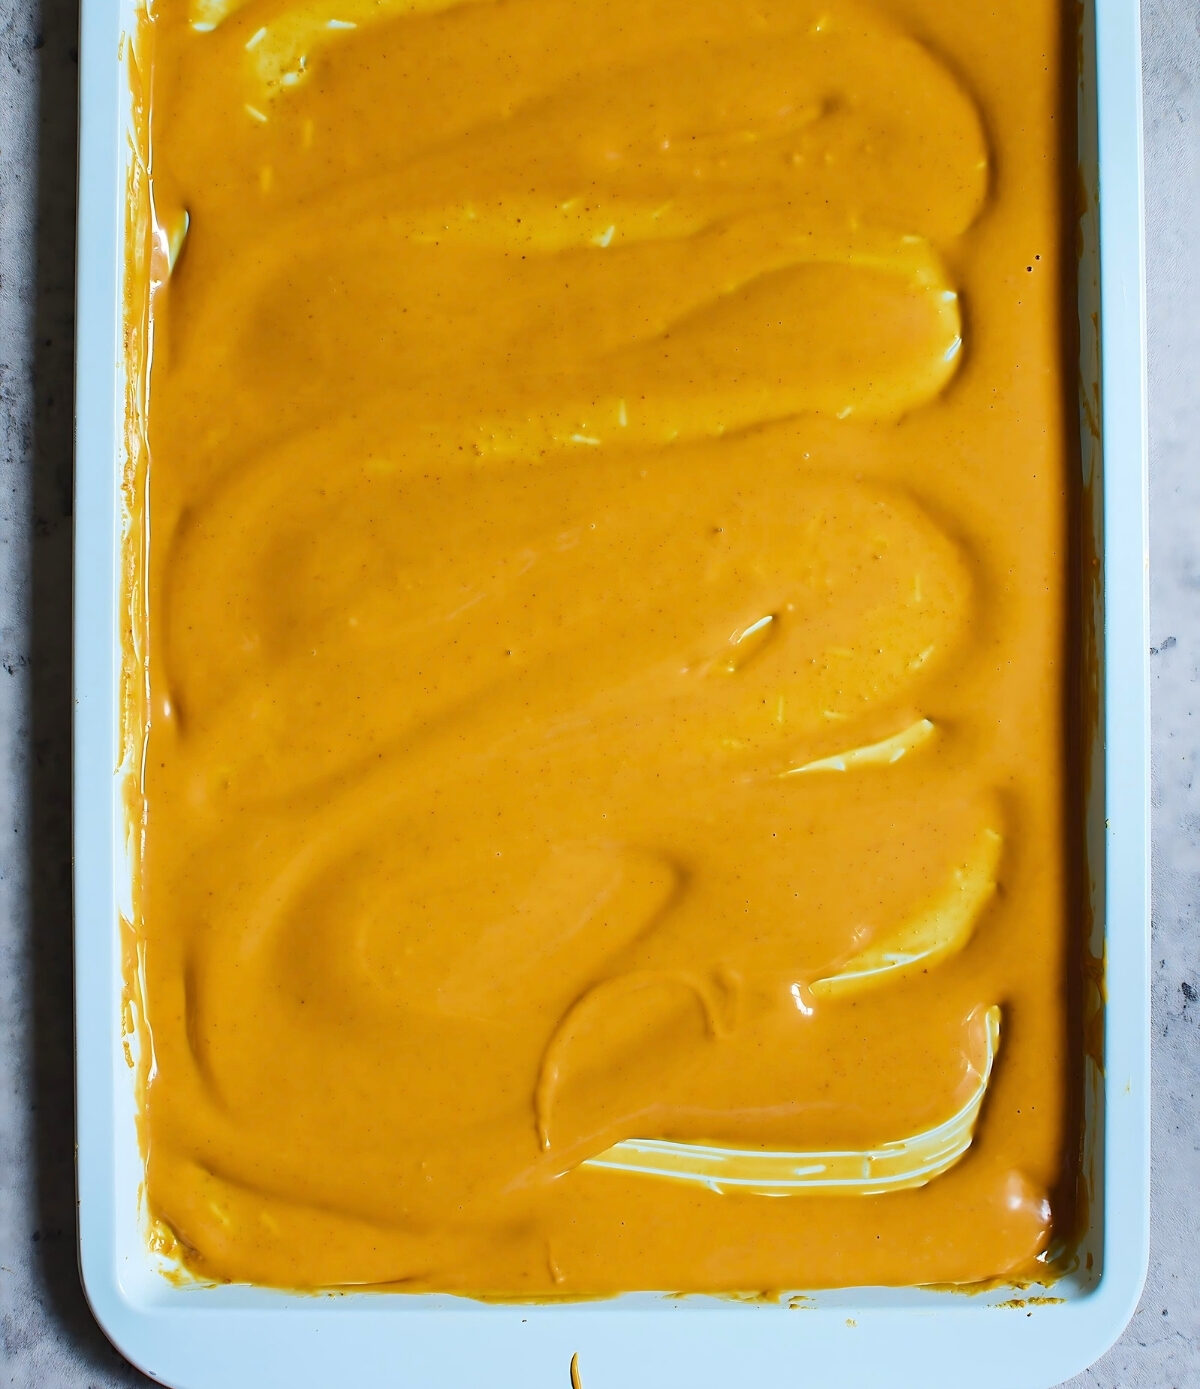
Step 4) Repeat this process two more times (total of 30 minutes) and then every 5 minutes afterward until the chocolate is smooth and deep brown (images 7-9). It should be roughly the color of peanut butter (images 10 & 11).
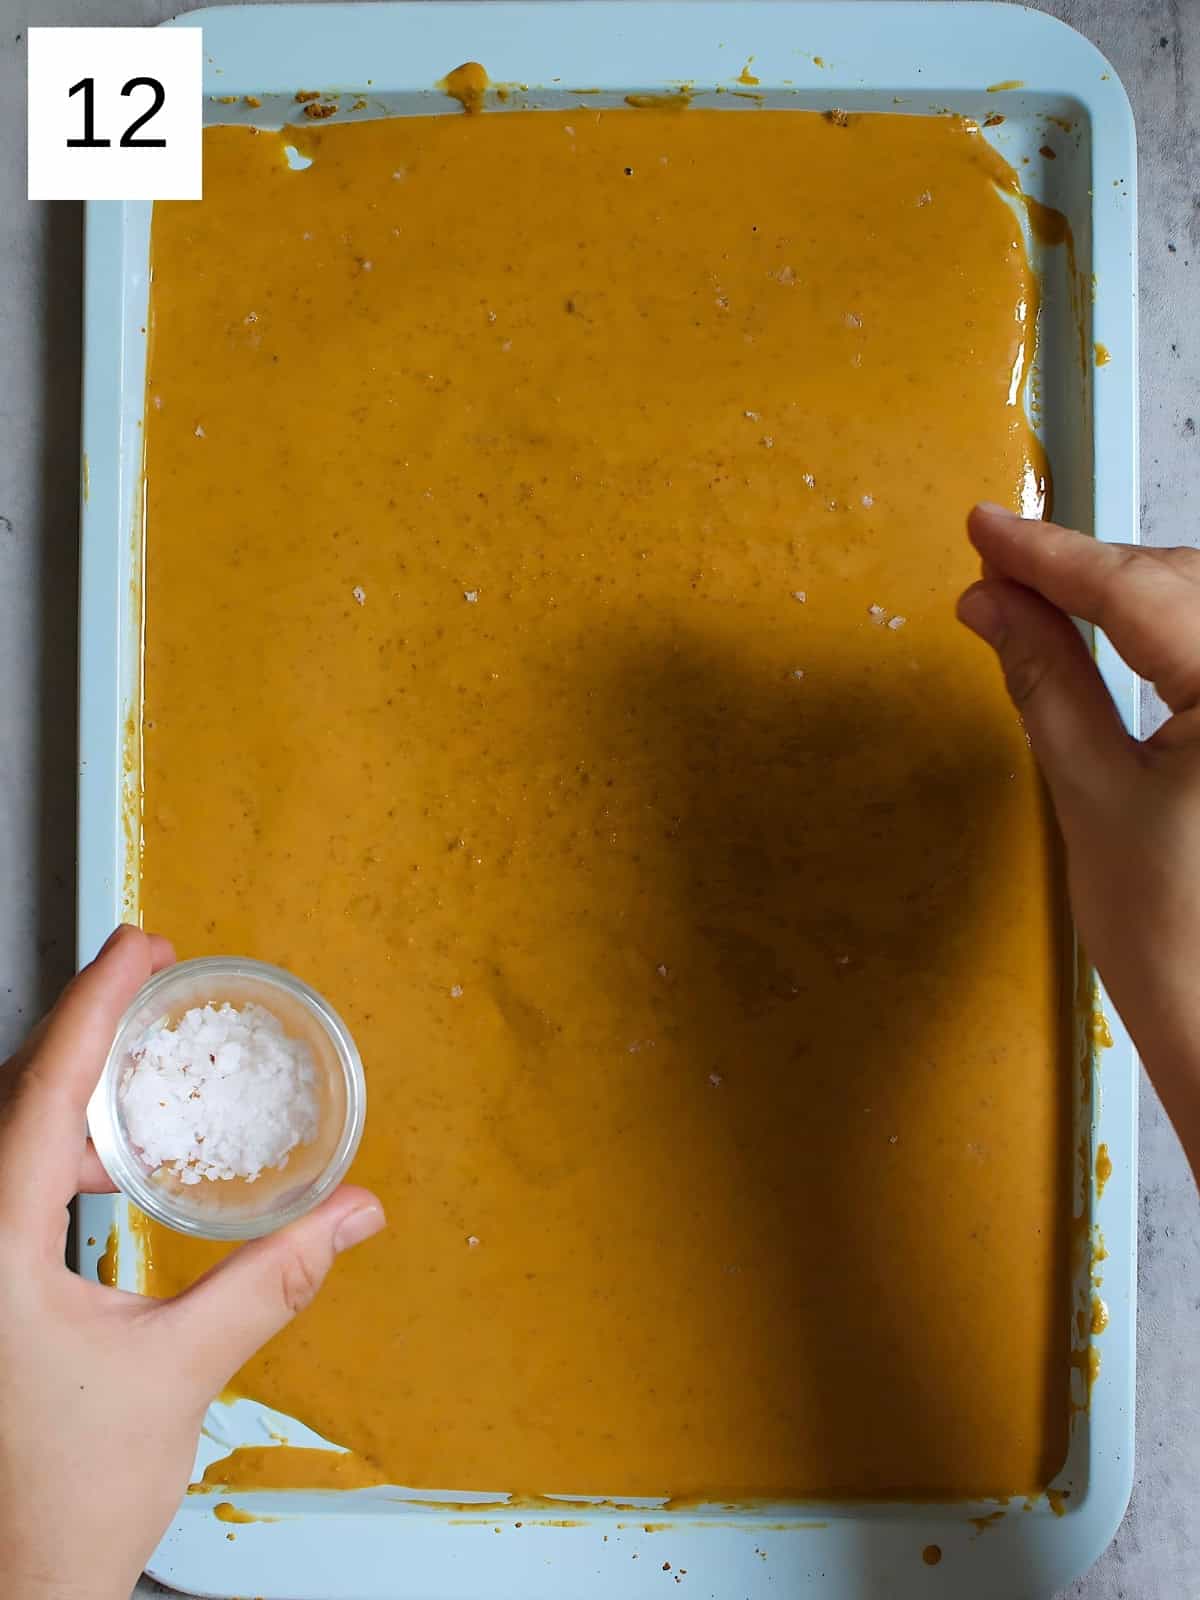
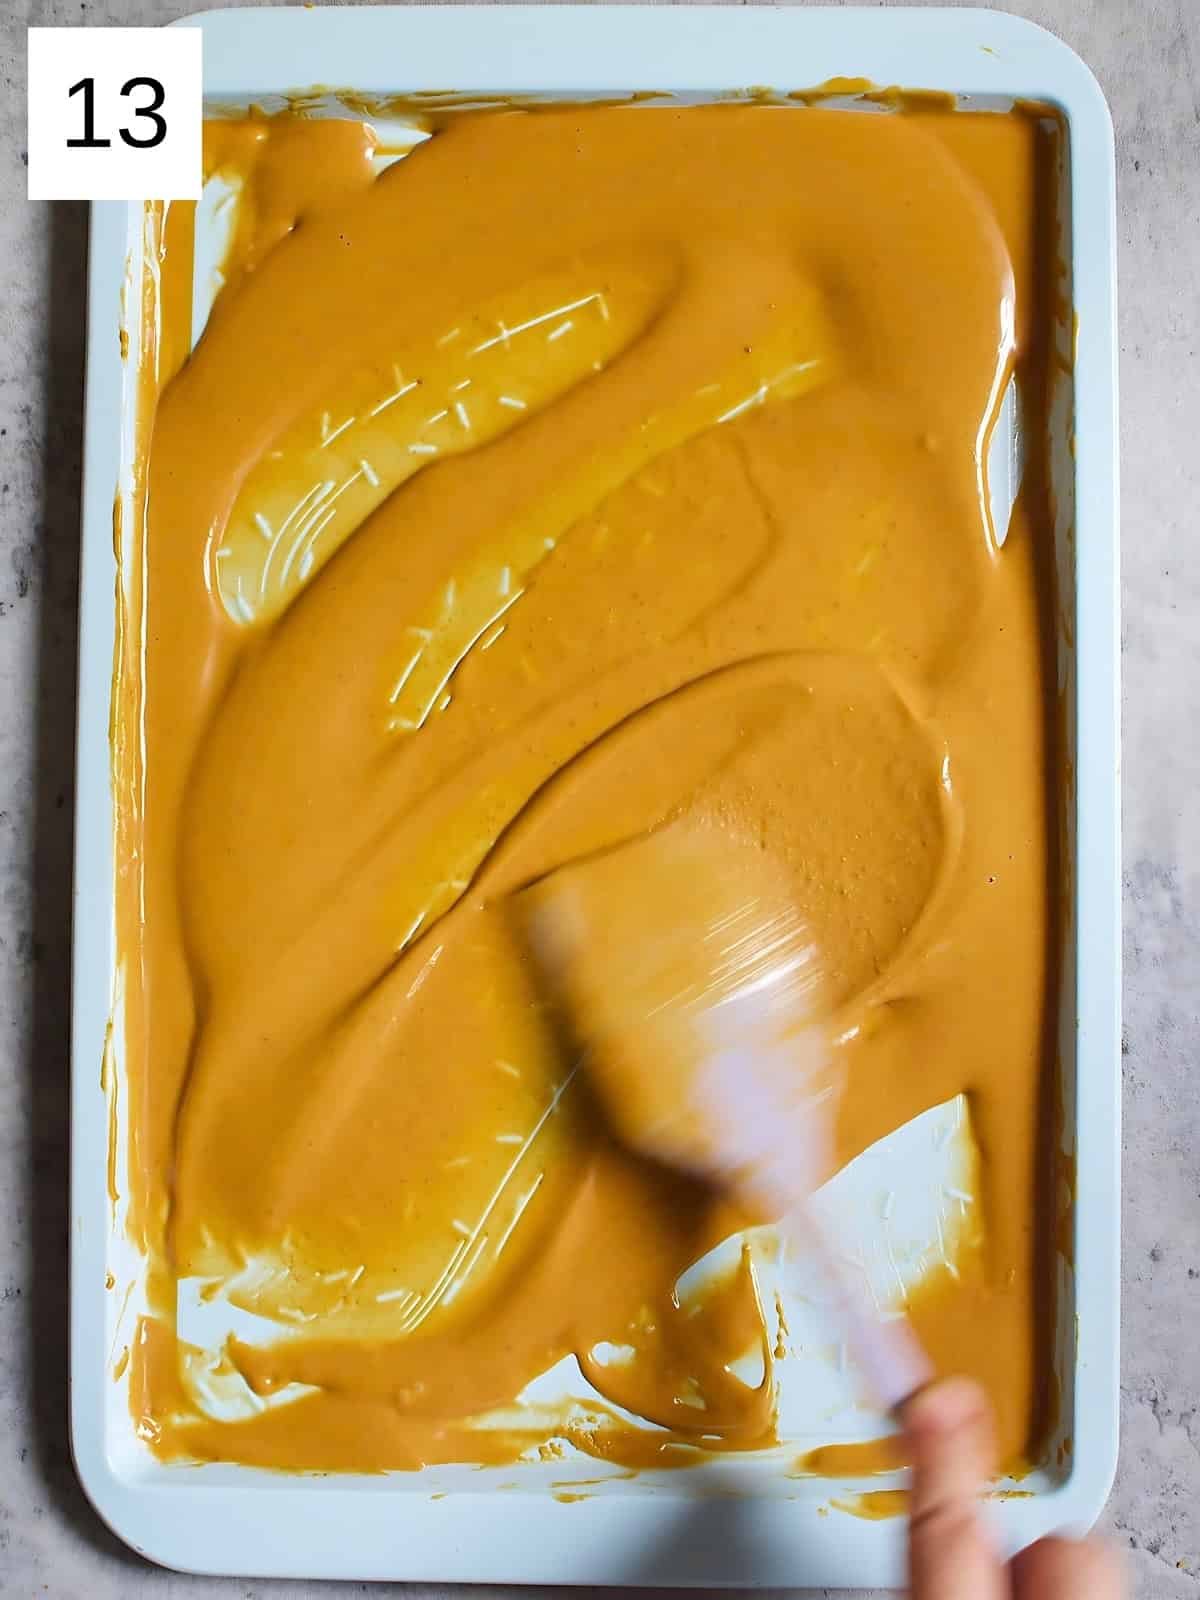
Once it has reached that deep golden brown color, sprinkle a pinch or two of sea salt (optional) if you like that sweet and salty flavor combination (images 12 & 13).
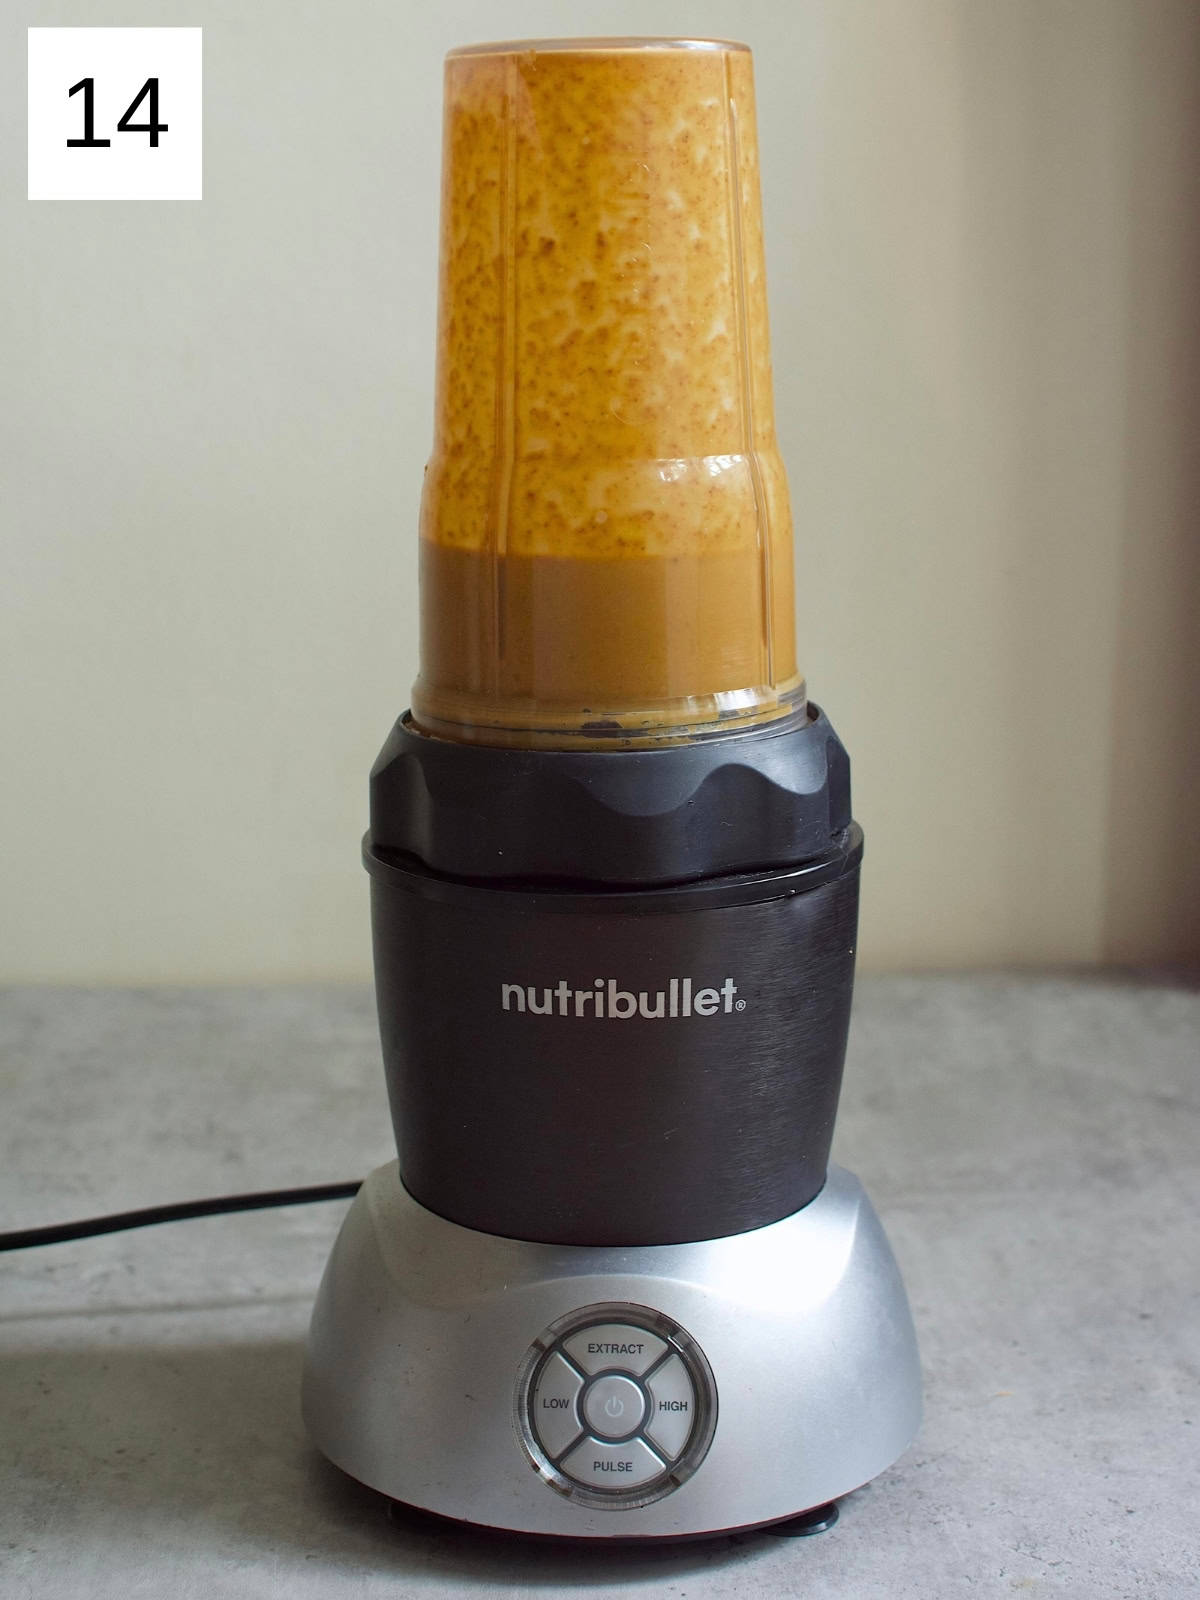
Step 5) Once it’s out of the oven, let it cool first. If the chocolate is separated or is a bit grainy, scrape it into a high-speed blender (you can also use an immersion blender or a food processor) and recombine for a smoother texture (image 14).
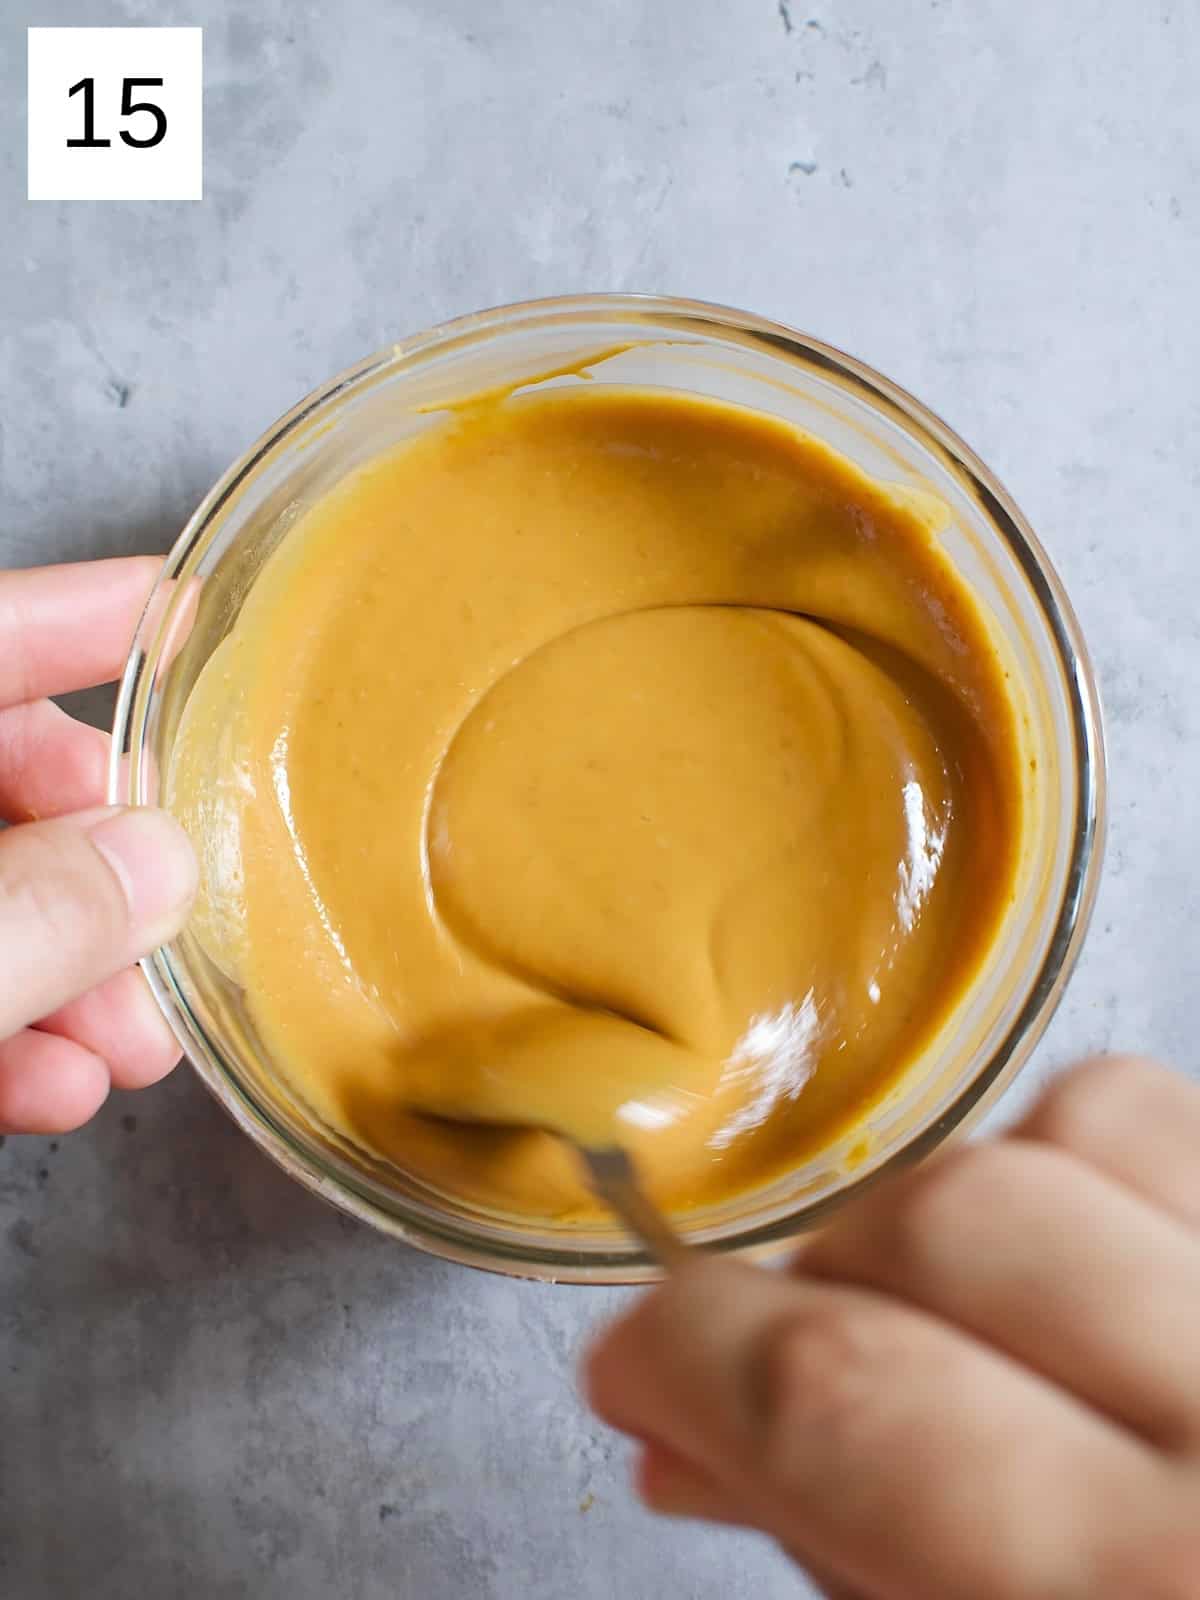
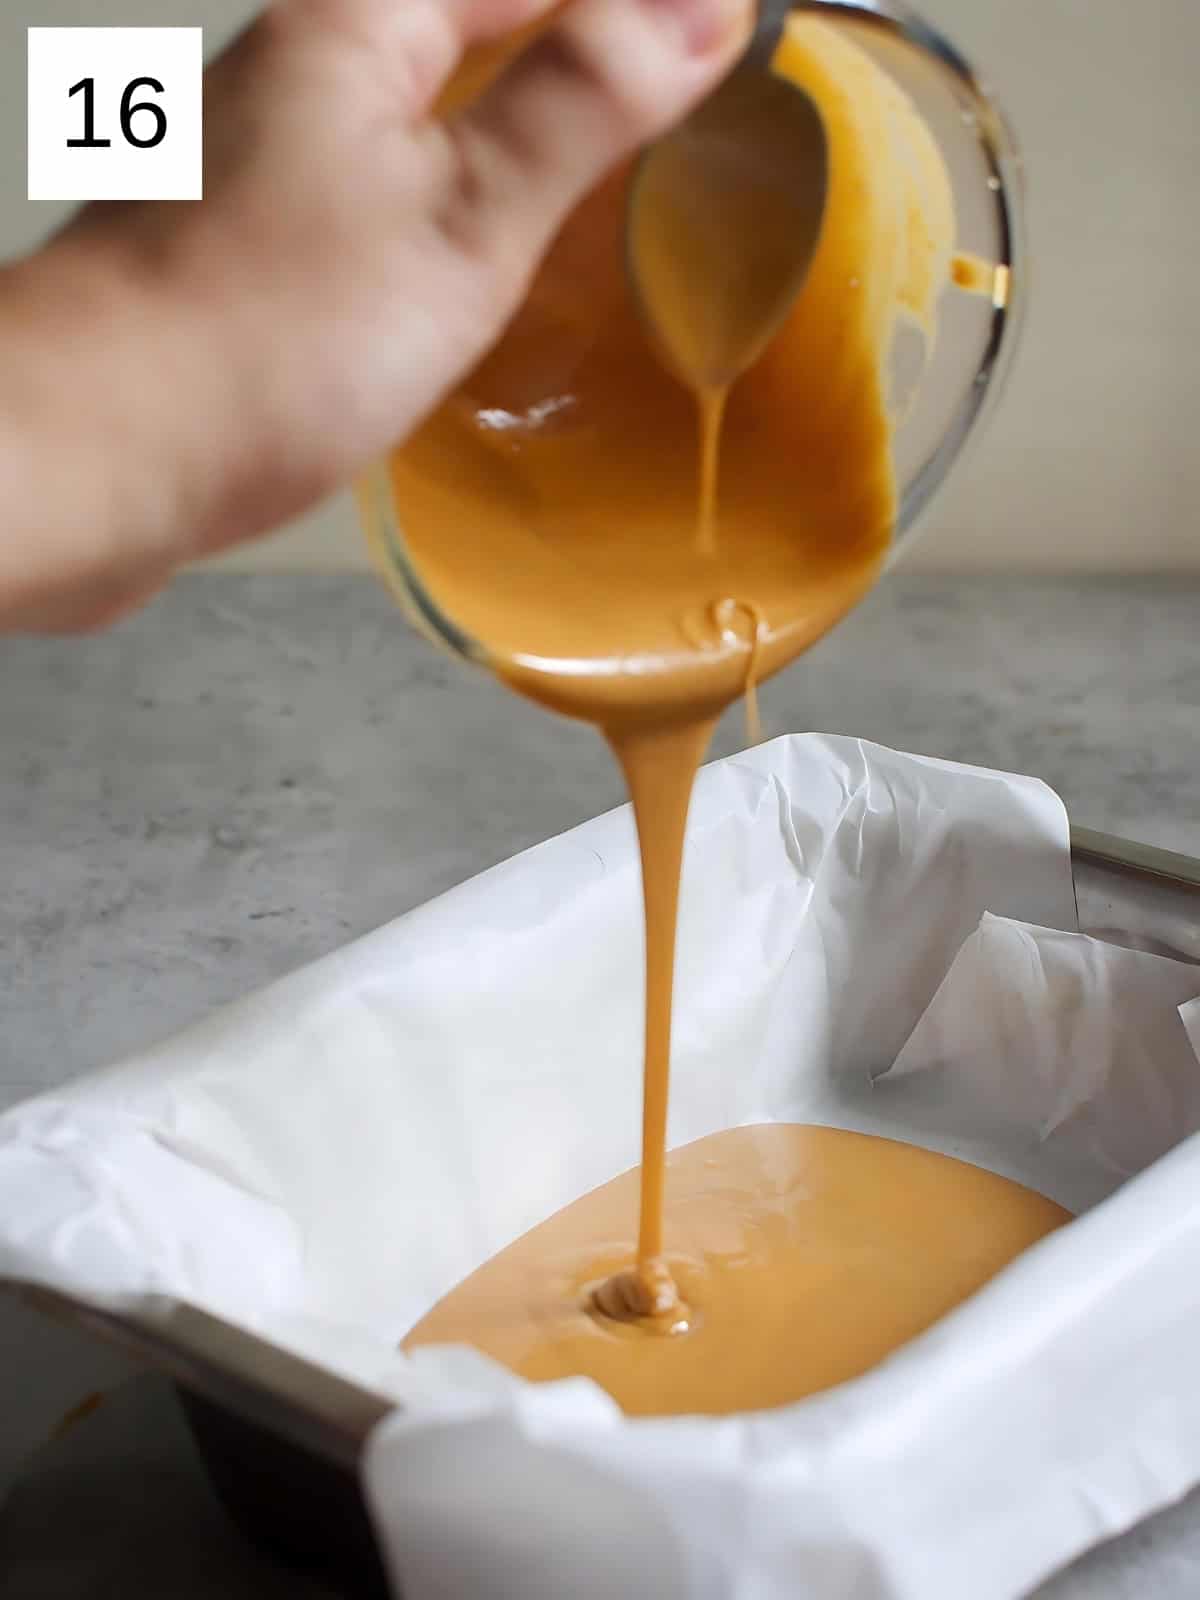
Step 6) You can use this immediately in recipes that call for melted chocolate, or you can transfer it to an airtight container for later use (images 15 & 16). This can be stored for up to a month, no refrigeration required.

❓ Ways to Use Blonde Chocolate
- Blonde Chocolate Chip Cookies: Substitute blonde chocolate chunks for regular chocolate chips in your favorite cookie recipe for a toasty, sweet twist.
- Blonde Brownies (Blondies): Incorporate blonde chocolate chunks into blondie batter for a rich, caramelized flavor.
- Ganache: Make a luxurious caramelized white chocolate ganache by melting blonde chocolate with cream, perfect for drizzling over cakes or dipping fruits. Whip it up for extra height!
- Blonde Chocolate Bark: Mix blonde chocolate with nuts, dried fruits, or pretzels, then spread it out and let it set for a tasty bark.
- Hot Chocolate: Create a decadent hot chocolate by melting blonde chocolate into warm milk.
- Mousse: Fold melted blonde chocolate into whipped cream to make a light and airy white chocolate mousse.
- Truffles: Craft creamy truffles by combining blonde chocolate with cream and rolling them in cocoa powder or nuts.
- Cheesecake: Swirl melted blonde chocolate into cheesecake batter before baking for a marbled effect and added flavor.
- Fondue: Use blonde chocolate as a base for a fondue, perfect for dipping things like fruits, marshmallows, and cookies.
- Ice Cream: Mix chunks of blonde chocolate into homemade or store-bought vanilla ice cream for a caramel twist.
- Pancake or Waffle Topping: Drizzle melted blonde chocolate over chocolate pancakes or waffles for a sweet breakfast treat.
- Cupcake Frosting: Whip melted blonde chocolate into homemade buttercream frosting for a unique topping on cupcakes.
- Blonde Chocolate Sauce: Melt blonde chocolate with a bit of cream to create a chocolate sauce that can be drizzled over desserts like brownies, cakes, or ice cream

👨🏻🍳 Expert Notes & Tips
Use Your Best Judgment: the duration of browning the chocolate can vary between 30 minutes to an hour or so, depending on how hot your oven gets.
Don’t panic if the chocolate comes out grainy and clumpy initially - just keep stirring and popping it back into the oven as noted in the instructions. Eventually, the chocolate will melt and caramelize as you progress.
Watch for Water: make sure you don't get any water on the chocolate at any time, as that can cause the chocolate to seize up and become unworkable, not to mention stop caramelizing.
If you ever pull out the tray and see oil separating from the chocolate, never fear; that's cocoa butter separating from the solids in the chocolate. You can recombine it in a blender or food processor after caramelizing the chocolates.
Quicker Cleanup: for easier cleanup, line the baking sheet with a silicone mat or parchment paper. However, in my experience, it's easier to move and stir the chocolates without the lining.
🍪 Recipes to Use Blonde Chocolate
🙋🏻♂️ Frequently Asked Questions
Quite simply, blonde chocolate is a type of white chocolate which has been caramelized. This is achieved either by cooking the finished chocolate or using "caramelized" milk powder in the initial recipe (more accurately described as milk crumb).
Blonde chocolate tastes like caramel, fine shortbread, and cooked sugar, though it can be grainy depending on how it was cooked.
If you don't want to make blonde chocolate yourself, several companies make a much more delicious & ethical version than any Hershey's, Dove, or Nestle option you'd find at the convenience store! One of these includes Fruition Chocolate, whose products you can also find at Bar & Cocoa.
Yes! You can also caramelize milk chocolate. I actually first tried caramelized white chocolate and caramelized milk chocolate in the same afternoon, back when I was living in Guatemala in 2015. In the years since, the confection has failed to gain as much traction as the famed ruby chocolate, launched by Callebaut in 2017.
Sometimes I just stick a whole bar of white chocolate in the toaster oven on the lowest temp for several minutes and hope for the best. It's not the most technical, but it usually works and it always tastes great.
📖 Recipe

Equipment
- metal pan
Ingredients
- 8 to 12 ounces high-quality white chocolate at least 30% cocoa
- ¼ to ½ teaspoon salt to taste
Instructions
- Preheat the oven to 250°F (120°C). Chop up pieces of white chocolate until they look splintered. You want the surface area of the chocolate slivers to be as small as possible so that each one is evenly exposed to the heat.
- Scrape your chopped chocolate on a baking sheet. Spread out the chocolates in a single layer to ensure even browning.
- Put the chocolate-covered tray in the oven and set the timer for 10 minutes. When the timer goes off, take out the baking sheet and use your spatula to stir and move the melted chocolate before returning it to the oven for another 10 minutes.
- Repeat this process two more times (total of 30 minutes) and then every 5 minutes afterward until the chocolate is smooth and deep brown. It should be roughly the color of peanut butter, according to my boss in Guatemala (where I learned this technique many years ago).
- Once it’s out of the oven, let it cool first. If the chocolate is separated or is a bit grainy, scrape it into a high-speed blender (you can also use an immersion blender or a food processor) and recombine for a smoother texture.
- You can use it immediately for recipes that call for melted chocolate, or you can transfer it to an airtight container for later use. This can be stored for up to a month, no refrigeration required.
Notes
- Use your best judgment at every step of this recipe. The duration of browning the chocolates may vary between 30 minutes to an hour or two, depending on how hot your oven gets. Don’t panic if the chocolate comes out grainy and clumpy initially, just keep stirring and popping it back into the oven as instructed. Eventually, the chocolate will melt and caramelize as you progress.
- To ensure a smoother texture, add 1-2 tablespoons of vegetable oil or melted cocoa butter to the chopped chocolates at the very beginning, right before you first pop them into the oven.
- Make sure you don't get any water on the chocolate at any time, as that can cause the chocolate to seize up and become unworkable, not to mention stop caramelizing. If you ever pull out the tray and see oil separating from the chocolate, never fear; that's cocoa butter separating from the solids in the chocolate. You can recombine it in a blender or food processor after caramelizing the chocolates.
- For easier cleanup, you can line the baking sheet with a silicone mat or parchment paper. However, in my experience, it was easier to move and stir the chocolates without the lining.





Jamie
This was so cool! It took a couple of tries ot get right, but this turned out great after I added theextra cocoa butter.
Max
Thank you, Jamie! I'm so glad you like it. I've been using this recipe for years, and it never fails to be a crowd-pleaser. 🙂