These No-Cook 2 Ingredient Chocolate Truffles are the product of over two decades of recipe- & technique-perfecting. The sugar bombs I made as a kid used sweetened condensed milk and chocolate with minuscule amounts of cacao, but these no-bake truffles are a much more elevated treat.

Jump To
About this recipe
Easy Chocolate Truffles: Over the course of 20+ years of trials & errors with various types of chocolate, fat ratios, and even thickness of chocolate bits, I've gotten my chocolate truffle recipe down to a science. Read my post on baking with chocolate for more tips. If you're not sure where to buy high quality chocolate, I've written a post on where to buy craft chocolate online. I promise, your taste buds will thank me later.
Which Chocolate for Truffles: Only decide to use milk chocolate if you prefer a sweeter truffle, or if that's just all you have laying around. Chocolate chips do work fine for this, but they still need to be chopped up into smaller pieces. While you could use a white or ruby chocolate in this recipe, those types of chocolate are made with more sugar than a dark or dark milk, so they would likely taste overly-sweet.

Picking Chocolate for Truffles
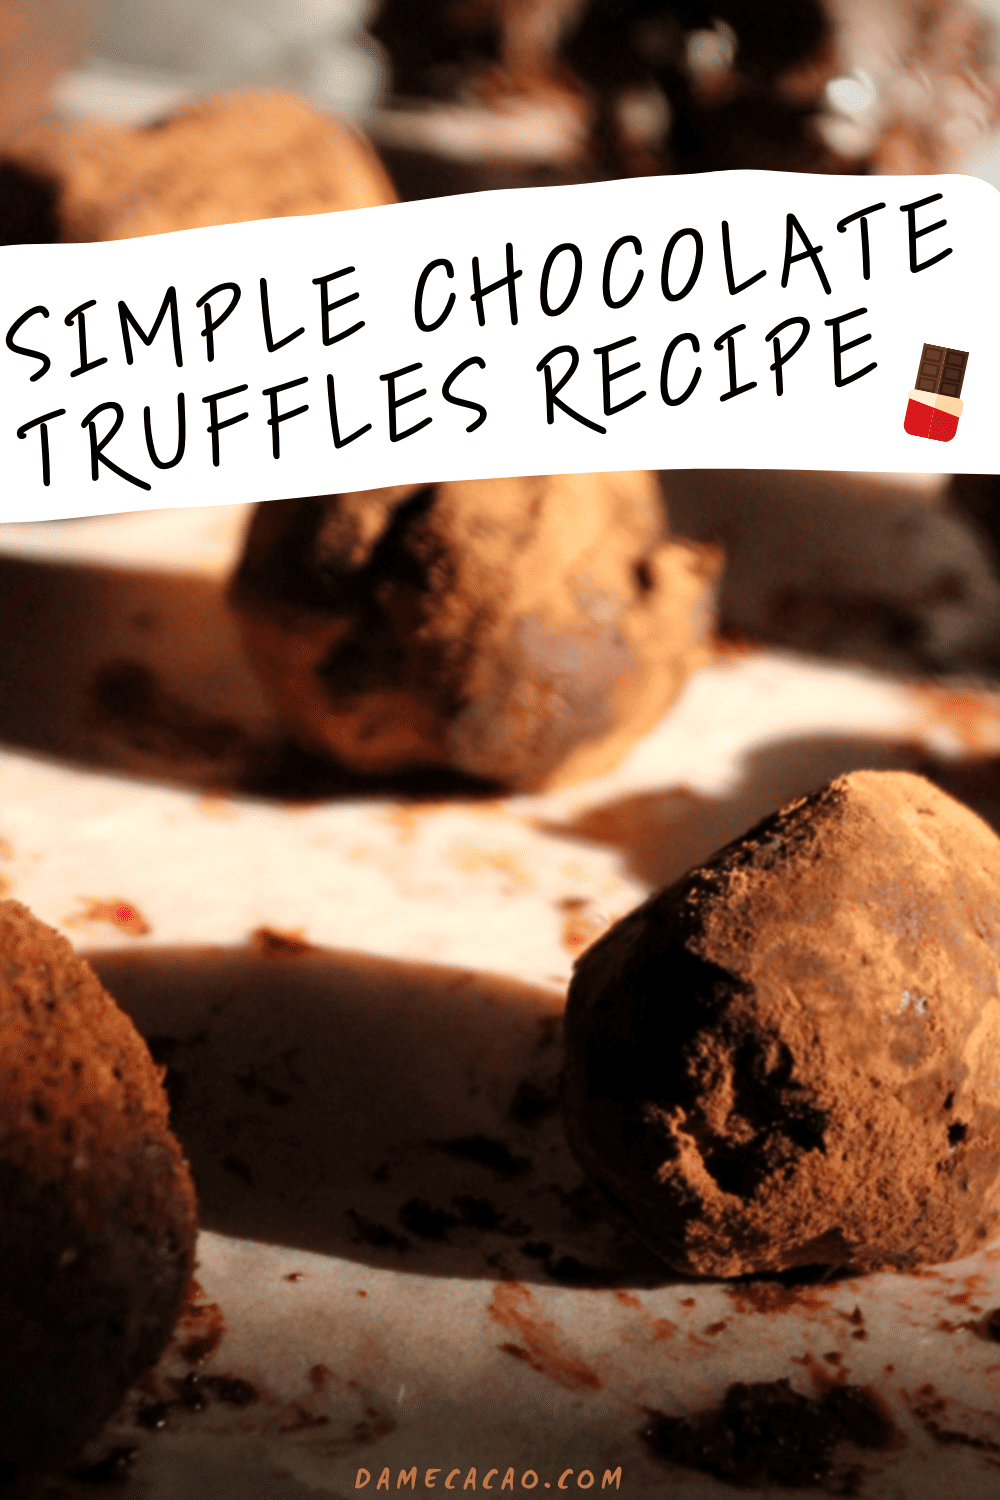
A chocolate truffle is basically an emulsion of chocolate and cream, called a ganache, coated in something. Some chocolatiers coat their chocolate truffles in more chocolate, but the classic French variety dusts the morsels in cocoa powder.
In fact, this is where they got their name, as the little chocolates resembled the black truffles famously hunted each summer in the French countryside. Our 2 ingredients truffles recipe below uses cocoa powder, as well as alternatives to cacao powder, like cacao nibs or coffee powder.
While a basic 2 ingredient truffle recipe is just chocolate and heavy cream, if you're vegan or sensitive to dairy, you can also use coconut milk or a milk alternative. Just make sure that your creamer has the same percentage of fat as heavy cream, which is between 34-38%.
But the key to this no bake chocolate truffles recipe is to source really good chocolate, and ideally a craft chocolate with no more than 3 ingredients. Since the flavor of the chocolate you use is basically the flavor of the truffles, it's important that you find one you really like.
If you can handle soy products, a chocolate which has soy lecithin on the ingredients list isn't necessarily bad. Just remember to chop up whatever chocolate you use very well, as the small pieces need to be relatively uniform in order to melt evenly.
Ingredients

Heavy Cream: this is the secret to really rich no bake chocolate truffles, especially if you're batching the recipe. It adds the perfect balance of sweetness and creaminess, without breaking the bank! A good alternative would be coconut cream, at roughly 34-38% fat.
Dark Chocolate of Choice: you can use any chocolate you'd like, but to increase the nutrition of your truffles, I recommend using a craft dark chocolate with at least 70% cacao, or a high-percentage milk chocolate.
Cocoa Powder: you need a powder for dusting the truffles at finish, and while cocoa powder is best, powdered sugar, cacao nibs, or superfine ground coffee also work well.
How to make 2 ingredient truffles: step-by-step instructions
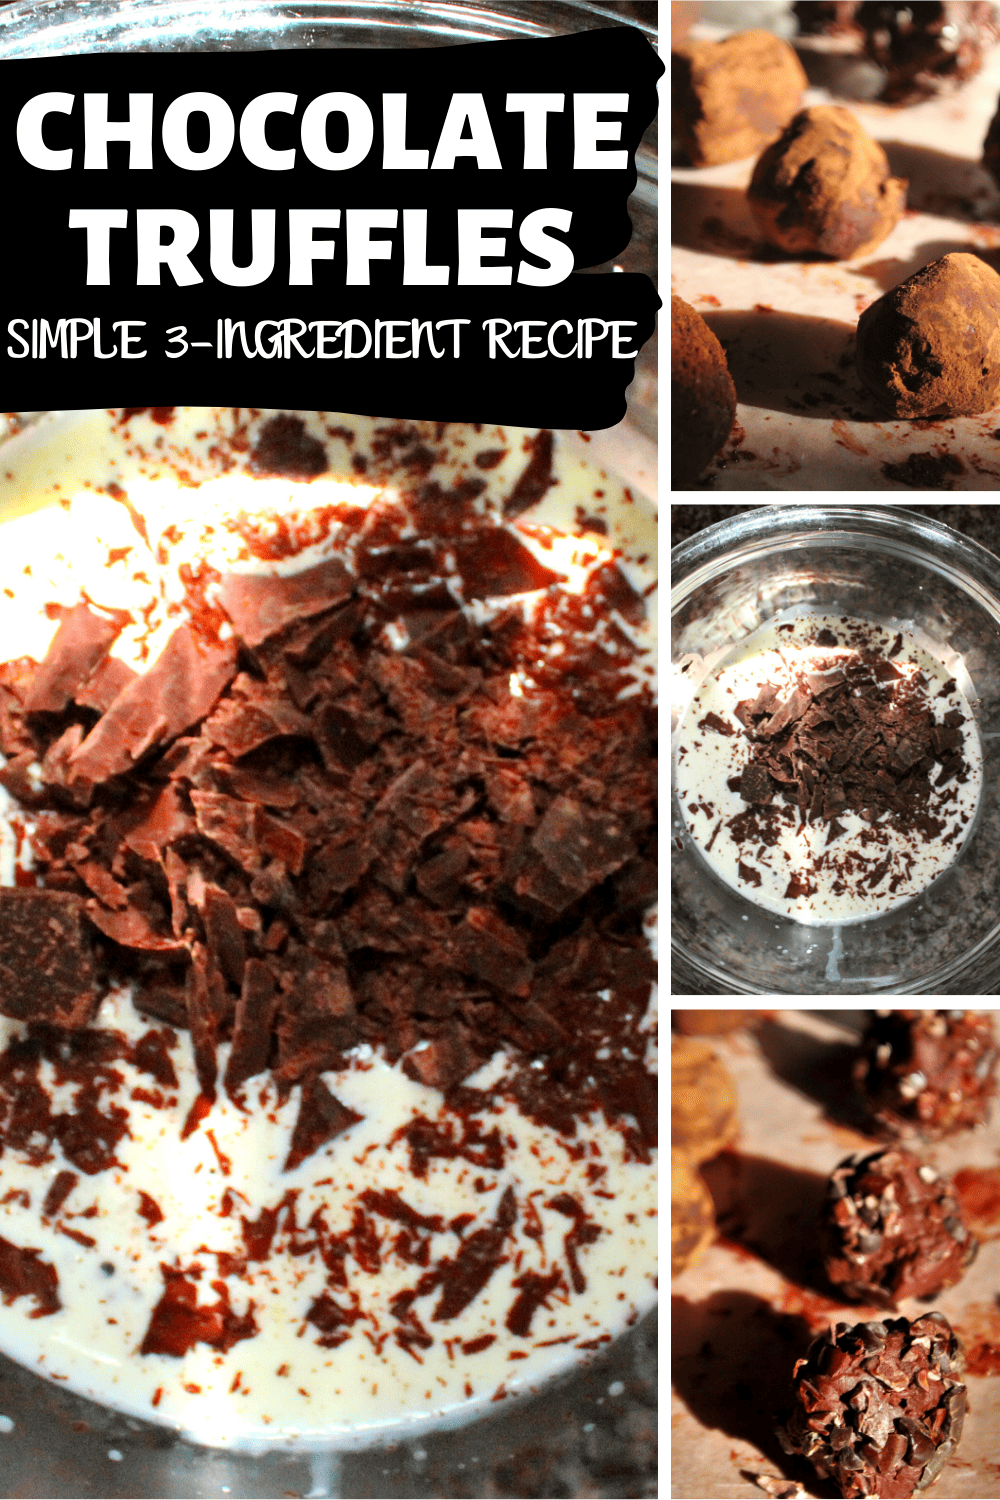
Step 1. The instructions for truffle-making are relatively similar to those for making chocolate sauce, insofar as the process for heating and combining the ingredients. First, get your cutting board and a very sharp knife. Measure off or weigh how much of the bar you need, and put that onto the board. Chop the chocolate across, so that it splinters like in the picture below. Pieces should measure no more than 5mm across and be quite thin.

Step 2. Measure out 4 tablespoons of cream into the large bowl and heat it in the microwave for 30 seconds on high, depending on the power of your microwave. Once the cream is heated to hot but not scalding, immediately pull it out of the microwave and add in the chopped chocolate in a thin layer.


Step 3. Let the ingredients sit for 3 minutes. This allows the chocolate to slowly melt rather than being burned or mixed together while at very different temperatures. If it doesn't sit for a bit, the fat and the solids will begin to separate, and it will look like curdling milk.

Step 4. After your three minutes are up, stir vigorously with your spoon to combine all of the liquids and the solids. Within about 15 seconds, your chocolate mixture should start to look like the shiny liquid in the bowl below. If you like the flavor contrast of salinity, consider adding a dash of salt to your mixture before stirring.
Put your mixture into the refrigerator for 30-40 minutes before you start forming the truffles. The chocolate needs to set and harden a bit so that it's workable and will hold its shape.
Pro-Tip: If your chocolate ever looks like the picture below, stop what you're doing and grab a hand blender. This oily appearance is a result of the cocoa butter (cocoa fat) separating from the cocoa solids. You need to blend your mixture on high for at least 30 seconds until it fluffs up. You'll know it's done once the mixture looks like a chocolate frosting (and smells like a chocolate truffle).

Step 5. Now is the kid-friendly hands-on part! Use gloves if you can, and roll out balls of the truffles in any size you'd like, then place them on a piece of parchment paper. At my house we prefer about a tablespoon. Once all your truffles are rolled out, it's time to coat them in more flavor; this is where your powders come in.

Step 6. Place your flavors of choice in separate bowls to roll each truffle in. I like to blend different powders to create different flavors; my current favorite is a mix of 4 parts cocoa powder, 1 part finely-ground coffee, and a dash of cinnamon. Keep in mind that the first flavor you place on your tongue will affect everything else you eat for at least several bites, so decorate wisely. Once you've rolled them all out and place them on the parchment, your truffles are ready whenever you are.

Recipe notes & tips
Heating the Cream: Keep an eye on the cream so that it doesn't start cooking in the microwave or on the stove. If it's still not warm enough, heat it in 5-second intervals until it's quite hot, but not burning or cooking.
Salting Chocolate: If you choose to add salt to your chocolate, only use super finely-ground salt, as any sea salt you use will end up in chunks, and you never want to bite into a chunk when you're expecting a smooth ganache.
Keeping in the Fridge: Have fun with it! The chocolate mixture will also keep in the fridge for a few days, if you don't have time to coat them immediately or want to coat them fresh each evening. Just remember to let the mixture sit at room temperature for at least a half hour before you try to form balls.
No Cook Chocolate Truffles Recipe Card
As always, if you like the recipe, I really appreciate a review or comment!
📖 Recipe

No-Cook Chocolate Truffles (in Microwave)
Ingredients
- 4 Tablespoons heavy cream or coconut cream at 34-38% fat
- 4 oz 112g dark chocolate (or high-percentage milk chocolate)
- Powder for dusting at finish cocoa powder is best, but powdered sugar, cacao nibs, or superfine ground coffee also works
- Optional: ¼ teaspoon sea salt &½ teaspoon vanilla extract
Instructions
- The instructions for truffle-making are relatively similar to those for making chocolate sauce, insofar as the process for heating and combining the ingredients. But there are a few issues you may run into during the process, so I've made note of those below. First, get your cutting board and a very sharp knife. Measure off or weigh how much of the bar you need, and put that onto the board. Chop the chocolate across, so that it splinters. Pieces should measure no more than 5mm across and be quite thin.
- Measure out 4 tablespoons of cream into the large bowl and heat it in the microwave for 30 seconds on high, depending on the power of your microwave. Once the cream is heated to hot but not scalding, immediately pull it out of the microwave and add in the chopped chocolate in a thin layer.
- Let the ingredients sit for 3 minutes. This allows the chocolate to slowly melt rather than being burned or mixed together while at very different temperatures. If it doesn't sit for a bit, the fat and the solids will begin to separate, and it will look like curdling milk.
- After your three minutes are up, stir vigorously with your spoon to combine all of the liquids and the solids. Within about 15 seconds, your chocolate mixture should start to look like a shiny liquid. If you like the flavor contrast of salinity, consider adding a dash of salt to your mixture before stirring.
- But if your chocolate ever looks like it's separating, stop what you're doing and grab a hand blender. This oily appearance is a result of the cocoa butter (cocoa fat) separating from the cocoa solids. You need to blend your mixture on high for at least 30 seconds until it fluffs up. You'll know it's done once the mixture looks like a chocolate frosting (and smells like a chocolate truffle).
- Put your mixture into the refrigerator for 30-40 minutes before you start forming the truffles. The chocolate needs to set and harden a bit so that it's workable and will hold its shape.
- Now is the kid-friendly hands-on part! Use gloves if you can, and roll out balls of the truffles in any size you'd like, placing them on a piece of parchment paper. At my house we prefer about a tablespoon. Once all your truffles are rolled out, it's time to coat them in more flavor; this is where your powders come in.
- Place your flavors of choice in separate bowls to roll each truffle in. I like to blend different powders to create different flavors; my current favorite is a mix of 4 parts cocoa powder, 1 part finely-ground coffee, and a dash of cinnamon. Keep in mind that the first flavor you place on your tongue will affect everything else you eat for at least several bites, so decorate wisely. Once you've rolled them all out, your truffles are ready whenever you are.
- Don't forget to lick the bowl!
Notes
- Keep an eye on the cream so that it doesn't start cooking in the microwave or on the stove. If it's still not warm enough, heat it in 5-second intervals until it's quite hot, but not burning or cooking.
- Only decide to use milk chocolate if you prefer a sweeter truffle, or if that's just all you have laying around. Chocolate chips do work fine for this, but they still need to be chopped up into smaller pieces.
- If you choose to add salt, only use super finely-ground salt, as any sea salt you use will end up in chunks, and you never want to bite into a chunk when you're expecting a smooth ganache.
- While you could use a white or ruby chocolate in this recipe, those types of chocolate are made with more sugar than a dark or dark milk, so they would likely taste overly-sweet.
- Have fun with it! The chocolate mixture will also keep in the fridge for a few days, if you don't have time to coat them immediately or want to coat them fresh each evening. Just remember to let the mixture sit at room temperature for at least a half hour before you try to form balls.
Nutrition
Pin this simple chocolate truffles recipe!



Martha
These were so yummy!!
Max
I'm so glad you've enjoyed them!
Barak Jones
Nice post and good recipe of chocolate truffles. I like it very much! T wants to make it with cardamom. Thank you for sharing this post with us.
Max
No problem, Barak! I hope the Cardamom addition tastes as good as it sounds. 🙂