


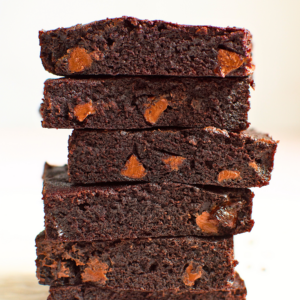
Tempering chocolate is an essential skill, more than just melting chocolate; it involves heating and cooling the liqud chocolate to give it a shiny, smooth consistency that sets flawlessly in whatever you choose to use it. Once mastered, use it to create chocolate-dipped fruits, nut clusters, or homemade chocolate bars.
If you want to try your hand at tempering chocolate at home, there are three popular methods you can choose from: the double boiler, a microwave, or the seeding technique (somewhate more advanced).
Each method has its own advantages and nuances, but all aim to achieve the same result – perfectly tempered chocolate with a glossy finish and satisfying snap. In this article, we’ll explore these three methods in detail and go through step-by-step instructions to guide you on your chocolate tempering journey.
Jump to:
Understanding Chocolate Tempering
Importance of Tempering
Making high-quality confections at home requires a professional level of tempering chocolate. When you temper chocolate, you're carefully controlling its temperature while melting and cooling, helping to create a uniform and stable fat structure.
This process ensures that your finished chocolate products have a hard, shiny surface and a satisfying snap when broken or bitten into. While it's not essential for making edible chocolate creations, it is if you want them to be pretty and melt nicely.
Cocoa Butter Crystals
Chocolate is primarily composed of cocoa solids and cocoa butter. Cocoa butter is a unique type of fat that can form different types of fat crystals depending on how it's melted and cooled.
During tempering, the goal is to encourage the formation of stable beta crystals, also known as Form V crystals, which give chocolate its desirable properties, such as a glossy finish and firm texture. When chocolate isn't tempered properly, unstable crystals can form, resulting in an inferior product.
Effects on Texture and Appearance
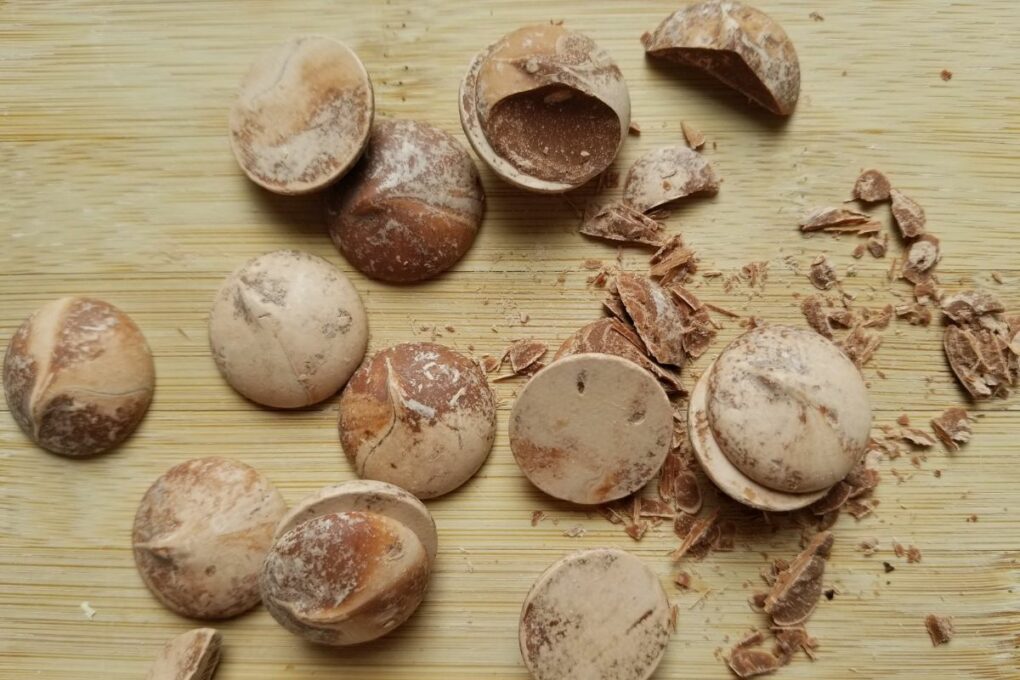
Untempered chocolate might become dull, crumbly, or develop a white, powdery surface known as ‘bloom.’ Bloom is caused by the separation of cocoa particles from the fat (cocoa butter) or from fat migrating to the surface.
Thus, tempering not only enhances the appearance of your chocolate creations but also helps to avoid issues such as bloom and a soft, crumbly texture.
Now that you understand the importance of tempering chocolate and its effects on texture and appearance, you can begin experimenting with different methods of tempering chocolate at home. Techniques such as tabling, seeding, and using chopped chocolate will serve you well on your chocolate-making journey.
Types of Chocolate for Tempering
When you temper chocolate at home, it's important to choose the right type of chocolate for the best results. Below we cover the characteristics of dark chocolate, milk chocolate, and white chocolate, as well as some tips for tempering each type.
Dark Chocolate
Dark chocolate is the most common type of chocolate used for tempering. It consists of cocoa solids, cocoa butter, and sugar. The cocoa content in dark chocolate varies, but typically ranges from 50-90%.
You can also buy pure 100% chocolate, commonly known as chocolate liquor or cocoa mass, but it’s not usually used for home candy making. When tempering dark chocolate, you should aim to heat it to a temperature of 110-114ºF before cooling it down to 82ºF and then reheating it to around 90ºF.
My top tip for tempering dark chocolate is to use high-quality dark chocolate or chocolate couverture for a smoother texture and better taste. Maintaining a constant temperature during the tempering process helps to avoid fat bloom and a dull appearance.
Milk Chocolate
Due to the dairy content in milk chocolate, tempering it can be a little more difficult than with dark chocolate. Milk chocolate also typically has a lower cocoa content compared to dark chocolate, ranging from 10-50%, though a large portion of that is cocoa butter.
The ideal temperatures for tempering milk chocolate are to heat it to around 105ºF, cool it to 80ºF-82ºF, and then reheat it to 84ºF-86ºF (note that it's lower than dark chocolate).
Select a bar of high-quality milk chocolate with a greater cocoa content when tempering milk chocolate for a richer composition and easier tempering. Also, work quickly as milk chocolate is more sensitive to temperature changes compared to dark chocolate.
White Chocolate
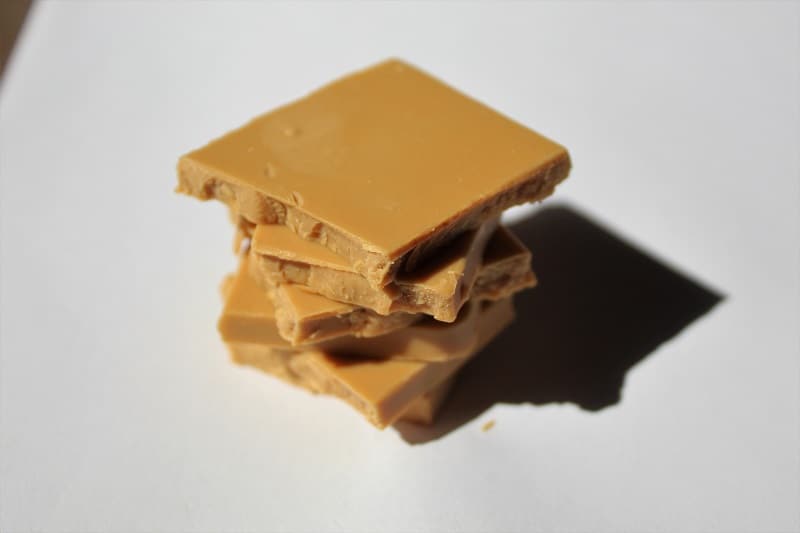
Often considered a controversial type of chocolate, white chocolate is made from cocoa butter, sugar, and milk powder or cream powder. It does not contain cocoa solids and has a delicate flavor and texture, making it somewhat harder to work with at home.
The tempering process for white chocolate is slightly different: Heat it to approximately 105ºF, cool it to 78ºF, and then reheat it to 84ºF.
My top suggestion for tempering white chocolate is to opt for high-quality white chocolate couverture for a smoother result. Be extra cautious with temperature control, as white chocolate can easily overheat or seize, or even burn.
Equipment and Preparation
Before you start tempering chocolate at home, you'll need to gather the proper equipment and prepare the chocolate. This section will guide you through the necessary steps before you get started, so you can successfully temper chocolate utilizing any of the three different methods.
Required Equipment
To temper chocolate at home, you'll need the following equipment: a glass or stainless steel bowl, marble slab (optional for the tabletop method), spatula (rubber or metal), candy thermometer or instant-read thermometer, serrated knife, and microwave or double boiler (depending on the method chosen).
Preparing the Chocolate
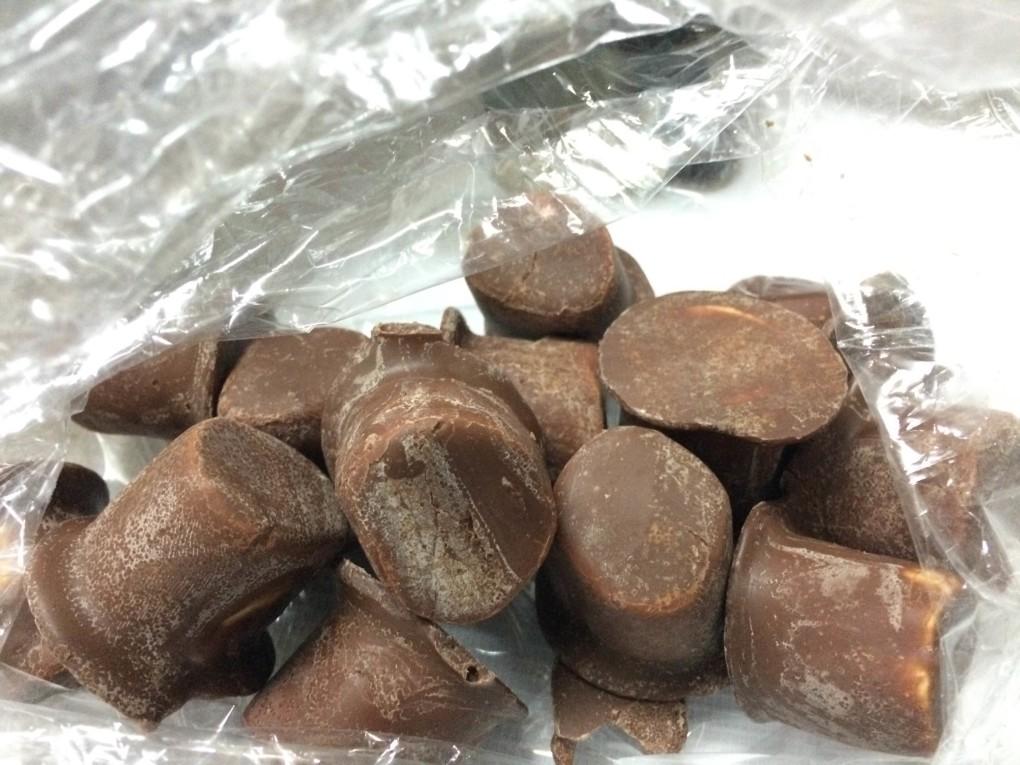
First, choose high-quality chocolate with a high cocoa content. This will produce the best results when tempering. Be sure to finely chop your chocolate using a serrated knife to ensure that it will melt evenly and more quickly.
For the microwave and double boiler methods, place the finely chopped chocolate into a completely dry glass or stainless steel bowl. Moisture can cause the chocolate to seize, so it's essential to keep it dry.
If using the tabletop method, spread the chopped chocolate onto a clean, dry marble slab. The cool surface helps regulate the temperature of the chocolate as it is being tempered, since marble doesn't give or absorb heat very well (which is good in this case).
Now that you have your equipment and your chocolate ready, you can now proceed with your chosen tempering method.
Method 1: Double Boiler
Melting Chocolate in Double Boiler
To temper chocolate using the double boiler method, first chop your chocolate into small, roughly equal-sized pieces. After, place about two-thirds of the chocolate into the top pan of a double boiler.
Fill the bottom pan with water, making sure the water isn't touching the top pan, and heat it on the stove until it's simmering but not boiling.
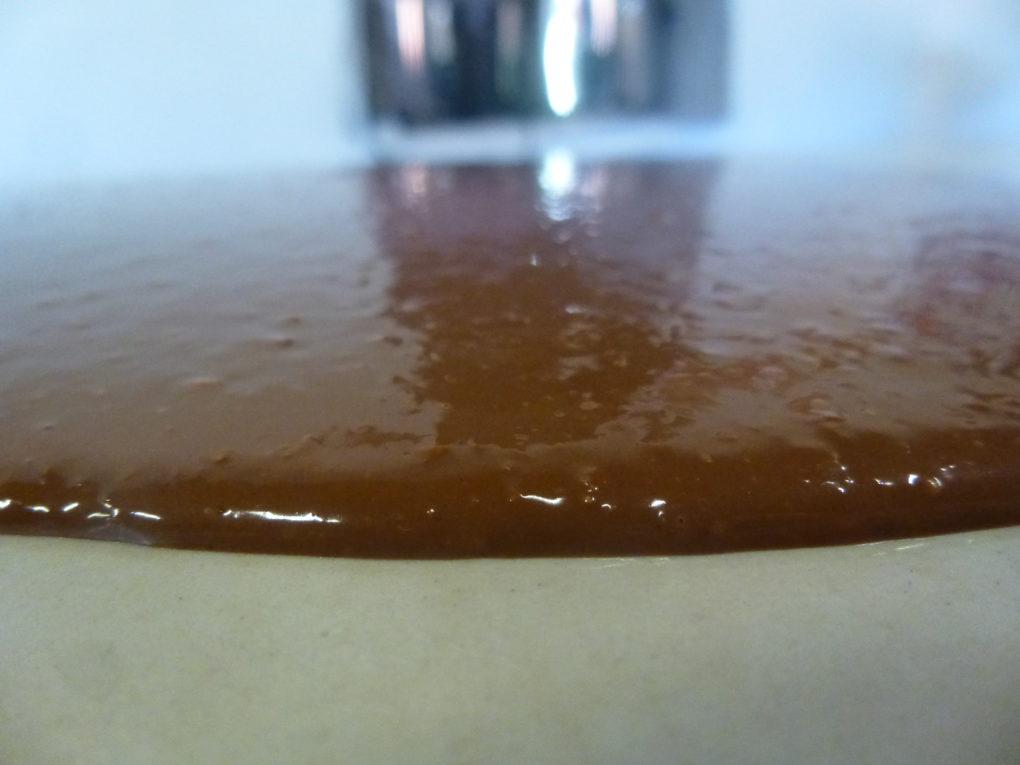
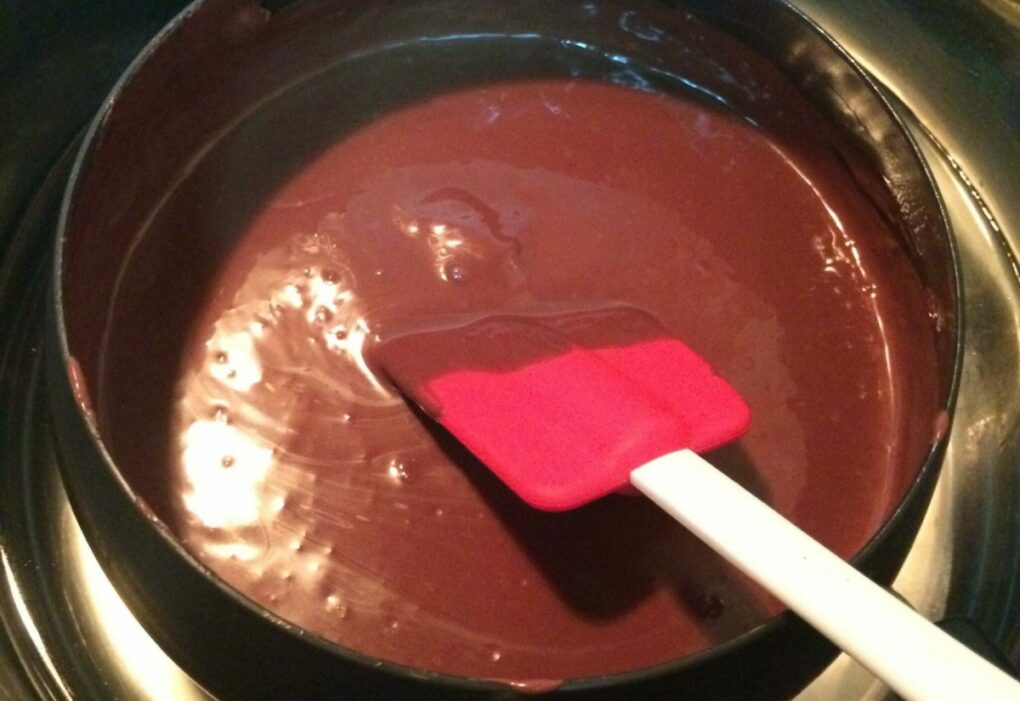
Once the water is heated and steaming, place the top pan with your chocolate onto the bottom pan. Stir it constantly to ensure even melting and avoid overheating. Keep an eye on the temperature; you want the chocolate to initially reach between 110°F and 115°F.
Testing for Temper
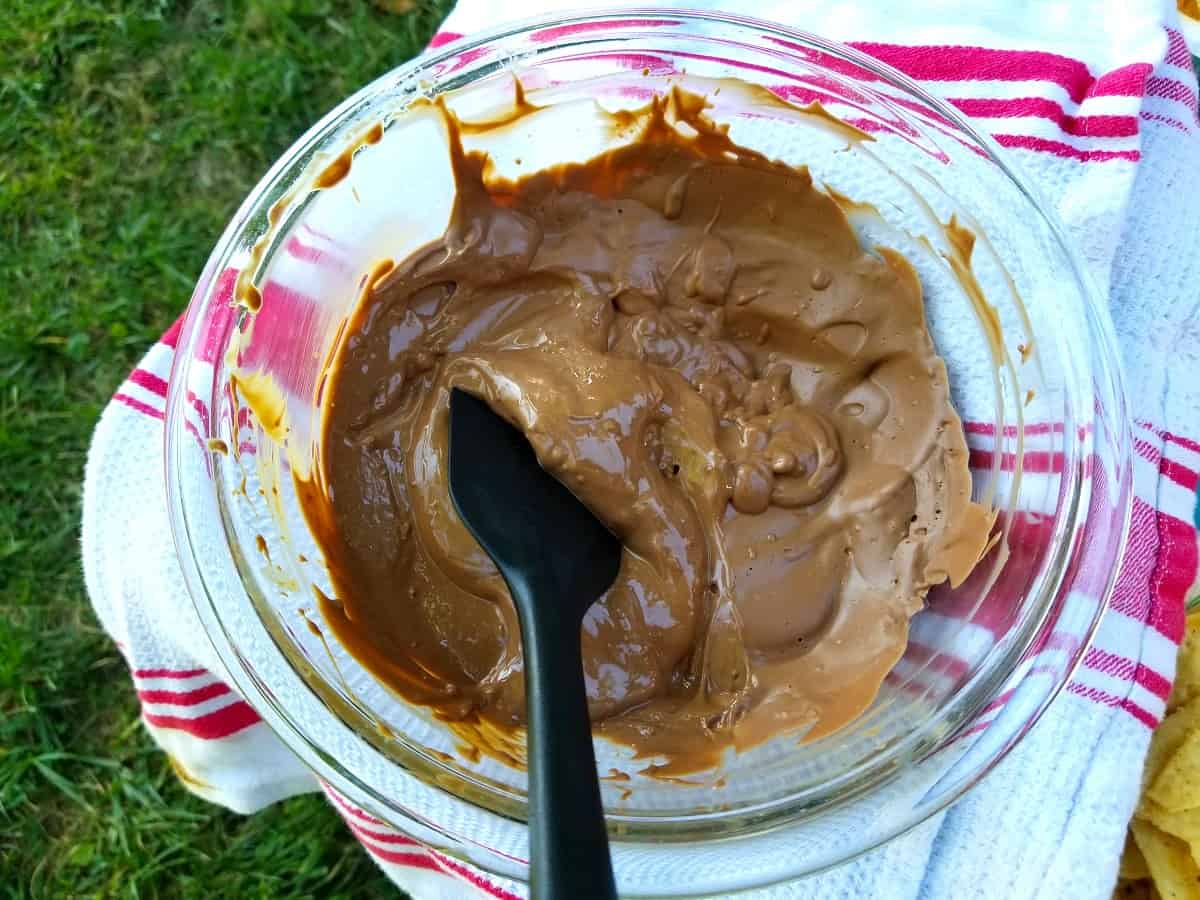
As soon as the chocolate reaches the desired temperature, remove the top pan from the double boiler and place it on a towel to cool. Allow the chocolate to cool to 95°F to 100°F, then add the remaining one-third of the unmelted chocolate to the melted chocolate in the top pan, stirring until fully melted.
To test for temper, dip a spatula or the edge of a knife into the chocolate and set it aside. The chocolate should harden quickly and appear shiny. If it's still not in temper, you might need to lightly reheat the chocolate. To do this, reheat to 88°F to 91°F for dark chocolate or 87°F to 88°F for milk and white chocolate.
Tempering Tips
Be sure to use a reliable thermometer to monitor the chocolate's temperature throughout the process. Make sure your workspace and tools are completely dry, as even a small amount of water can cause the chocolate to seize.
Also, when melting and tempering chocolate, it's important to work quickly and consistently to maintain its working temperature. Remember, patience and practice are key when tempering chocolate at home.

Method 2: Seeding
Seeding Process
In the seeding method, you'll begin by melting two-thirds of your chocolate chips or chunks, ensuring the temperature reaches around 115ºF for dark chocolate or 105°F for milk or white chocolate. You can use a microwave in 15-second intervals or a double boiler over simmering water to gently melt the chocolate.
Once the chocolate is melted and at the correct temperature, remove it from the heat source. Gradually add the remaining one-third of the unmelted chocolate to the melted chocolate. This is similar to the double boiler method, but requires more careful temperature control.
Stir continuously until the unmelted chocolate is completely melted and the temperature has dropped to about 82.4°F (28°C) for dark chocolate or 79-80.6°F (26-27°C) for milk and white chocolate. This process creates the right cocoa butter crystals, promoting proper crystallization and tempering.
Seeding Tips
Always chop the unmelted chocolate into small, equal-sized pieces or use grated chocolate to ensure even melting and proper seeding. Bowls, utensils, and work areas should be completely dry, as any moisture can cause the chocolate to seize and ruin the tempering process.
Stirring gently and consistently while adding the unmelted chocolate helps to avoid air bubbles and lets the cocoa butter molecules distribute evenly. Keep an eye on the temperature during the seeding process.
If needed, you can briefly return the chocolate to the heat source just to maintain the desired temperature range, being careful not to overheat.
Method 3: Microwave
Microwave Temper Process
Learning how to temper chocolate in the microwave is a great option for those who don't have a double boiler or prefer a quicker method. To start, chop your desired amount of chocolate into small, even pieces and place about two-thirds of the chocolate in a microwave-safe bowl.
Begin to microwave the chocolate on medium for about 30 seconds, and then stir. Repeat this process until the chocolate has reached a temperature of 100°F. After, remove the chocolate from the microwave and add the remaining one-third of the chopped chocolate.
Stir until the chocolate becomes smooth and shiny, reaching a temperature between 88°F to 90°F. Remember that it's critical to use a microwave-safe bowl and monitor the temperature closely to avoid scorching or overheating the chocolate. Glass is usually best, as metal can affect the temperature too much.
Benefits
The microwave method for tempering chocolate is generally faster compared to other tempering methods, like the double boiler technique. Also, most households have a microwave, making this method more accessible than others. The use of only a microwave, bowl, and thermometer also means less clutter in your kitchen.
Drawbacks
Despite its benefits, melting chocolate in the microwave can lead to scorched chocolate if not done carefully. Microwaves can also cause uneven heating, resulting in lumpy or partially melted chocolate. Professionals might prefer other methods that offer more control over the chocolate's temperature.
How to Use Tempered Chocolate
Molding Candies
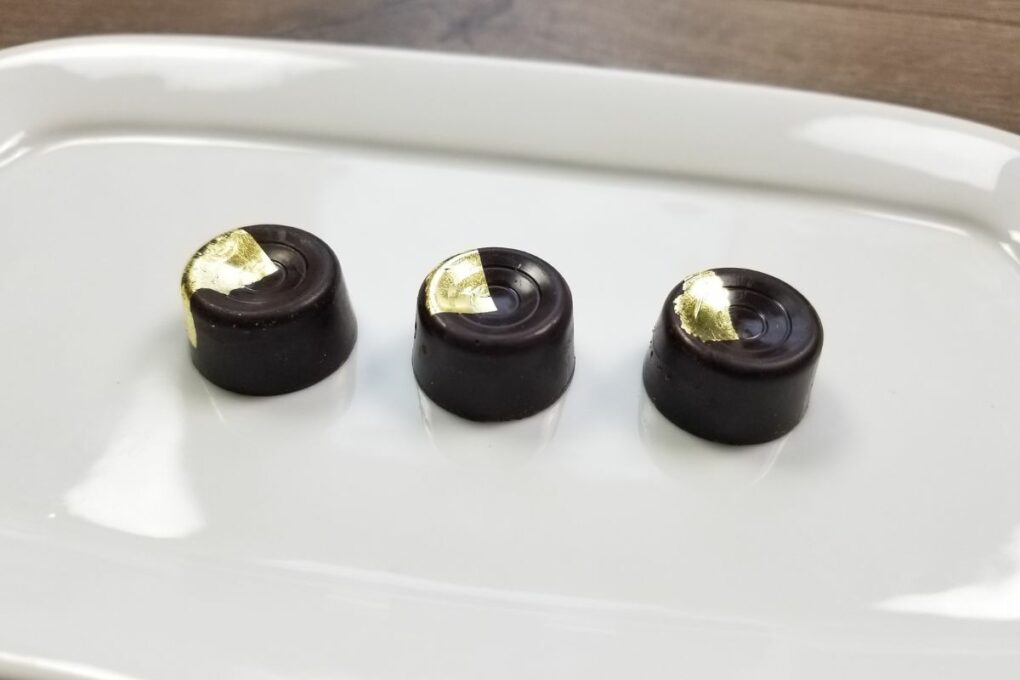
You're now ready to make lovely, delectable desserts once you've successfully tempered your chocolate. Molding candies are a great way to showcase your beautiful, shiny, tempered chocolate, and they're much easier to make than they seem.
First, pick a silicone or polycarbonate chocolate mold in your desired shape. You can find various chocolate molds online or at a local baking supply store. Then you'll need to pour the tempered chocolate into the mold cavities, filling each one to the top.
Tap the mold gently on the counter to release any air bubbles and ensure that the chocolate settles evenly. Scrape a bench scraper or spatula across the surface of the mold to remove any excess chocolate, ensuring a clean and smooth finish on the candies.
After, refrigerate the mold for 15-20 minutes or until the chocolate candies have fully set. Once set, the chocolates should release easily from the mold – they'll have a beautiful shine and a satisfying snap.
Dipping Truffles
Truffle dipping is another lovely way to use tempered chocolate. This method adds an elegant finishing touch to homemade truffles. Here's how to dip truffle centers in tempered chocolate, step-by-step.
Scoop, roll, and chill your truffle filling according to your recipe; they can usually be safely refrigerated for a few days to solidify. Common truffle fillings include whipped ganache, nut butter, or fruit-based centers.
Before starting, set up a clean space for dipping with your tempered chocolate, truffle fillings, and a wire rack or parchment-lined tray to place the dipped truffles on. Using a fork or dipping tool, lower each truffle one at a time into the tempered chocolate, ensuring it's completely coated.
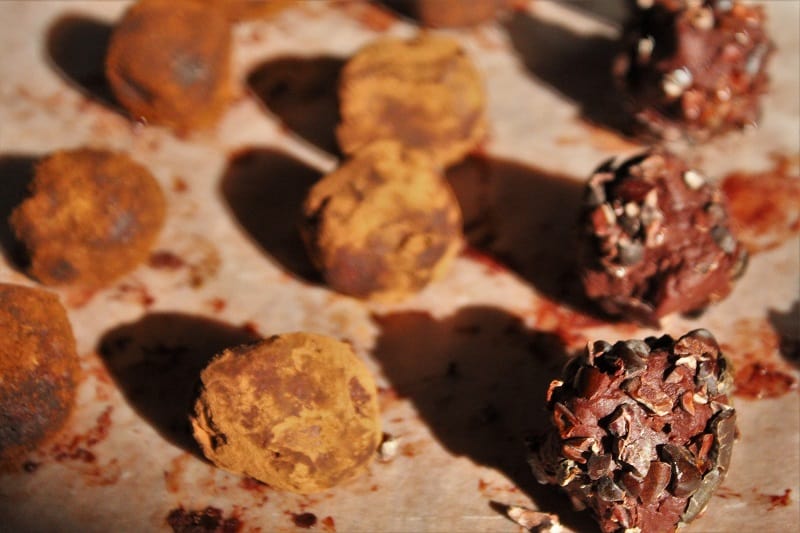
Very gently tap off the excess chocolate and transfer the coated truffle to the wire rack or parchment-lined tray. While the chocolate is still wet, sprinkle any desired toppings onto the dipped truffles, such as crushed nuts, cocoa nibs, or edible glitter.
After sprinkling, allow the truffles to set at room temperature or in the refrigerator, depending on your room's ambient temperature.
Frequently Asked Questions
Tempered chocolate is chocolate that has been carefully heated and cooled to encourage the formation of stable crystals in the cocoa butter. This process results in chocolate that has a glossy appearance, a smooth texture, and a satisfying snap when broken. Tempering also ensures that the chocolate will set properly at room temperature and has a longer shelf life.
The simplest way to temper chocolate is to use the seeding method or seed method of tempering chpcolate, where you melt two-thirds of the chocolate to a specific temperature, then add the remaining one-third of chopped, unmelted chocolate to cool and stabilize the mixture.
Yes, it is possible to temper chocolate in the microwave using a careful and controlled method, typically by melting the chocolate in short intervals at reduced power and then stirring until it reaches the appropriate temper.
Melted chocolate may not harden if it has been overheated, comes into contact with even a small amount of water ir oil, or if it has not been properly tempered.
To tell if chocolate is tempered without a thermometer, you can perform a simple "smear test" by spreading a small amount of chocolate on a piece of parchment paper and observing if it sets at room temperature, ideally with a glossy finish and a good snap when broken.

Have you tried this recipe?
If you like the recipe, please leave a 5-star ⭐️⭐️⭐️⭐️⭐️ rating on the recipe card, or even a comment! I love to hear how your recipes turned out, and your feedback can help other readers! Also join us on Instagram, Facebook & Pinterest.
📖 Recipe
How To Temper Chocolate at Home (Step-by-Step)
Ingredients
- Chocolate at least 6oz.
Instructions
Double Boiler Process
- To temper chocolate using the double boiler method, first chop your chocolate into small, roughly equal-sized pieces. After, place about two-thirds of the chocolate into the top pan of a double boiler.
- Fill the bottom pan with water, making sure the water isn't touching the top pan, and heat it on the stove until it's simmering but not boiling.
- Once the water is heated and steaming, place the top pan with your chocolate onto the bottom pan. Stir it constantly to ensure even melting and avoid overheating. Keep an eye on the temperature; you want the chocolate to initially reach between 110°F and 115°F.
- As soon as the chocolate reaches the desired temperature, remove the top pan from the double boiler and place it on a towel to cool.
- Allow the chocolate to cool to 95°F to 100°F, then add the remaining one-third of the unmelted chocolate to the melted chocolate in the top pan, stirring until fully melted.
Seeding Process
- In the seeding method, you'll begin by melting two-thirds of your chocolate chips or chunks, ensuring the temperature reaches around 115ºF for dark chocolate or 105°F for milk or white chocolate. You can use a microwave in 15-second intervals or a double boiler over simmering water to gently melt the chocolate.
- Once the chocolate is melted and at the correct temperature, remove it from the heat source. Gradually add the remaining one-third of the unmelted chocolate to the melted chocolate. This is similar to the double boiler method, but requires more careful temperature control.
- Stir continuously until the unmelted chocolate is completely melted and the temperature has dropped to about 82.4°F (28°C) for dark chocolate or 79-80.6°F (26-27°C) for milk and white chocolate. This process creates the right cocoa butter crystals, promoting proper crystallization and tempering. See Notes section for tips.
Microwave Temper Process
- Chop your desired amount of chocolate into small, even pieces and place about two-thirds of the chocolate in a microwave-safe bowl.
- Begin to microwave the chocolate on medium for about 30 seconds, and then stir. Repeat this process until the chocolate has reached a temperature of 100°F.
- After, remove the chocolate from the microwave and add the remaining one-third of the chopped chocolate. Stir until the chocolate becomes smooth and shiny, reaching a temperature between 88°F to 90°F. Remember that it's critical to use a microwave-safe bowl and monitor the temperature closely to avoid scorching or overheating the chocolate. Glass is usually best, as metal can affect the temperature too much.
Notes
Seeding Tips
- Always chop the unmelted chocolate into small, equal-sized pieces or use grated chocolate to ensure even melting and proper seeding.
- Bowls, utensils, and work areas should be completely dry, as any moisture can cause the chocolate to seize and ruin the tempering process.
- Stirring gently and consistently while adding the unmelted chocolate helps to avoid air bubbles and lets the cocoa butter molecules distribute evenly. Keep an eye on the temperature during the seeding process.
- If needed, you can briefly return the chocolate to the heat source just to maintain the desired temperature range, being careful not to overheat.
Testing for Temper
- To test for temper, dip a spatula or the edge of a knife into the chocolate and set it aside. The chocolate should harden quickly and appear shiny.
- If it's still not in temper, you might need to lightly reheat the chocolate. To do this, reheat to 90°F to 91°F for dark chocolate or 87°F to 88°F for milk and white chocolate.
Tempering Tips
- Be sure to use a reliable thermometer to monitor the chocolate's temperature throughout the process. Make sure your workspace and tools are completely dry, as even a small amount of water can cause the chocolate to seize.
- Also, when melting and tempering chocolate, it's important to work quickly and consistently to maintain its working temperature. Remember, patience and practice are key when tempering chocolate at home.

Comments
No Comments